

Stop the Draft with the Best Calking for Windows
Stop the Draft with the Best Calking for Windows
Why Choosing the Best Caulking for Windows Can Save You Thousands
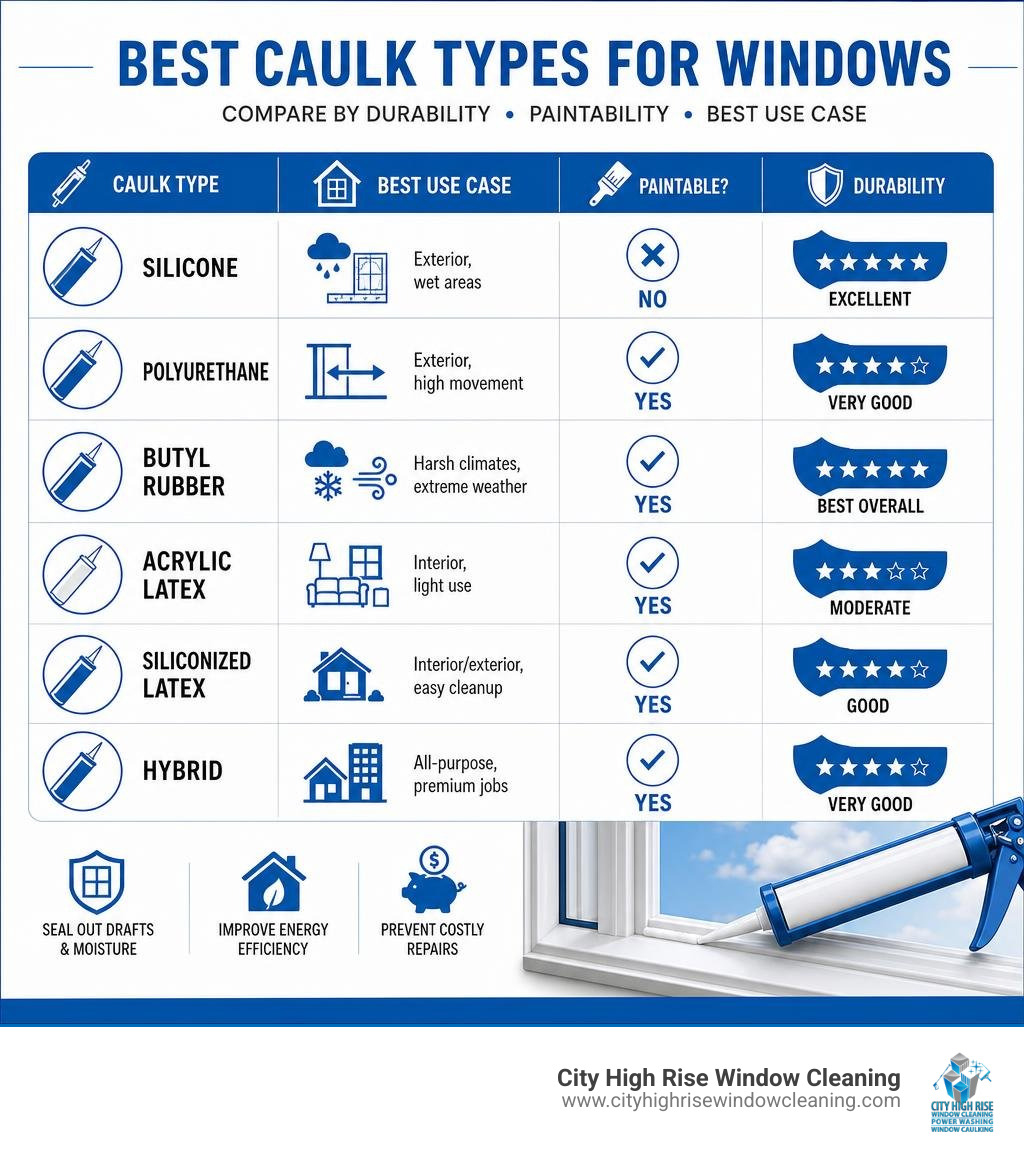
Quick Answer: Best Caulk Types for Windows
| Caulk Type | Best For | Paintable | Durability |
|---|---|---|---|
| Silicone | Exterior, wet areas | No | Excellent |
| Polyurethane | Exterior, high movement | Yes | Very Good |
| Butyl Rubber | Harsh climates, extreme weather | Yes | Best overall |
| Acrylic Latex | Interior, light use | Yes | Moderate |
| Siliconized Latex | Interior/exterior, easy cleanup | Yes | Good |
| Hybrid | All-purpose, premium jobs | Yes | Very Good |
A thin line of sealant around your windows does more work than most people realize. Finding the best calking for windows is the difference between a tight, energy-efficient building and one that leaks warm air in winter, lets moisture creep into walls, and racks up avoidable repair bills. In New York, Long Island, New Jersey, and Westchester — where temperatures swing hard between freezing winters and humid summers — the wrong caulk fails fast. And when caulk fails on a high-rise, the consequences go well beyond a drafty room.
Window caulking around frames typically lasts about five years, depending on weather exposure. After that, cracks, gaps, and brittleness let in air, water, insects, and energy loss — often without obvious warning signs until the damage is already done.
I’m Brett Hochman, CEO of City High Rise Window Cleaning, and with over 48 years of hands-on experience in exterior building maintenance — including high rise window caulking on commercial properties across the NYC metro area — I’ve seen what the best calking for windows looks like in practice, and what happens when the wrong product is used. In this guide, I’ll walk you through every major caulk type, how they compare, and exactly how to apply them correctly.
Glossary for best calking for windows:
Caulk vs. Sealant: Which is the Best Calking for Windows?
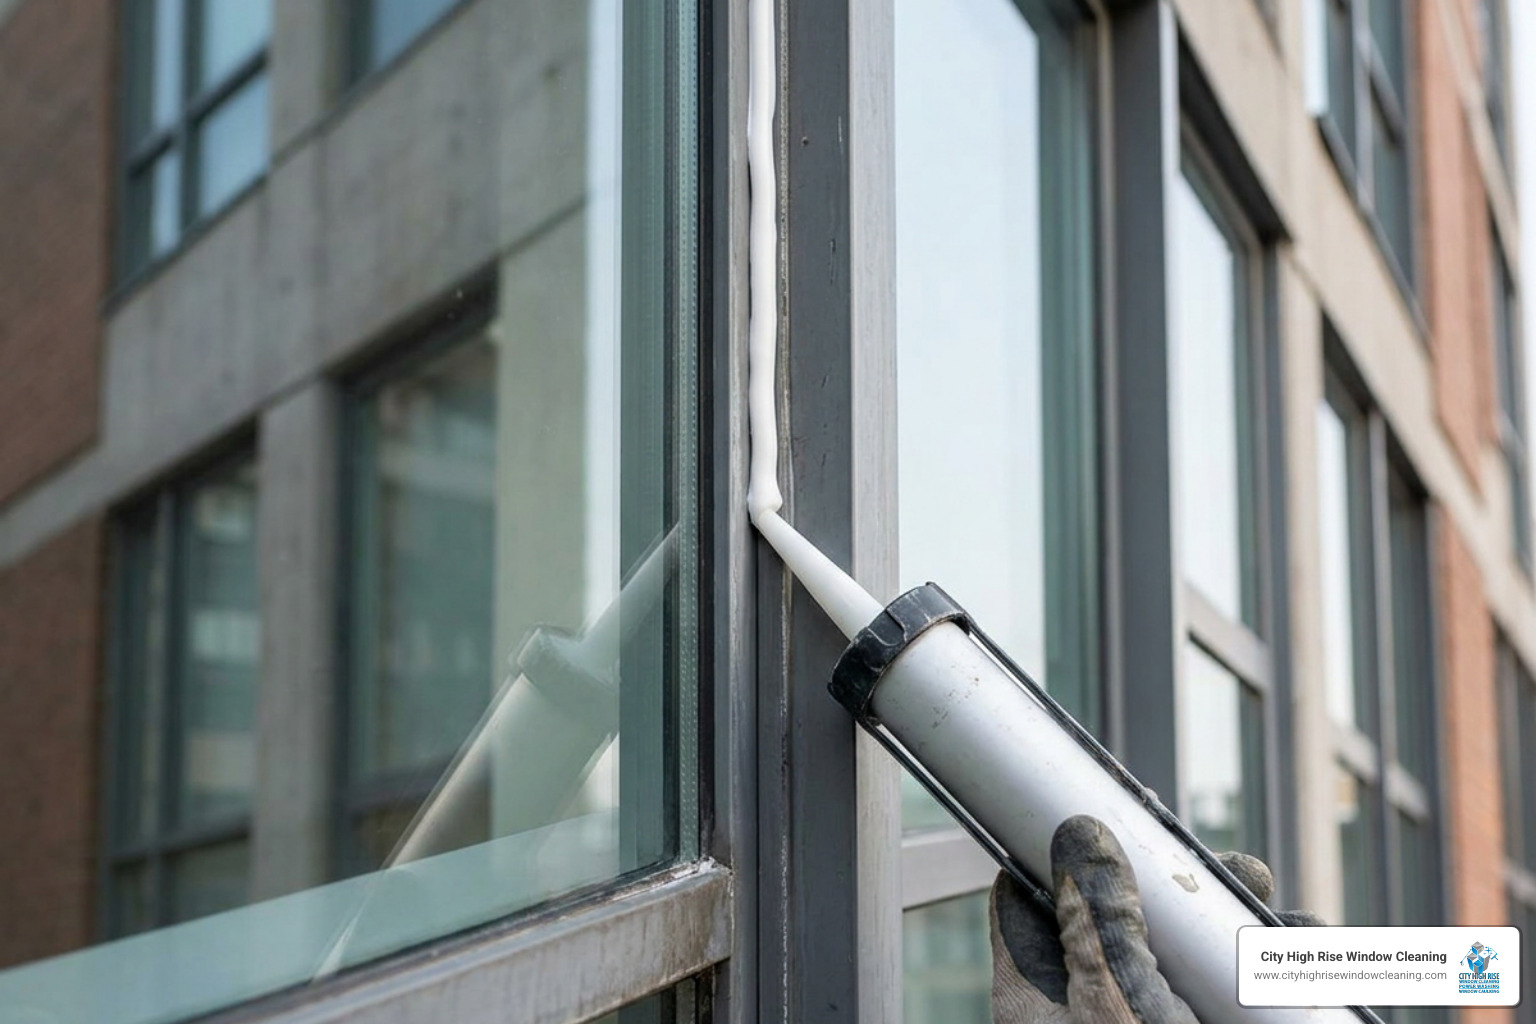
In everyday conversation, people use the terms “caulk” and “sealant” interchangeably. However, in the building restoration industry, we make a clear distinction between the two. Understanding this difference is the first step in finding the best calking for windows for your specific project.
The primary difference lies in flexibility, material composition, and paintability:
- Caulk is typically made from acrylic or latex materials. When dry, it becomes relatively stiff and rigid. Because it does not stretch or compress significantly, it is best suited for interior joints with minimal movement, such as baseboards, crown molding, and interior window trim. Its major advantage is that it is highly paintable once fully cured, allowing it to blend seamlessly into your interior decor.
- Sealants are formulated from materials like silicone, polyurethane, or hybrid polymers. They are designed to remain highly flexible, rubbery, and elastomeric even after curing. This allows them to stretch and compress to accommodate the natural expansion and contraction of building materials caused by temperature fluctuations. Because windows are constantly moving due to wind loads and seasonal temperature swings, flexible sealants are almost always the superior choice for exterior window perimeters.
To help you visualize how these materials stack up, here is a detailed breakdown of their core properties based on industry testing and standards, such as those detailed in the Types of Caulks and Sealants for Your Projects – The Home Depot guide:
| Feature | Acrylic Latex Caulk | Silicone / Polyurethane Sealant |
|---|---|---|
| Flexibility | Low to Moderate (Rigid when dry) | High (Elastomeric, up to 50% movement) |
| Paintability | Highly Paintable | Generally Non-Paintable (unless hybrid/polyurethane) |
| Water Resistance | Moderate (Water-based cleanup) | Excellent (Waterproof, impervious to rain) |
| UV Resistance | Poor to Moderate (Can crack over time) | Outstanding (Does not degrade in direct sunlight) |
| Best Application | Interior trim, dry joints, baseboards | Exterior frames, masonry seams, best caulk for sealing window glass |
When you are sealing a window, you must match the product to the joint’s expected movement. If you use a rigid acrylic caulk on an exterior aluminum frame in New Jersey, the freeze-thaw cycle of winter will snap that bond in a single season. Conversely, using a pure silicone sealant on your interior drywall-to-frame joint will leave you with an unpaintable bead that ruins your paint job.
Comparing the Top Sealant Types for Exterior and Interior Use
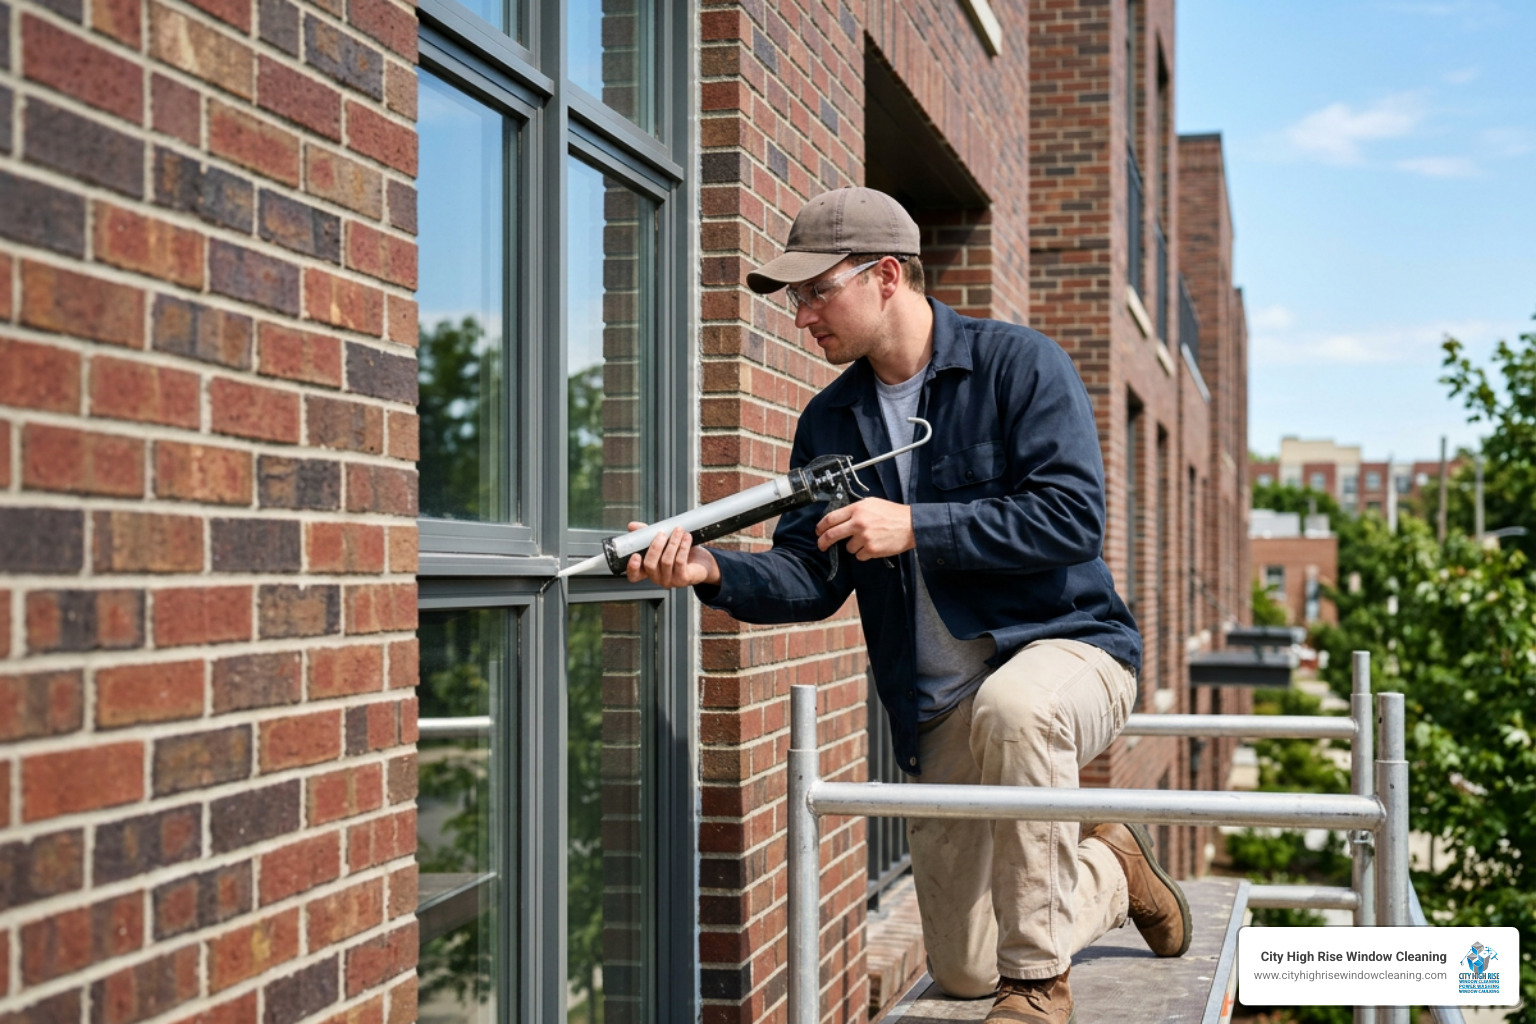
Choosing the best calking for windows requires looking closely at the chemical formulations available on the market today. Each material has unique strengths and weaknesses that dictate whether it should be used on the outside of a high-rise in Manhattan or the inside of a suburban home in Long Island.
When evaluating these options, we must look at how they handle UV exposure, moisture, and joint movement. For a deeper dive into selecting the right formulation for tricky installations, check out our guide on The Ultimate Guide to the Best Calk for Windows and Doors.
Here is how the six main types of window caulk compare:
- Silicone Sealant: This is the industry standard for exterior waterproofing. It offers unmatched UV resistance, remains flexible in temperatures ranging from sub-zero to blistering summer heat, and is completely waterproof. However, pure silicone cannot be painted.
- Polyurethane Sealant: Highly durable and offering incredible adhesion, polyurethane is a favorite for exterior masonry-to-window joints. Unlike silicone, it is paintable. However, it can be difficult to tool and has a long cure time.
- Butyl Rubber Caulk: Known as one of the most durable sealants on the market, butyl rubber excels in extreme climates and is highly resistant to water. It is a stringy, sticky material best reserved for lap joints, gutters, and outdoor metal-to-metal seals.
- Acrylic Latex Caulk: This is the classic “painter’s caulk.” It is incredibly easy to apply, tools smoothly with a wet finger, cleans up with water, and is ready for paint in minutes. Its downside is a lack of flexibility, making it unsuitable for exterior use.
- Siliconized Latex Caulk: An upgraded version of acrylic latex, this formulation adds a small amount of silicone to improve flexibility and moisture resistance. It bridges the gap between ease of use and durability, making it excellent for interior window sills and light exterior work.
- Hybrid Sealants: These advanced products combine the best features of silicone and polyurethane. They offer the paintability and toughness of polyurethane paired with the weathering resistance and flexibility of silicone. While more expensive, they are widely considered the premium choice for modern building envelopes.
For a comprehensive overview of how these materials perform across different window frame types, you can review the Best Caulk for Exterior Windows and Doors: 6 Top Choices analysis, which highlights how material properties dictate real-world performance.
Silicone and Polyurethane: The Best Calking for Windows Outside
When it comes to protecting the exterior of a building from the elements, silicone and polyurethane are the undisputed heavyweight champions.
Silicone Sealant is highly favored because of its rapid dry time and lifetime durability. It often skins over and dries to the touch within 30 minutes, though it still requires a full 24 hours to cure completely. Premium products like Supreme Silicone Caulk 10.1 oz Window and Door Sealant Black or Supreme Silicone Caulk 2.8 oz Window and Door Sealant Clear provide up to 50% joint movement capability and lifetime mold-free protection. If you are working with brown frames or metal finishes, Advanced Silicone 2 Caulk 10.1 oz. Window and Door Sealant Brown is an excellent choice that won’t blemish delicate metal finishes.
For those who want the performance of silicone but still need to paint over the cured bead, specialized paintable formulas like 317805663 offer a smart compromise. To understand how to utilize silicone effectively on exterior glass and frames, read our specialized guide on Silicone for Outdoor Windows and Outdoor Window Silicone.
Polyurethane Sealant, on the other hand, is renowned for its incredible adhesive strength. It acts as both a glue and a sealant, bonding tenaciously to brick, concrete, stucco, and wood. However, polyurethane requires 4 to 7 days to fully cure, and it can be highly toxic and messy to apply. It requires mineral spirits for cleanup and is stringy during application. Despite these challenges, its structural strength makes it a premier choice for high-exposure joints. To learn more about how to harness this material, check out Polyurethane Power: What’s the Best Caulk for Exterior Windows?.
For a direct comparison of how these two heavy-duty materials behave during installation, you can read Which caulk should I use? Siliconized Acrylic versues Polyurethane , which breaks down the toxicity, cleanup, and application differences.
Acrylic Latex and Hybrid Formulations: The Best Calking for Windows Inside
For interior window projects, you want a product that is low-odor, easy to clean up with water, and quick to paint. This is where acrylic latex and advanced hybrid formulations shine.
Standard acrylic latex is highly paintable but lacks the flexibility needed for joints that experience temperature shifts. By upgrading to a siliconized latex like GE Siliconized Multi-Purpose Acrylic Window & Door Caulk , you get the water cleanup of an acrylic paired with the enhanced durability of silicone. These products are often paint-ready in as little as 30 minutes with latex paint, making them perfect for fast-moving interior trim projects.
If you are dealing with challenging interior areas — like basement windows that are prone to moisture and drafts — you need a step up in performance. In these cases, a premium hybrid sealant like Best Caulk for Exterior Windows and Doors | GE Seal & Fill Multi-Purpose offers five times the adhesion of standard products while remaining paintable. For specific advice on sealing below-grade joints, take a look at Caulk Wars: Finding the Champion Sealant for Basement Windows and Caulk It Up: Sealing Gaps Around Your Basement Windows.
If you live in a rented property or anticipate replacing your windows soon, you might also want to look into temporary solutions. Read more about this in our guide to The Best Removable Caulk for Windows That Won’t Cling to Your Past.
Step-by-Step Guide to Applying Window Caulk Like a Pro
Applying caulk might look simple, but achieving an airtight, professional-looking seal requires careful preparation and the right technique. In our three decades of servicing buildings across New York and New Jersey, we’ve found that 90% of caulk failures are caused by poor surface preparation, not the product itself.
Here is my step-by-step professional method for applying window caulk, which you can also find detailed in A Pro’s Guide to Applying Calk Around Windows Correctly:
- Remove the Old Caulk: Never apply new caulk directly over old, failing caulk. Use a utility knife, putty knife, or commercial caulk removal tool to scrape out the old, hardened material completely. If you skip this step, the new bead will bond to a failing substrate and peel away within months. For a deeper look at this phase, read Don’t Crack Under Pressure: Replacing Your Old Window Caulk.
- Clean the Joint: Thoroughly clean the gap using rubbing alcohol or a specialized cleaner. This removes grease, dust, and soap residue, ensuring a strong chemical bond. Let the area dry completely before proceeding.
- Install a Backer Rod for Large Gaps: Exterior caulk is designed to seal joints, not fill deep voids. If you encounter a gap wider or deeper than 1/4 inch, insert a foam backer rod first. This maintains a proper 2:1 width-to-depth ratio, which is critical for allowing the sealant to stretch and compress correctly without tearing.
- Cut the Nozzle at a 45-Degree Angle: Cut only the very tip of the caulk tube nozzle at a 45-degree angle. This controls the flow and helps you lay down a neat, consistent bead.
- Use a High-Quality Caulking Gun: Invest in a professional-grade caulking gun with a thumb-release mechanism. This instantly stops the pressure on the tube when you let go of the trigger, preventing messy drips and runs.
- Run a Continuous Bead: Hold the gun at a 45-degree angle and pull it smoothly along the joint. Use both hands to steady the gun and maintain a consistent speed.
- Tool the Bead Immediately: Within 15 minutes of application (before the caulk begins to skin over), smooth the bead. For water-based caulks, dip your finger in water and run it lightly over the joint. For silicone, use a dry tooling tool or a gloved finger to eliminate air pockets and press the sealant firmly into the joint. If you are sealing horizontal surfaces, pay close attention to the sill. You can read more about this in our specialized article on Caulking a Window Sill.
If you are dealing with aluminum frames, they require specialized care to ensure the sealant adheres to the metal. Check out our guide, Don’t Get Drafted: 6 Top Caulk Choices for Aluminum Windows, for tailored advice.
Where You Should Never Apply Caulk on Windows
While sealing drafts is important, applying caulk to the wrong parts of a window can cause severe structural damage.
Never apply caulk to window weep holes. These small rectangular slots at the bottom of exterior vinyl or aluminum frames are designed to drain water that gets trapped inside the window tracks. If you seal these holes, water will back up into your walls, causing hidden wood rot, mold growth, and expensive structural damage.
Additionally, avoid applying caulk to any movable window parts, such as the sashes, tracks, or sliding joints. Doing so will lock the window shut, ruin the balance mechanisms, and potentially crack the glass when you try to open it.
Frequently Asked Questions About Window Caulking
How often should window caulking be inspected or replaced?
You should expect the caulking around your window frames to last about five years, depending on its exposure to harsh weather and direct sunlight. In coastal areas like Long Island or high-exposure high-rises in Manhattan, UV rays and wind loads can degrade sealant faster. I recommend performing an annual visual inspection every autumn. Look for visible cracks, gaps, peeling paint, or signs that the caulk has become hard and brittle.
Can you apply new caulk directly over old caulk?
No, you should never apply new caulk over old caulk. The new bead will not adhere properly to the weathered, dirty surface of the old caulk, leading to rapid adhesion failure. Always scrape out the old material, clean the substrate with rubbing alcohol, and apply a fresh bead to a clean, dry surface.
What are the signs that my window seals have failed?
Failed window seals present several clear warning signs:
- Condensation or fogging between the double or triple glass panes that cannot be wiped away.
- Visible drafts or a noticeable chill when standing near a closed window.
- Water stains or peeling paint on the drywall or trim surrounding the window frame.
- Rising energy bills that indicate your HVAC system is working harder to combat air leaks.
If you suspect your double-pane window glass seals have failed completely, you may need more than just a fresh bead of caulk. Read our guide on Window Seal Replacement to understand your options.
Conclusion
Finding the best calking for windows and applying it correctly is one of the most cost-effective ways to protect your building, lower your energy bills, and keep your indoor spaces comfortable. Whether you choose a high-performance silicone for exterior weatherproofing or a user-friendly siliconized latex for interior trim, matching the right product to the job is key to a long-lasting seal.
However, caulking windows at heights — especially on high-rise commercial buildings or multi-story homes — requires specialized safety equipment, rigging, and professional expertise. At City High Rise Window Cleaning, we bring over 30 years of experience, a 100% customer satisfaction guarantee, and an uncompromising commitment to safety to every project we touch across New York City, Long Island, New Jersey, and Westchester.
Ready for a free quote? City High Rise Window Cleaning offers 24/7 live consultation. Call 917-749-8342 to speak to a live representative.


