

The Ultimate Guide to Window Restoration
Window Restoration: #1 Ultimate Guide
Window Restoration NYC [2025]: Save 50–90% with 2–3 Week Turnaround—Get Pro Results, Stop Overpaying
: Save Thousands Without Sacrificing Your Building’s Historic Charm
Window restoration is the process of repairing existing windows to restore their function, appearance, and energy efficiency. For property owners in New York, Long Island, Westchester, and New Jersey, it’s a smart alternative to costly replacement, offering significant cost savings while preserving historic character.
Many property owners mistakenly believe that old, drafty, or painted-shut windows must be replaced. The truth is, historic wood windows were built to last indefinitely. Unlike modern windows with insulated glass that fails in 10–20 years, original windows use durable old-growth wood, putty, and glass that can last for centuries with proper maintenance.
I’m Brett Hochman, CEO of City High Rise Window Cleaning. With over 48 years in the exterior building maintenance industry, my team and I have restored thousands of windows across the NYC metro area, keeping them safe, functional, and beautiful.
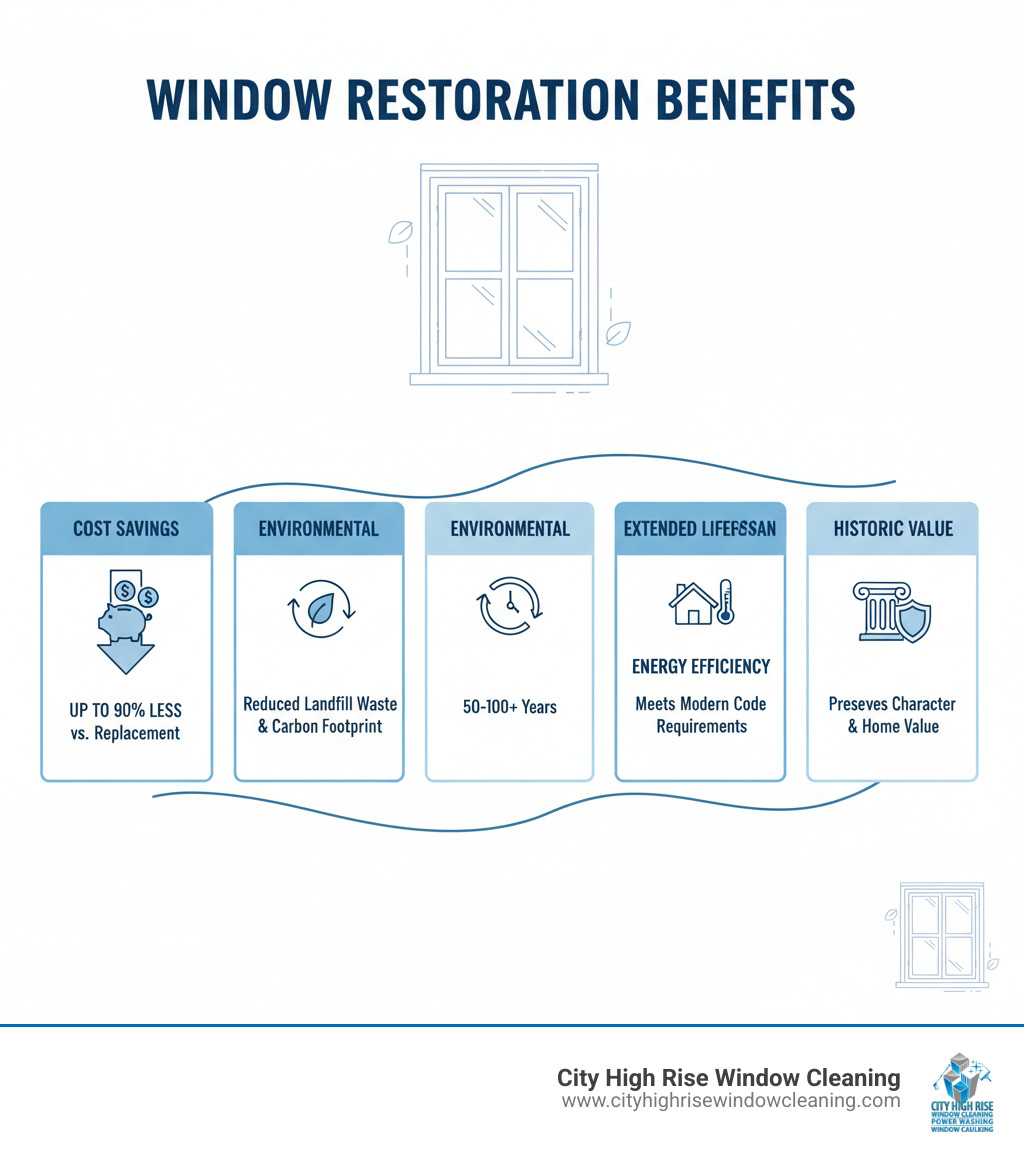
When faced with failing windows, restoration is the most intelligent and sustainable solution. Here are the primary benefits:
- Significant Cost Savings: Professional restoration can range from $1,000 to $2,000 per window, while DIY materials can be under $50. This is a fraction of the cost of full replacement, which can run into tens of thousands of dollars.
- Preservation of Historic Value: Original windows are essential to a building’s architectural style. Restoring them maintains the authentic charm that makes your property unique, especially for historic homes in Westchester or landmark buildings in NYC.
- Environmental Responsibility: Restoration is a green choice. It keeps old-growth wood and glass out of landfills, reducing waste and your carbon footprint. The production and disposal of modern PVC/vinyl windows carry a much larger environmental impact.
- Superior Durability: The old-growth wood in historic windows is incredibly dense and naturally resistant to rot. Restoration ensures these windows will perform for another 50 to 100 years or more.
- Improved Energy Efficiency: A common myth is that old windows are energy hogs. With modern weatherstripping and the addition of storm windows, restored historic windows can meet or even exceed modern energy code requirements.
Here’s a quick comparison:
| Feature | Window Restoration | Window Replacement |
|---|---|---|
| Cost | Lower, especially DIY (under $50 materials) or professional ($1,000–$2,000 per window) | Higher (tens of thousands of dollars for a full home) |
| Lifespan | 50–100+ years (tapping into original durability) | 10–20 years for double-paned glass (seals fail), 20–30 years for entire unit |
| Environmental | Eco-friendly, reduces landfill waste, lower carbon footprint | Higher environmental impact (manufacturing, disposal) |
| Home Value | Preserves historic character, adds authenticity | Can devalue historic homes, generic appearance |
| Durability | Uses durable old-growth wood, simple construction is easily repairable | Relies on complex seals and components that fail over time |
How Window Restoration Improves Energy Efficiency
A properly restored window is not drafty. We improve energy efficiency by addressing air infiltration and enhancing insulation through:
- Weatherstripping and Caulking: High-quality weatherstripping and professional window caulking services around the frame and sashes can reduce drafts by nearly 90%.
- Glazing and Storm Windows: Replacing old, cracked glazing putty creates an airtight seal. Adding a well-fitting storm window creates an insulating air pocket, effectively turning a single-pane window into a high-performance double-pane system. A study by the Window Preservation Standards Collaborative showed that this combination can easily exceed modern energy code requirements.
The Environmental Case for Restoration
Choosing window restoration is a powerful statement about sustainability. It reduces landfill waste from discarded windows, lowers the carbon footprint associated with manufacturing new PVC/vinyl units, and preserves valuable natural resources like the old-growth wood found in historic sashes.
Gearing Up: What You Need for a Successful Window Restoration
Understanding the tools, materials, and safety measures for window restoration is key, whether you plan to DIY or hire a professional. Knowing what’s involved helps you appreciate the craftsmanship and make informed decisions.
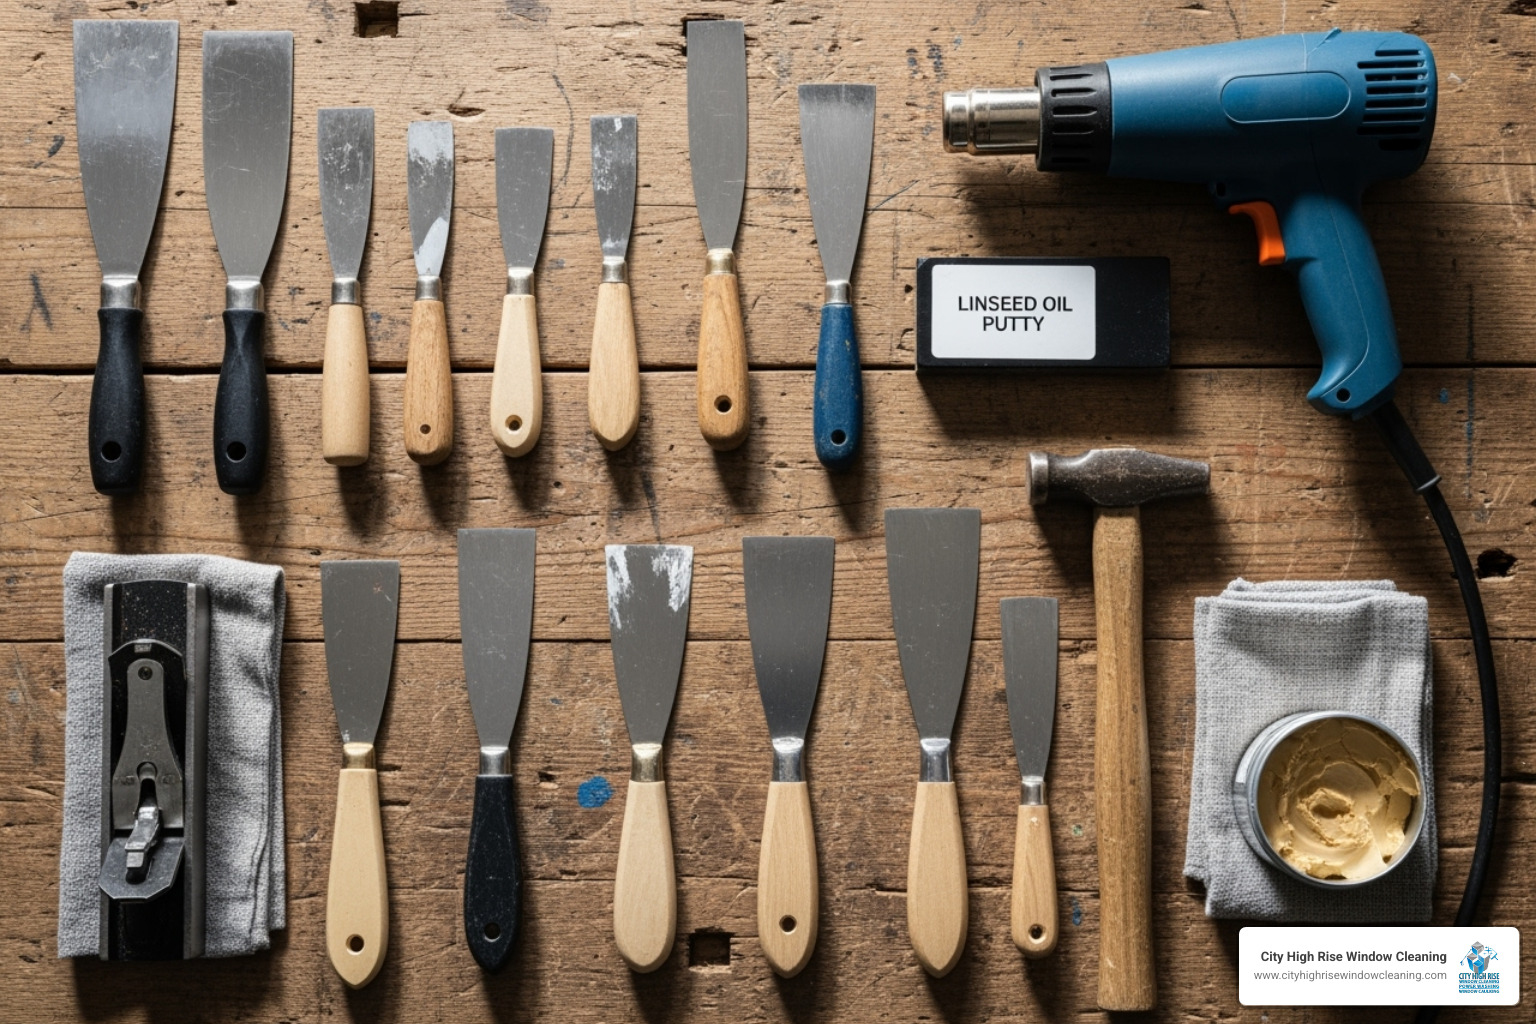
Tools & Materials for Window Restoration
What are the essential tools and materials needed for DIY window restoration?
A proper restoration requires a mix of basic and specialized equipment.
- Basic Tools:
- Utility knife, pry bar, hammer, chisels
- Stiff putty knife or painter’s tool
- Screwdrivers, nail sets, screw gun
- Specialized Tools:
- Sash saw (for painted-shut windows)
- Glazing point driver
- Low-heat infrared paint remover (safer for lead paint)
- Steam box (for softening old putty)
- HEPA vacuum (essential for lead-safe cleanup)
- Materials:
- Glazing putty (Sarco Type M or Austin’s)
- Two-part epoxy for wood repair (Abatron LiquidWood & WoodEpox)
- High-quality oil-based primer and exterior-grade paint
- Cotton sash cord (Samson Spot Cord)
- Weatherstripping (spring bronze and bulb seal)
- Glazing points, whiting (calcium carbonate), and cleaning supplies
(Note: For best results and safety, City High Rise Window Cleaning uses professional-grade equipment and materials to handle any window restoration challenge across New York, Long Island, Westchester, and New Jersey.)
Safety First: Lead Paint and Historic Windows
If your building was constructed before 1978, you must assume lead paint is present. Disturbing it without proper precautions is a serious health hazard.
What safety precautions, especially regarding lead paint, must be taken during window restoration?
For professionals, the EPA’s Renovation, Repair, and Painting (RRP) program mandates specific safety protocols. Homeowners should follow these guidelines to protect their families.
- Personal Protective Equipment (PPE): This is non-negotiable. Always wear a P100 or N100 respirator (a dust mask is not enough), goggles, disposable coveralls, and gloves.
- Containment: Use 6-mil plastic sheeting to cover the work area and contain all debris. Seal off the area from the rest of the building using a zip wall system and cover HVAC vents.
- Low-Dust Techniques: Never dry-sand or use a high-heat gun, which can vaporize lead. Instead, use wet-scraping techniques, low-heat infrared paint removers, steam heat, or chemical strippers.
- Cleanup and Disposal: Use a HEPA vacuum to clean the entire work area, followed by a wet wipe with a TSP solution. Dispose of all contaminated materials—plastic, paint chips, PPE—according to local regulations in New York and New Jersey.
If managing lead paint seems overwhelming, especially in a high-rise building, it’s time to call certified professionals. Your health is not worth the risk.
Ready for a free quote? City High Rise Window Cleaning offers 24/7 live consultation. Call 917-749-8342 to speak to a live representative.
The Professional Window Restoration Process: Step-by-Step
Here is the meticulous, step-by-step process of bringing an old window back to life through professional window restoration.
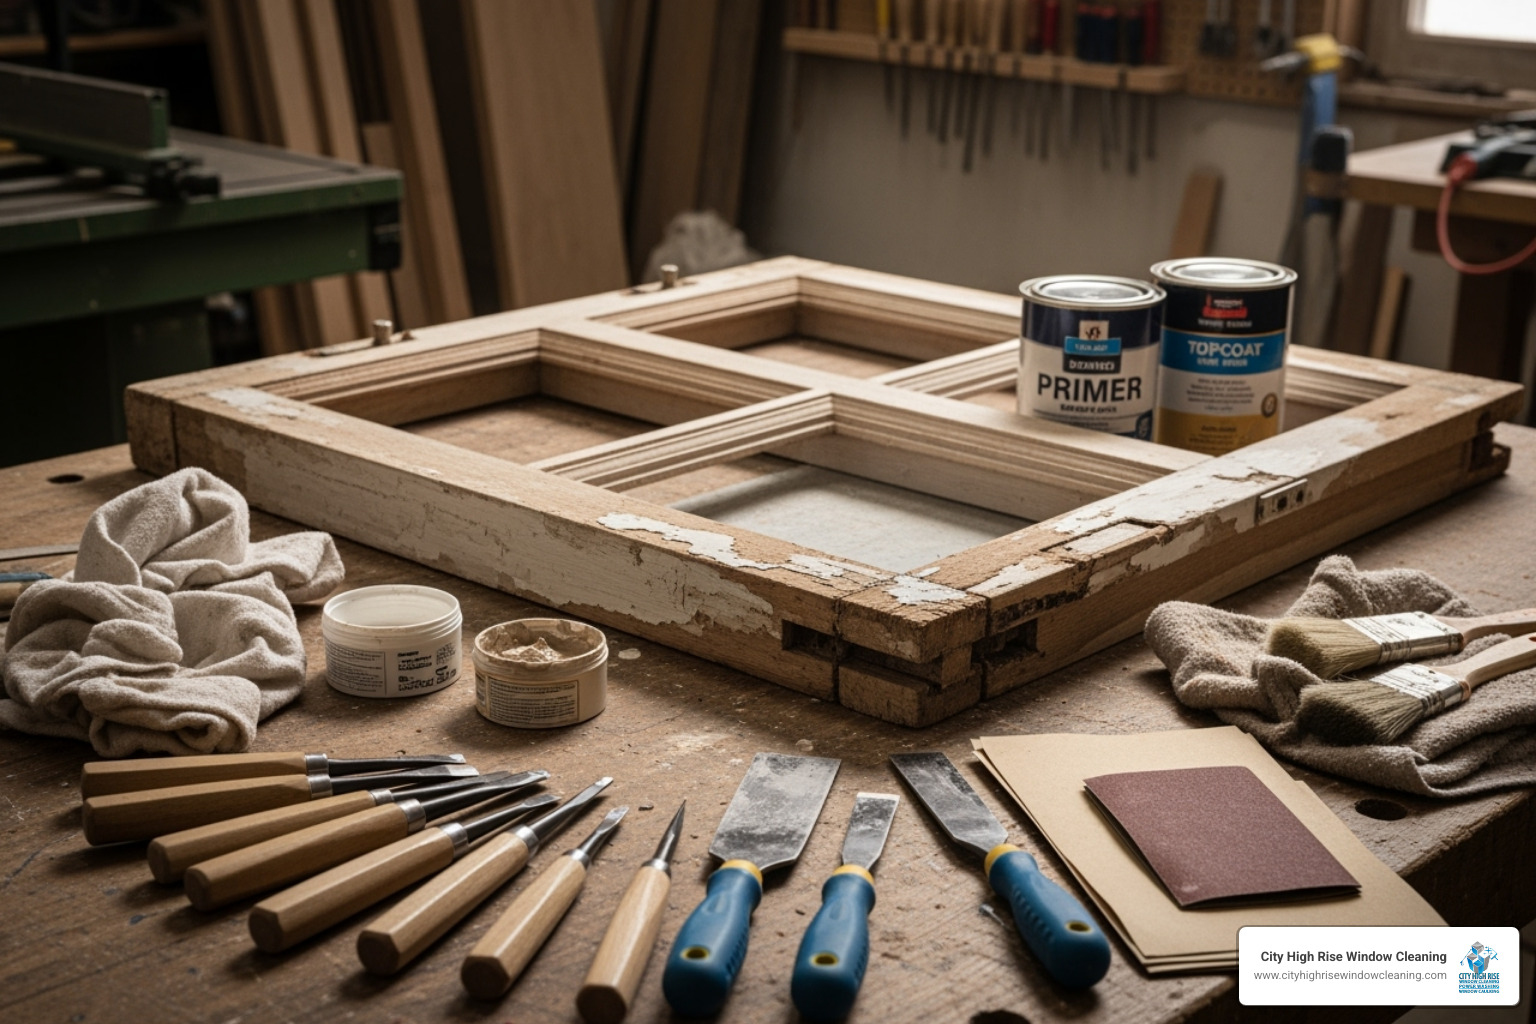
Step 1: Careful Disassembly and Prep
What is the step-by-step process for removing window sashes from the frame?
- Score Paint Seals: Use a utility knife or sash saw to cut paint seals around both sashes to prevent wood from splintering.
- Remove Interior Stops: Gently pry off the interior stops that hold the bottom sash in place. Number them for easy reinstallation.
- Remove Bottom Sash: Lift the bottom sash out. Disconnect the sash cord from the mortise on the side of the sash.
- Remove Parting Bead: Carefully pry out the thin parting bead that separates the sashes. Work slowly to avoid breaking it.
- Remove Top Sash: With the parting bead gone, lower the top sash and disconnect its cords.
- Label Everything: Clearly label all sashes, stops, and hardware to ensure everything goes back in its original place for a perfect fit.
- Remove Old Hardware: Take off all lifts, locks, and other hardware for restoration.
Step 2: Safe Paint and Glazing Removal
What is the correct technique for removing old glazing and glass from a sash?
To soften old, hardened glazing putty, a steam box is highly effective. After about an hour, the putty can be easily scraped away. Remove all old glazing points before carefully lifting the glass out. Label each pane, as they are often irregular.
How should old paint be safely and effectively removed from window sashes?
Always use low-heat methods to avoid creating hazardous lead fumes:
- Low-Heat Infrared Removers: Tools like the Speedheater Cobra soften paint for easy removal with a carbide scraper, without damaging the wood or vaporizing lead.
- Steam Heat or Chemical Strippers: These are also effective low-dust alternatives for stripping paint down to the bare wood.
Step 3: Repairing Wood and Hardware
How can damaged or rotten wood in window sashes and frames be repaired?
Most damage to old-growth wood is repairable.
- Epoxy Systems: For rotten or damaged wood, a two-part epoxy system like Abatron’s LiquidWood (a consolidant) and WoodEpox (a filler) is ideal. The consolidant hardens decayed wood, and the filler rebuilds missing sections. It can be shaped, sanded, and painted just like real wood.
- Dutchman Repairs: For larger structural damage, a skilled carpenter can perform a “dutchman” repair by cutting out the damaged section and fitting in a new piece of matching wood.
- Sanding: After repairs cure, sand the entire sash smooth to prepare it for priming.
How can old window hardware be restored?
To remove layers of paint, boil the hardware in a crock pot to loosen the paint for easy brushing. Then, clean and polish with steel wool or a wire wheel to restore its original luster.
Step 4: Reglazing and Painting for Durability
What are the best practices for reglazing a window sash and reinstalling the glass?
- Prime the Sash: Apply an oil-based primer to the glazing rabbet (the groove where the glass sits) to seal the wood.
- Bed the Glass: Apply a thin, continuous bead of quality glazing putty (like Sarco Type M) into the rabbet.
- Install Glass: Press the clean, labeled glass pane into the bed of putty.
- Insert Glazing Points: Secure the glass with glazing points (diamond points are best) on each side.
- Apply Face Putty: Apply a final, beveled bead of putty over the points to shed water. Tool it smooth for a clean finish.
- Cure: Allow the putty to cure (skin over) for 5-14 days before painting. This is crucial to prevent the paint from cracking and peeling.
How can homeowners address issues like cracked panes or the desire for modern glass in historic windows?
Cracked panes should be replaced. You can source salvaged historic glass or use new single-pane glass. While it’s possible to install thin, modern insulated glass units (IGUs) into historic sashes, their seals will fail in 10-20 years, unlike a single pane which can last indefinitely.
What is the recommended painting process for restored window sashes, and what areas should be left unpainted?
After the putty cures, prime all exposed wood and putty with an oil-based primer, followed by two coats of exterior-grade enamel paint. For smooth, long-lasting operation, follow this 200-year-old rule: Do NOT paint the sides, top, or bottom edges of the sash. Leaving these friction surfaces bare allows the wood to breathe and prevents sticking.
Once all restoration is complete, consider our post construction cleaning services to make your space spotless.
Step 5: Reassembly and Weatherproofing
What is the correct order and method for reassembling a restored window?
- Restore the Jamb: Clean, repair, and paint the window jamb while the sashes are out. Ensure pulleys are working.
- Replace Sash Cords: Use high-quality cotton rope like Samson Spot Cord. Attach it to the weight, feed it over the pulley, and secure it in the sash mortise.
- Install Sashes: Reinstall the top sash first, followed by the parting bead, and then the bottom sash.
- Install Stops and Hardware: Reinstall the interior stops and the restored hardware.
- Final Adjustments: Test the window for smooth operation. Both sashes should open, close, and stay in place easily.
Frequently Asked Questions about Window Restoration
Can restored windows be as energy-efficient as new ones?
Yes. With modern weatherstripping, expert caulking, and a tight storm window, restored historic windows can match or beat new units—without sacrificing character.
How much does professional window restoration cost in NYC?
Most projects run $1,000–$2,000 per window, depending on size and condition—typically far less than custom replacements.
How long does window restoration take?
Plan for 18–30 labor hours per window over multiple days to allow epoxies, putty, and paint to cure properly.
Is window restoration messy or disruptive?
Minimal. Pros use plastic containment, zip walls, HEPA vacuums, and low-dust methods to keep your property clean and safe.
Do you offer window restoration for high-rise buildings?
Yes. City High Rise Window Cleaning specializes in high-rise and hard-to-access window restoration across NYC, Long Island, Westchester, and New Jersey, using the right equipment and safety protocols.
When to Call the Pros: Why Choose City High Rise Window Cleaning?
While DIY window restoration is rewarding, many scenarios require the expertise of a professional.
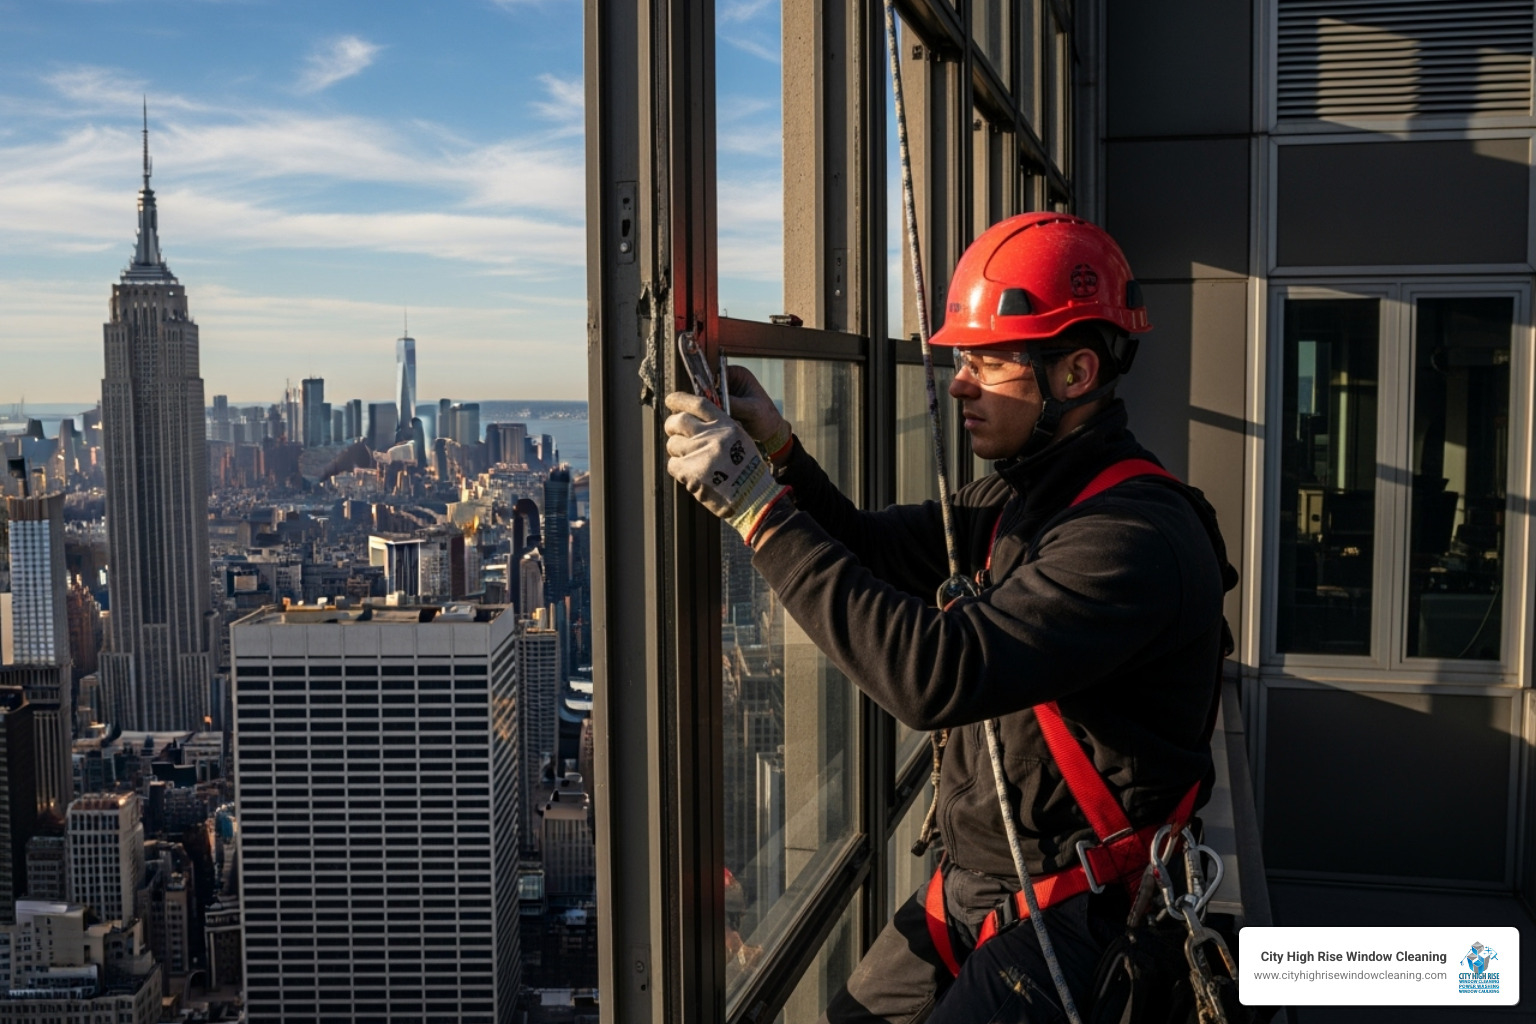
You should consider professional help when facing:
- Large-Scale Projects: Restoring all the windows in a building requires significant time and resources that are best handled by an experienced team.
- High-Rise or Hard-to-Reach Windows: This is our specialty. Working at height demands rigorous safety training and specialized equipment that only professionals possess. City High Rise excels in both commercial high rise window cleaning services and residential high rise window cleaning.
- Historic or Landmark Properties: These buildings require a nuanced understanding of historic materials and preservation guidelines to maintain their architectural integrity.
- Significant Lead Paint or Structural Damage: If you suspect extensive rot or are unequipped to manage lead paint abatement safely, a professional assessment and service is essential.
With over 48 years of experience in the NYC metro area, City High Rise Window Cleaning brings unparalleled expertise to every project. We guarantee 100% customer satisfaction, backed by a team committed to safety, efficiency, and professional excellence. We understand the unique challenges of properties in New York, Long Island, Westchester, and New Jersey, and we’re ready to tackle your window restoration needs. If you’re seeing signs that your windows need professional attention, check out our blog on 7 Signs Your NYC Windows Need Professional Restoration.
Ready for a free quote? City High Rise Window Cleaning offers 24/7 live consultation. Call 917-749-8342 to speak to a live representative.


