

Caulk It Up: Sealing Gaps Around Your Basement Windows
Caulk for basement windows: Your #1 Perfect Seal
Stop Basement Leaks & Drafts Fast: Best Caulk for Basement Windows in NY & NJ
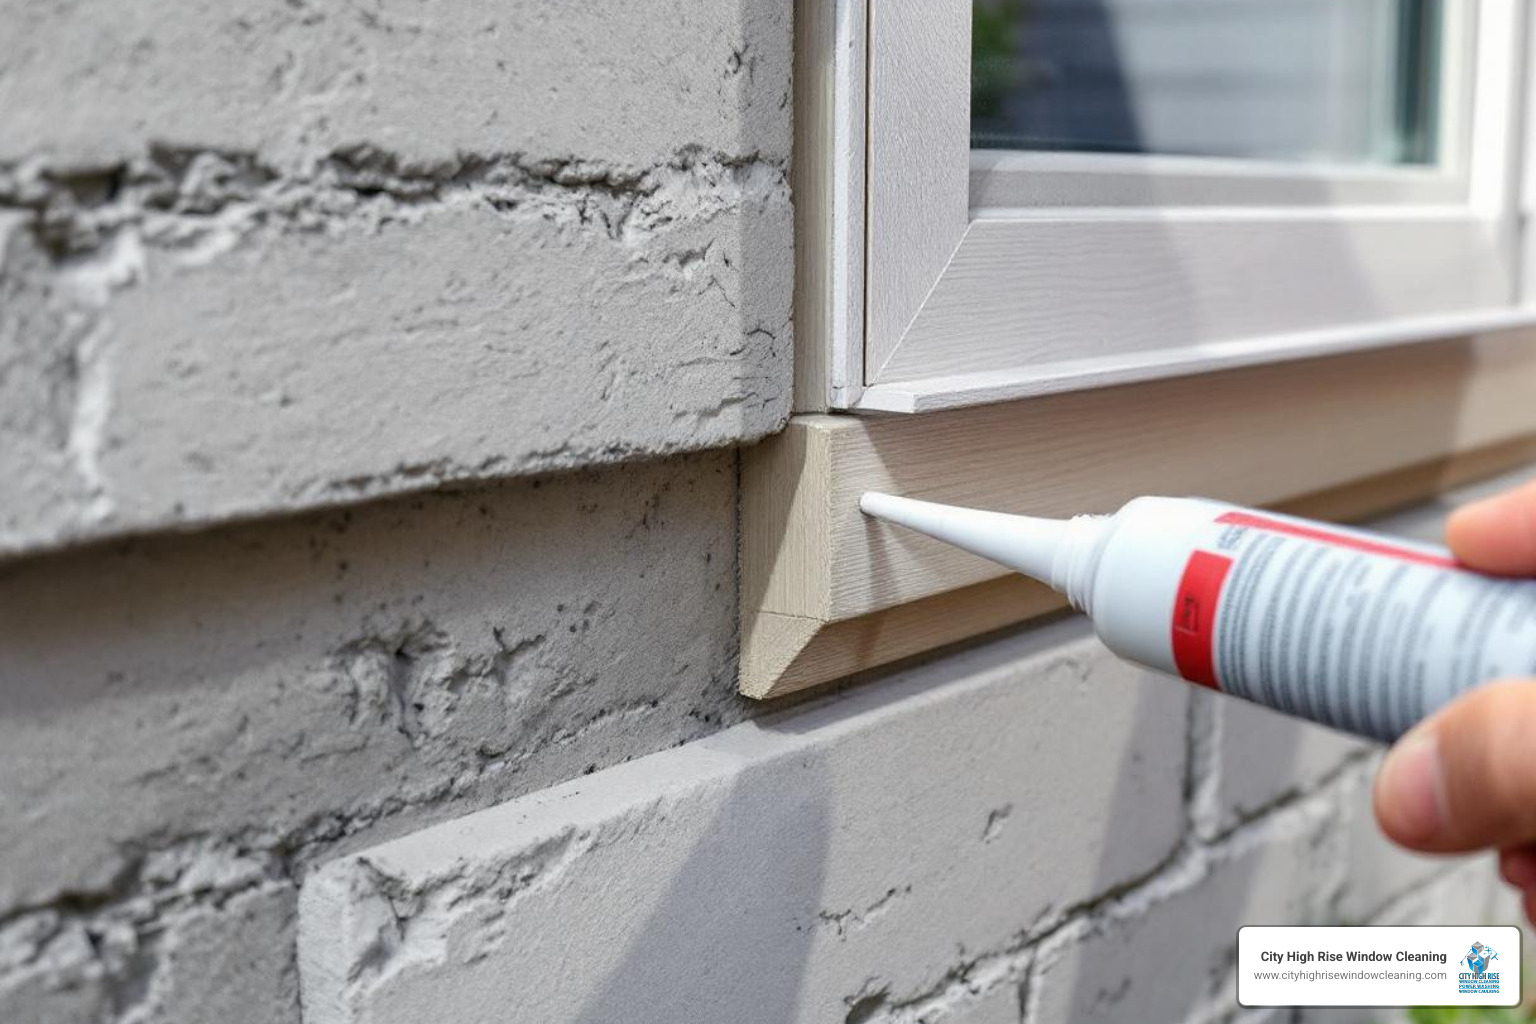
If you’ve noticed drafts, moisture, or even gnats sneaking into your basement, the problem is likely failed or missing caulk around your windows. Caulk for basement windows is your first and most important line of defense against water intrusion, energy loss, and pest entry. Even small gaps can allow moisture to creep in and create mold problems, while also wasting up to 20% of your home’s energy.
Quick Guide to Sealing Basement Windows:
- Exterior Caulk: Use 100% silicone or polyurethane for a waterproof, flexible, and UV-resistant seal.
- Interior Caulk: Choose a paintable, low-VOC acrylic latex caulk, preferably with mold resistance.
- For Masonry: Polyurethane or butyl rubber caulk provides the best adhesion to concrete and brick.
- Key Steps: Always remove old caulk completely, clean and dry the surface, apply a steady bead at a 45° angle, tool the bead for a smooth finish, and allow it to cure fully.
- Lifespan: A quality caulk job should last 5-10 years.

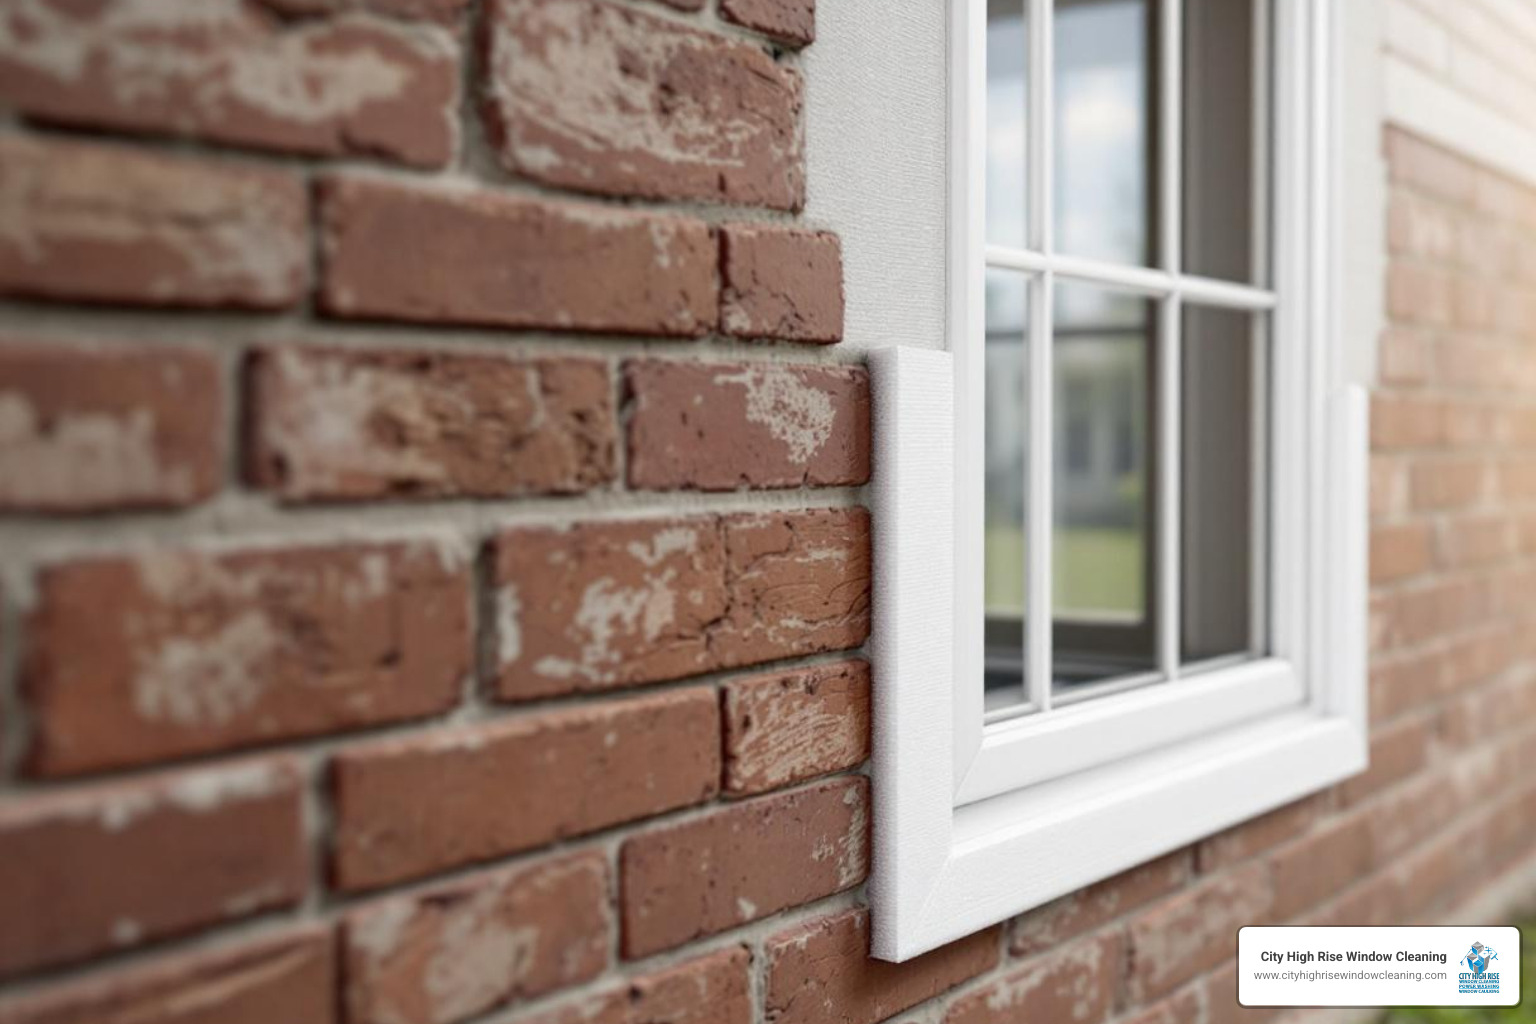
Properly sealing the seams around your windows, including caulking a window sill, is one of the simplest yet most effective ways to protect your property. In the New York and New Jersey metro areas, where weather conditions can be harsh, a durable seal prevents costly water damage to frames, walls, and your home’s foundation. This guide will walk you through choosing the right materials and applying them correctly to protect your investment. It also shows how basement caulking ties into larger exterior work like facade restoration and high rise window caulking.
Why and When to Re-Caulk Your Basement Windows
It’s easy to overlook basement windows until a problem arises. Paying attention to your caulk for basement windows can save you significant headaches and money. Here are the tell-tale signs that your caulk needs to be replaced:
- Visible Failure: Look for cracks, peeling, or shrinking in the caulk. If it appears dry, brittle, or has pulled away from the frame, its seal is compromised.
- Discoloration: Old caulk can yellow or darken from UV exposure and dirt, detracting from your home’s appearance.
- Gaps or Holes: If you can see daylight or small holes around the window, you have direct entry points for water, air, and pests.
- Drafts: Feel for a breeze near the window frame on a cold day. Air leaks can significantly increase your energy bills.
- Moisture or Condensation: While condensation between panes is a window seal issue, moisture around the frame often points to failed exterior caulk.
- Pest Entry: Gnats, spiders, and other insects often enter through tiny gaps around windows. A proper seal eliminates these entry points, preventing pests from getting inside.
- Water Damage: Any sign of dampness or water stains around your windows is a critical alert. Water can lead to mold, rot, and foundation issues, which are far more expensive to fix than a tube of caulk.
Lifespan of Caulk:
How long does caulk for basement windows last? Expect it to last about 5 years, though high-quality silicone or polyurethane can last up to 10 years with proper application.
Annual Inspection:
Make an annual inspection of your basement window caulk a routine part of your home maintenance. Catching these signs early allows you to address them before they become serious, costly problems.
Choosing the Best Caulk for Basement Windows
Selecting the right caulk for basement windows is crucial for a long-lasting seal, as basements present unique challenges like dampness and temperature swings.
Here’s a comparison of common caulk types:
| Caulk Type | Flexibility & Durability | Waterproofing | Paintability | Best Use Cases (Interior/Exterior) |
|---|---|---|---|---|
| 100% Silicone | Excellent (5x stretch, Class 50 Joint Movement), 10+ years | Superior | No | Exterior, high-moisture areas, metal, glass, vinyl |
| Polyurethane | Very good, 5-10 years | Excellent | Yes | Exterior, masonry (concrete, brick), wood, large gaps |
| Acrylic Latex | Good, 2-10 years | Good (some are waterproof) | Yes | Interior, general purpose, wood, drywall, often mold-resistant |
| Siliconized Latex | Good, 5-10 years | Very good | Yes | Interior/Exterior (less flexible than 100% silicone), good all-around |
| Butyl Rubber | Good, 10+ years | Excellent | Yes | Exterior, masonry, metal, very durable, for severe weather |
What Type of Caulk is Best for Basement Windows (Interior vs. Exterior)?
You’ll need different types of caulk for basement windows for interior and exterior applications.
Exterior Caulk: This is your primary defense against the harsh weather in New York, Long Island, New Jersey, and Westchester. It must be:
- Waterproof: Essential to prevent water intrusion.
- UV Resistant: Prevents cracking from sun exposure.
- Flexible: Accommodates the expansion and contraction of building materials.
- Strong Adhesion: Bonds well to concrete, brick, wood, and vinyl.
Interior Caulk: This seal primarily stops drafts and provides a finished look. It should be:
- Low-VOC: For better indoor air quality, choose low-VOC (Volatile Organic Compounds) options, as recommended by the U.S. Environmental Protection Agency.
- Paintable: To match your interior trim.
- Mold and Mildew Resistant: A smart choice for potentially damp basements.
Top Caulk Materials for Basements
- 100% Silicone: The top pick for exterior use. Products like GE Advanced Silicone 2 Window & Door Sealant are 100% waterproof and incredibly flexible. Its main drawback is that it isn’t paintable, so choose a matching color.
- Polyurethane: Another excellent exterior choice, especially for sealing windows to masonry (concrete, brick). It offers superior adhesion to porous materials and is paintable.
- Acrylic Latex (Siliconized): Ideal for interior use. It’s easy to work with, cleans up with water, and is paintable. Look for mold-resistant formulas. A high-quality siliconized acrylic like General Electric Advanced Siliconized Acrylic Latex Caulk can work for some exterior applications if paintability is required, but it’s less flexible than pure silicone or polyurethane.
- Butyl Rubber: An incredibly tough option for maximum durability in severe weather, particularly for sealing against concrete or brick.
Compatibility with Masonry: For basement windows, the seal against the foundation is critical. Polyurethane and butyl rubber caulks excel here due to their strong, flexible adhesion to porous materials.
Essential Tools and Surface Preparation for a Flawless Finish
The best caulk for basement windows will fail without the right tools and proper surface preparation. The prep work is half the battle for a professional, long-lasting result.
List of Essential Tools and Supplies
Gather these items before you begin:
- Dripless caulk gun: Releases pressure to prevent oozing and mess. A good example is the Dripless ETS2000 Caulk Gun.
- Utility knife or caulk tube cutter: For a clean cut on the nozzle.
- Caulk removal tool or putty knife: To scrape away old caulk.
- Wire brush: For cleaning masonry surfaces like concrete or brick.
- Shop vacuum: To remove all dust and debris.
- Cleaning rags and Isopropyl alcohol: For a final wipe-down to remove oils and ensure a clean surface.
- Painter’s tape: To create crisp, clean caulk lines.
- Caulk smoothing tool: For a consistent, professional finish. An example is the Hyde Caulk-Rite Application Tool.
- Foam backer rod: Crucial for gaps wider than ¼ inch. It prevents caulk from sagging and ensures a proper seal. Use a product like C.R. Laurence Closed Cell Backer Rod.
How to Prepare the Area for Caulking
This is the most important step for ensuring your new caulk lasts.
- Remove Old Caulk Completely: Never caulk over old, failing material. The new caulk won’t adhere. Scrape out every last bit of the old caulk.
- Clean the Surface: Use a wire brush on masonry, then vacuum all dust and loose particles. Wipe the area with isopropyl alcohol to remove any grease or oil. A clean surface can double the caulk’s lifespan.
- Ensure the Area is Dry: Caulk needs a dry surface to bond. Allow the area to dry completely, especially in a humid basement. Apply exterior caulk on a dry day with moderate temperatures (45°F to 85°F).
- Fill Large Gaps: For gaps wider than ¼ inch, push a foam backer rod into the gap before caulking. This provides a stable surface for the caulk and ensures a durable, flexible seal.
How to Apply Caulk Like a Pro: A Step-by-Step Guide
With the area prepped, you’re ready to apply the caulk for basement windows. The right technique will create a durable, professional-looking seal.
Step 1: Cut the Nozzle and Load the Gun
- Cut the tip: Cut the caulk tube’s nozzle at a 45-degree angle. Start with a small opening to match the size of the gap.
- Pierce the seal: Use the poker on your caulk gun or a long wire to puncture the tube’s inner foil seal.
- Load the gun: Insert the cartridge into the caulk gun and engage the plunger.
Step 2: Apply a Steady, Continuous Bead
- Hold at a 45-degree angle: Angle the tip into the seam to push caulk deep into the crack.
- Apply steady pressure: Squeeze the trigger consistently and move at a constant speed.
- Move smoothly: Draw the gun along the seam in one continuous motion to prevent gaps. For tips on sealing exterior trim, see this guide on sealing windows.
- Seal the bottom: Don’t forget the bottom of the window frame, but be careful not to caulk over any weep holes (small drainage holes).
Step 3: Smooth (Tool) the Bead
Tooling the caulk bead ensures a tight seal and a clean finish. Do this immediately, before the caulk starts to form a skin.
- Use a smoothing tool: For a professional finish, use a dedicated caulk application tool or a wet finger (for latex caulk).
- Press firmly: Press the caulk into the gap to create a smooth, slightly concave surface. This shape allows the caulk to stretch and compress, increasing its lifespan.
Step 4: Clean Up and Cure
- Remove painter’s tape: If you used tape, pull it off slowly before the caulk skins over for a crisp line.
- Clean up excess: Use a damp rag for water-based caulk or mineral spirits for silicone/polyurethane. Clean up messes immediately.
- Allow to cure: Check the label for cure times. While some caulks are water-ready in 30 minutes, most require 24 hours to cure fully. Avoid touching or exposing the caulk to water during this time.
Common Mistakes and When to Call a Professional
Applying caulk for basement windows can be tricky. Knowing what to avoid and when to call a pro can save you from future repairs.
Common Mistakes When Using Caulk for Basement Windows
- Applying New Caulk Over Old: This is the most common error. New caulk will not bond to old, failing caulk and will quickly peel away. Always remove the old material first.
- Using the Wrong Type of Caulk: Using interior-grade caulk outside will lead to rapid failure from UV and moisture exposure. Ensure you use the right product for the location (interior vs. exterior).
- Improper Surface Cleaning: Dirt, dust, or grease will prevent the caulk from adhering properly. A clean, dry surface is essential for a lasting bond.
- Applying Too Much or Too Little: A bead that’s too thick looks messy, while one that’s too thin won’t create a durable seal. Use a backer rod for gaps wider than ¼ inch.
- Forgetting to Tool the Bead: Simply applying caulk isn’t enough. Tooling pushes the caulk into the joint, ensures adhesion, and creates the flexible concave shape needed for durability.
When to Hire a Professional for Your Project
While caulking can be a DIY project, some situations are best left to experts. Consider hiring a professional if you’re facing:
- Significant Water Intrusion: If you have persistent leaks or suspect foundation issues, caulk alone is not the solution. A professional can diagnose the root cause.
- Damaged Window Frames: Rotted or cracked frames must be repaired or replaced before caulking can be effective.
- Lack of Time or Confidence: If you’re short on time or prefer a guaranteed result, hiring a pro is a smart investment.
- A Guaranteed Professional Finish: For a flawless, long-lasting seal in the New York, Long Island, Westchester, or New Jersey areas, a professional service is your best bet. Our team has the specialized tools and expertise to handle any window sealing challenge. Learn more about our professional Window Caulking Services.
Frequently Asked Questions about Basement Window Caulking
What is the best type of caulk for basement windows?
For the exterior, use a 100% silicone or polyurethane caulk for superior waterproofing and flexibility, especially against masonry. For the interior, a paintable, mold-resistant acrylic latex caulk is ideal for a clean finish.
How often should you re-caulk basement windows?
You should inspect caulk annually. Plan to replace it every 5 to 10 years, or as soon as you see any cracking, peeling, or gaps to prevent water and pest damage.
Should I caulk the inside or outside of my basement windows?
You should caulk both. The exterior seal is your primary barrier against water and pests, while the interior seal stops drafts and provides a finished look.
Can I just caulk over the old caulk?
No. New caulk will not stick to old, failing caulk. The old material must be completely removed and the surface cleaned for the new seal to bond properly and last.
Do I still need a pro if I only see a small leak around my basement window?
Even a small leak can signal a larger exterior problem, especially in New York, Long Island, Westchester, and New Jersey buildings exposed to driving rain and freeze-thaw cycles. If caulking doesn’t stop the issue, have a professional evaluate nearby joints, sills, and adjacent facade; services like window restoration or targeted post construction cleaning may be needed to fully resolve water intrusion.
Secure Your Basement with a Perfect Seal
A properly sealed basement window is crucial for protecting your home from water damage, pests, and high energy bills. By choosing the right materials and following the correct steps, you can achieve a durable seal. For large-scale projects or a guaranteed professional result in the Tri-State area, consider our expert New Jersey Window Caulking Company services.
Ready for a free quote? City High Rise Window Cleaning offers 24/7 live consultation. Call 917-749-8342 to speak to a live representative.


