

Stick With Us: The Best Door and Window Caulking Options
Stick With Us: The Best Door and Window Caulking Options
Door and Window Caulking: Stop Drafts, Leaks, and Wasted Energy [NYC & NJ 2026]
Door and window caulking is one of the simplest, most cost-effective ways to protect a building from air leaks, moisture damage, and rising energy bills. According to the U.S. Department of Energy, sealing air leaks with caulk can cut energy costs by 10% to 20% – and for a high-rise property in New York, Long Island, Westchester, or New Jersey, that adds up fast.
Here are the best door and window caulking options at a glance:
| Caulk Type | Best For | Paintable | Lifespan |
|---|---|---|---|
| 100% Silicone | Exterior, high-moisture areas | No | 20+ years |
| Siliconized Acrylic | Interior trim, paintable surfaces | Yes | 10-15 years |
| Polyurethane | Structural gaps, heavy-duty exterior | Yes | 10-20 years |
| Acrylic Latex | Interior, light-duty use | Yes | 2-10 years |
The short answer: For exterior windows and doors – especially on commercial or high-rise buildings – a 100% silicone or siliconized acrylic caulk gives you the best combination of waterproofing, flexibility, and durability. For interior trim you plan to paint, a siliconized acrylic or latex formula is the smarter pick.
A thin line of sealant does a lot of heavy lifting. When it fails – cracking, shrinking, or pulling away from the frame – outside air, water, and even pests find their way in. In cities like New York, where summers bake building facades and winters freeze them solid, that failure cycle happens faster than most property owners expect.
I’m Brett Hochman, CEO of City High Rise Window Cleaning, and I’ve been working in exterior building maintenance – including high-rise window caulking and facade restoration – since 1977, giving me nearly five decades of hands-on experience with door and window caulking across NYC, Long Island, Westchester, and New Jersey. In this guide, I’ll walk you through exactly which products hold up, which ones fail, and how to get it right the first time.
This guide to door and window caulking will help you choose the right sealant, avoid common installation mistakes, and protect your property from drafts, leaks, and expensive repairs.
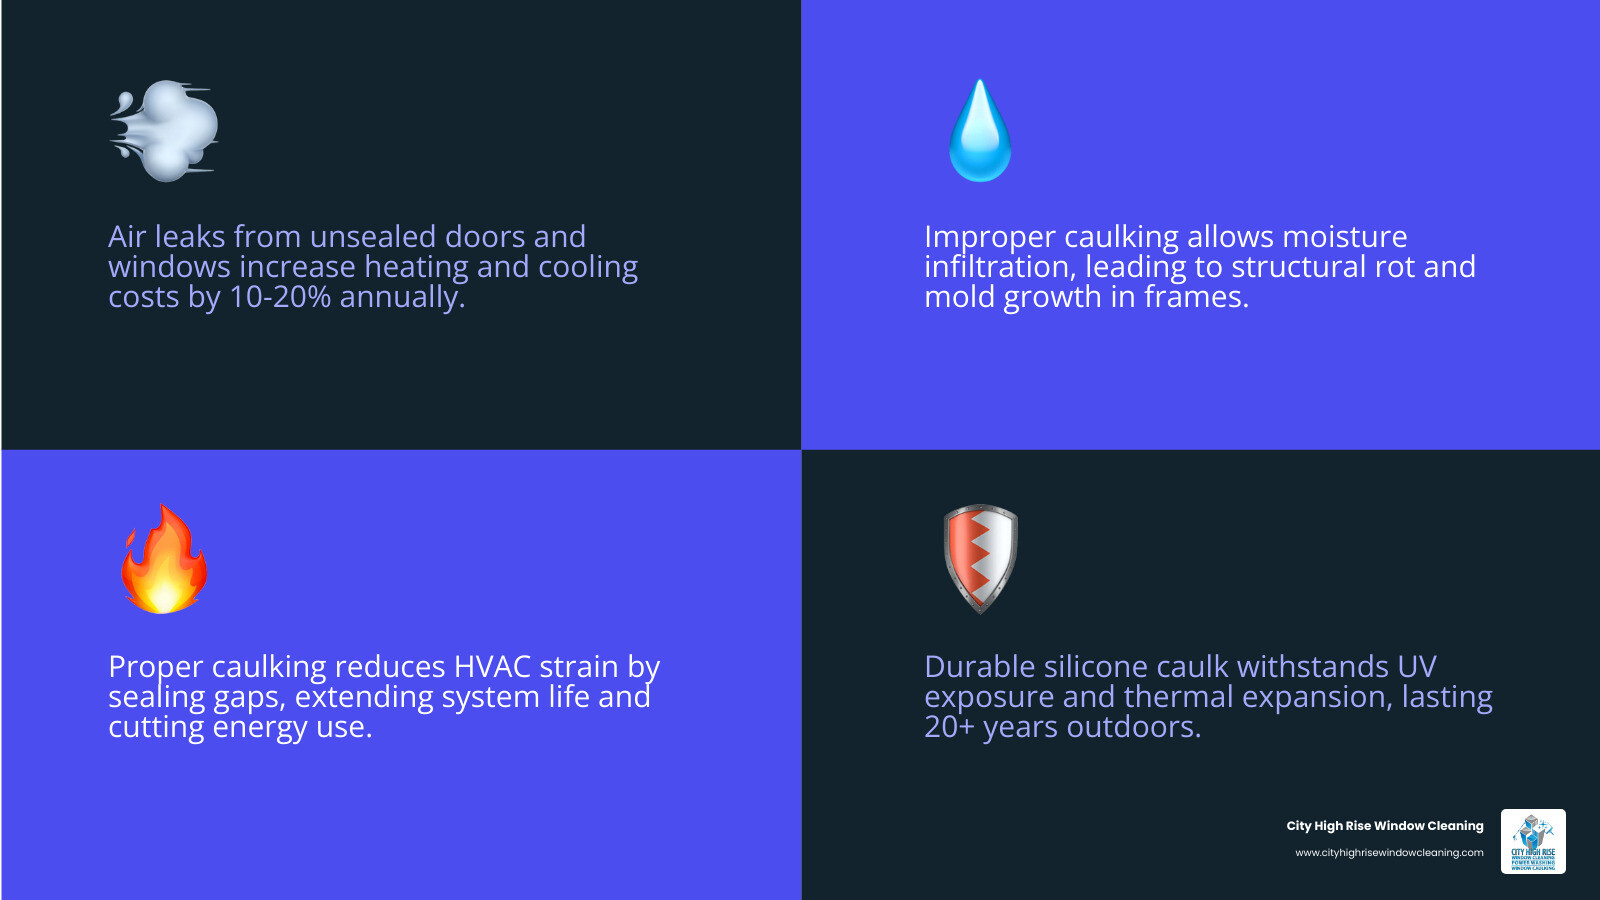
Key terms for door and window caulking:
Choosing the Best Type of Door and Window Caulking
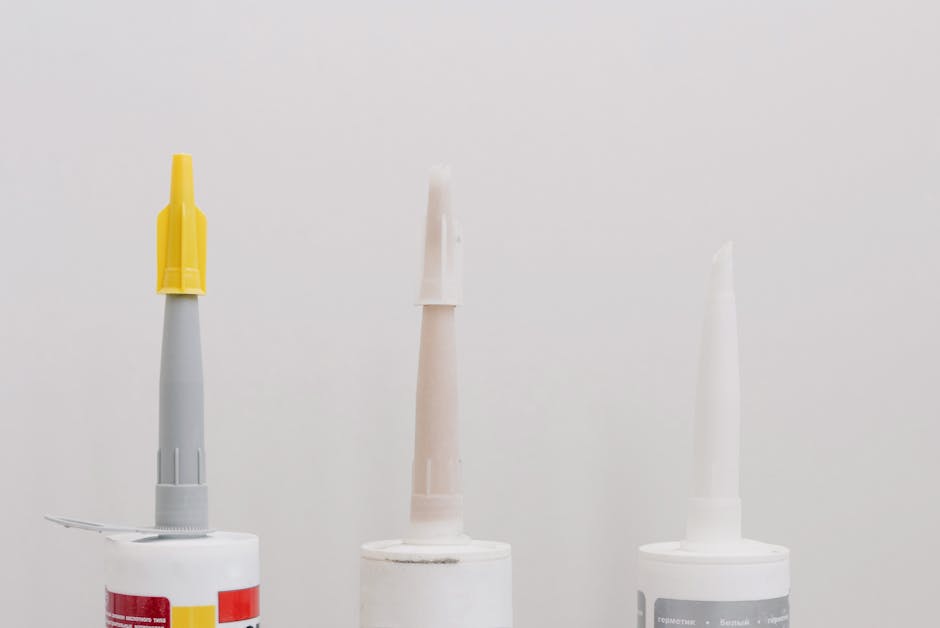
Selecting the right door and window caulking isn’t just about grabbing the cheapest tube at the hardware store. In the tri-state area, our buildings face brutal thermal expansion. Materials like aluminum, vinyl, and wood expand and contract at different rates as the temperature swings from 10°F in January to 95°F in July. If your caulk can’t stretch, it will snap.
When I evaluate a sealant, I look at three things: adhesion (how well it sticks), flexibility (how much it stretches), and lifespan. For a deeper dive into energy-saving strategies, the Department of Energy offers a great Do-It-Yourself Savings Project: Using Caulk to Seal Air Leaks that highlights how critical this maintenance is.
Why Silicone is the Best Caulk for Windows and Doors
If you want a “set it and forget it” solution for the exterior, 100% silicone is the gold standard. Products like GE Advanced Silicone 2 or GE Supreme Silicone are popular because they are permanently flexible and 100% waterproof. Unlike latex, silicone doesn’t shrink or crack when the sun beats down on it.
I often recommend silicone for outdoor windows because it offers superior UV protection. In my experience, outdoor window silicone is the only material that can truly withstand the salt air of Long Island and the wind-driven rain of a Manhattan high-rise. It can stretch up to three times its original width, making it perfect for joints that move.
When to Use Paintable Acrylic or Latex Door and Window Caulking
Silicone is great, but you can’t paint it. If you’re sealing interior trim or an exterior frame that needs a specific color match, you’ll want a siliconized acrylic or “painter’s caulk.” These are water-based, meaning they offer easy soap-and-water cleanup.
Siliconized acrylic formulas, such as DAP DYNAFLEX ULTRA, combine the paintability of latex with a bit of the flexibility found in silicone. This is often the best caulk for sealing window glass when aesthetics are the priority. Just keep in mind that these usually have a shorter lifespan than pure silicone—typically 5 to 10 years compared to the 20+ years you get with high-end sealants.
Professional Preparation and Application Steps

The biggest mistake I see DIYers and even some “pros” make is caulking over old, failing beads. It’s a recipe for disaster. New caulk won’t bond properly to old, dirty, or oily surfaces. To get a professional-grade seal, you must start with a clean slate.
According to experts at Loctite, the surface must be dry and free of dust, grease, and old residue. I always suggest wiping the area down with isopropyl alcohol or a specialized caulk remover after scraping. This ensures the chemical bond is as strong as possible.
Step-by-Step Application Guide
If you’re tackling this yourself, follow this workflow to ensure your door and window caulking looks like it was done by a specialist:
- Remove the Old Stuff: Use a putty knife or specialized scraper. If it’s stubborn, a heat gun or caulk softener can help.
- Clean Thoroughly: Vacuum out the debris and wipe the joint with a damp rag or alcohol.
- Prep the Tube: Cut the nozzle at a 45-degree angle. Start small; you can always cut more, but you can’t put the plastic back.
- Apply the Bead: Hold the gun at a 45-degree angle and pull it steadily along the seam. Aim for a continuous motion to avoid “blobs.”
- Tool the Joint: This is where the magic happens. Use a tool or a wet finger to smooth the bead into the gap.
For a more exhaustive look at this process, check out our Window Caulking Complete Guide.
Mastering the Tooling Process
Tooling isn’t just about looks; it’s about function. By pressing the caulk into the joint, you’re ensuring it actually adheres to both sides of the gap. I recommend smoothing in small, 6-inch sections. If you’re using water-based caulk, a wet finger works wonders. For silicone, many pros use a bit of mineral spirits or rubbing alcohol on a gloved finger to prevent the sealant from sticking to everything but the window.
Essential Tools and Materials for Success
You don’t need a massive toolbox for door and window caulking, but the quality of your tools matters. A cheap, $5 ratchet-style caulk gun will lead to hand fatigue and “oozing.” I always use a smooth-rod, dripless caulking gun. These have a thumb release that stops the flow of caulk instantly, preventing a mess on your siding or carpet.
Other essentials include:
- Utility Knife: For cutting the nozzle and removing old caulk.
- Painter’s Tape: If you aren’t confident in your “freehand” skills, tape off both sides of the joint for a crisp, clean line.
- Backer Rods: These are unsung heroes for deep gaps.
For specific advice on sealing tricky areas like the basement, see our article on sealing gaps around basement windows.
Managing Large Gaps and Deep Joints
Caulk is designed for gaps 1/4-inch wide or smaller. If you try to fill a 1/2-inch gap with pure caulk, it will likely sag, crack, or fail prematurely. This is where foam backer rods come in. You stuff the foam into the deep joint first, then apply the caulk over it. This provides “three-point adhesion” and saves you a fortune on wasted sealant.
In high-rise joint sealing, backer rods are mandatory for expansion joints that experience significant structural movement.
Avoiding Common Mistakes and Maintenance Tips
One of the most common errors is caulking in the wrong weather. Most manufacturers recommend applying sealant when temperatures are between 40°F and 90°F. If it’s too cold, the caulk won’t flow; if it’s too hot, it might skin over before you can smooth it.
Another “don’t” is ignoring your weep holes. These are the small gaps at the bottom of window frames designed to let moisture escape. If you caulk these shut, you’re essentially trapping water inside your walls, which leads to rot and mold. For more on what to look for when things go wrong, read our guide on replacing old window caulk.
Long-Term Maintenance in NYC and NJ Climates
In New York City and New Jersey, our buildings take a beating. I recommend an annual inspection every fall. Look for “the credit card test”—if you can slide a credit card into a gap in the caulk, it’s time for a refresh.
Small cracks might seem minor, but they act as straws for moisture. Over a decade, that “small” leak can rot out a window header, leading to a repair bill in the thousands. Working with a New Jersey window caulking company can help you stay ahead of these issues with professional-grade inspections.
Frequently Asked Questions about Door and Window Caulking
How long does window and door caulk take to dry?
Most door and window caulking is “tack-free” within 30 to 60 minutes, meaning dust won’t stick to it. However, a full cure usually takes 24 hours. Some advanced silicone products are “rain-ready” in as little as 3 hours, which is a lifesaver when an afternoon storm rolls through Westchester or Long Island.
Can window and door caulk be used in kitchens or bathrooms?
Yes! In fact, many “Window & Door” silicones are almost identical to “Kitchen & Bath” versions. The main difference is that kitchen/bath formulas often contain more mildewcide. If you have a tube of high-quality exterior silicone left over, it’s perfectly fine to use for a backsplash or countertop joint.
How do I choose the right color and size of caulk?
Standard cartridges are 10.1 oz, which typically covers about two average-sized windows. For colors, white is the standard for trim, but clear is a safer bet if you’re sealing between two different colored materials (like brown brick and white vinyl). Clear caulk often goes on white but dries transparent—don’t panic when you first squeeze the trigger!
Conclusion
At City High Rise Window Cleaning, we’ve seen the damage that poor door and window caulking can do to a property. Whether you’re managing a luxury high-rise in Manhattan, a residential tower in Long Island, a commercial property in Westchester, or a storefront in New Jersey, maintaining your building’s envelope is one of the smartest investments you can make. With decades of experience in high-rise window caulking, commercial high rise window cleaning, residential high rise window cleaning, and window restoration, we know how to protect your building from the elements.
If your property needs broader exterior maintenance, we also help with post construction cleaning and exterior high rise painting services. For more expert guidance, you can also review our related article on Window Caulking Complete Guide.
Don’t wait for a puddle on the floor or a spike in your heating bill to take action. Proper sealing today saves you thousands tomorrow.
Ready for a free quote? City High Rise Window Cleaning offers 24/7 live consultation. Contact us today to speak to a live representative.
FAQ: People Also Ask
Q: Should I caulk the inside or outside of my windows?
A: Both. Exterior caulking helps block water and pests, while interior caulking helps stop drafts and improve energy efficiency.
Q: How often should I replace door and window caulking?
A: Most buildings in New York, Long Island, Westchester, and New Jersey should be inspected every year and recaulked every 5 to 10 years, depending on weather exposure and the type of sealant used.
Q: What is the best caulk for exterior windows and doors?
A: In most cases, 100% silicone is the best choice because it stays flexible, resists water, and holds up well outdoors.
Q: Can I caulk over old caulk?
A: No. Old caulk should be removed first so the new sealant can bond properly and last longer.
Q: How much money can door and window caulking save?
A: Proper air sealing can reduce energy loss and may cut heating and cooling costs by 10% to 20%, depending on the building.


