

A Pro’s Guide to Applying Calk Around Windows Correctly
A Pro’s Guide to Applying Calk Around Windows Correctly
Stop Losing Money Through Your Windows: What Every Property Owner Must Know
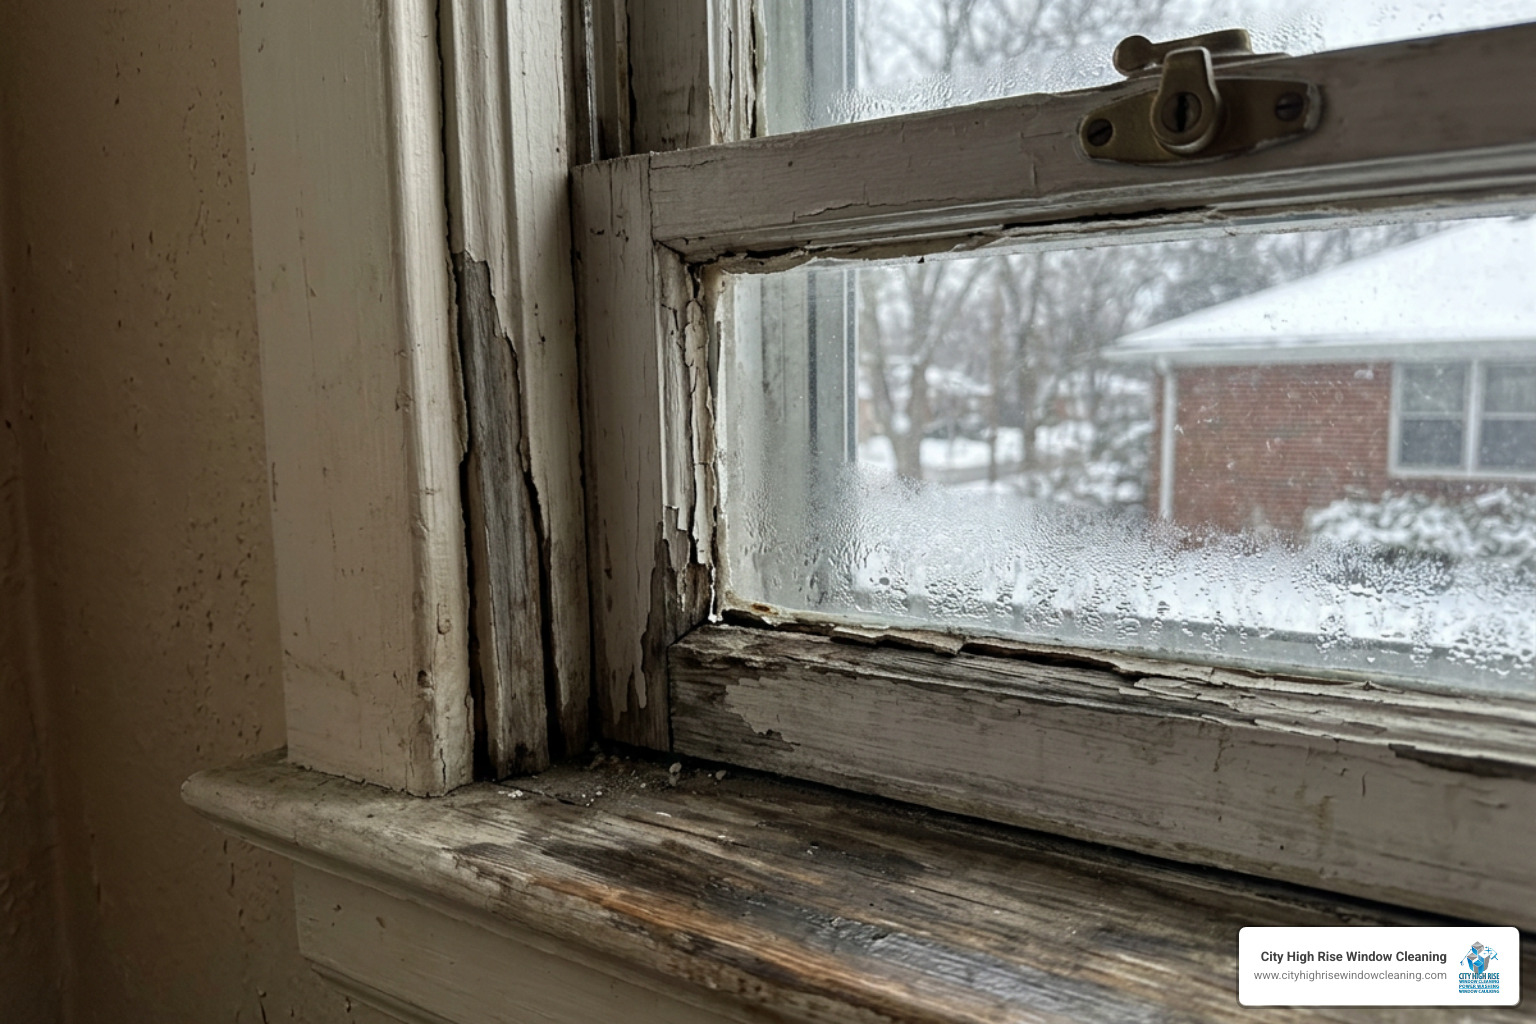
Calking around windows is one of the simplest, most cost-effective maintenance tasks a property owner can do — yet it’s one of the most overlooked. A thin line of failed sealant can quietly drive up energy bills, invite water damage, and set the stage for costly structural repairs.
Quick Answer: How to Calk Around Windows
- Inspect existing caulk for cracks, gaps, or missing sections
- Remove all old caulk completely with a utility knife or removal tool
- Clean the joint with rubbing alcohol and let it dry fully
- Apply a continuous bead of exterior-grade caulk at a 45-degree angle
- Smooth immediately with a wet finger and remove painter’s tape before the caulk skins over
- Avoid weep holes, moving parts, and bottom sills without proper drainage gaps
According to the U.S. Department of Energy, sealing air leaks through caulking can reduce heating and cooling costs by 10% to 20%. For a high-rise building in New York or New Jersey — where winters are brutal and energy costs are high — that adds up fast.
The problem is that most people don’t notice failing caulk until the damage is already done. As one homeowner put it: “I’d feel that faint draft near the windows and assume it was just the house settling.” By the time interior staining appears, the rot has often already started inside the wall.
I’m Brett Hochman, CEO of City High Rise Window Cleaning, and I’ve been working on exterior building maintenance — including high rise window caulking — across NYC, Long Island, New Jersey, and Westchester since 1977. Over nearly five decades, I’ve seen how a small gap in the calk around windows leads to water infiltration, mold, and five-figure repair bills that were entirely preventable. In this guide, I’ll walk you through exactly how to do this job right.

Relevant articles related to calk around windows:
Why You Must Calk Around Windows: Energy Savings and Damage Prevention
Living in the tri-state area means our properties are subjected to extreme weather swings. From freezing New York winters with heavy snow to humid New Jersey summers, your building’s exterior expands and contracts constantly. When the sealant around your window frames dries out, shrinks, or cracks, it leaves your property vulnerable to two major enemies: air infiltration and water intrusion.
The True Cost of Air Leaks
When there is a gap in the calk around windows, your heating and air conditioning escape directly outside. At the same time, drafts are pulled into your living spaces. If you’ve noticed your energy bills creeping up without explanation, or if you feel a sudden chill when walking past a closed window in January, your sealant is likely failing.
According to industry data, a typical home requires about four cartridges of caulk for the foundation sill and about a half-cartridge per window or door. Neglecting these small gaps is the equivalent of leaving a small window wide open all year round. Sealing these air leaks is one of the most cost-effective ways to improve home energy efficiency and stabilize indoor air quality.
Preventing Structural Water Damage
While high energy bills are painful, water damage is far worse. A crack as small as 1/8 inch is wide enough to admit driving rain. By the time a gap reaches 1/4 inch, capillary action actively pulls water deep into the wall assembly even without heavy wind.
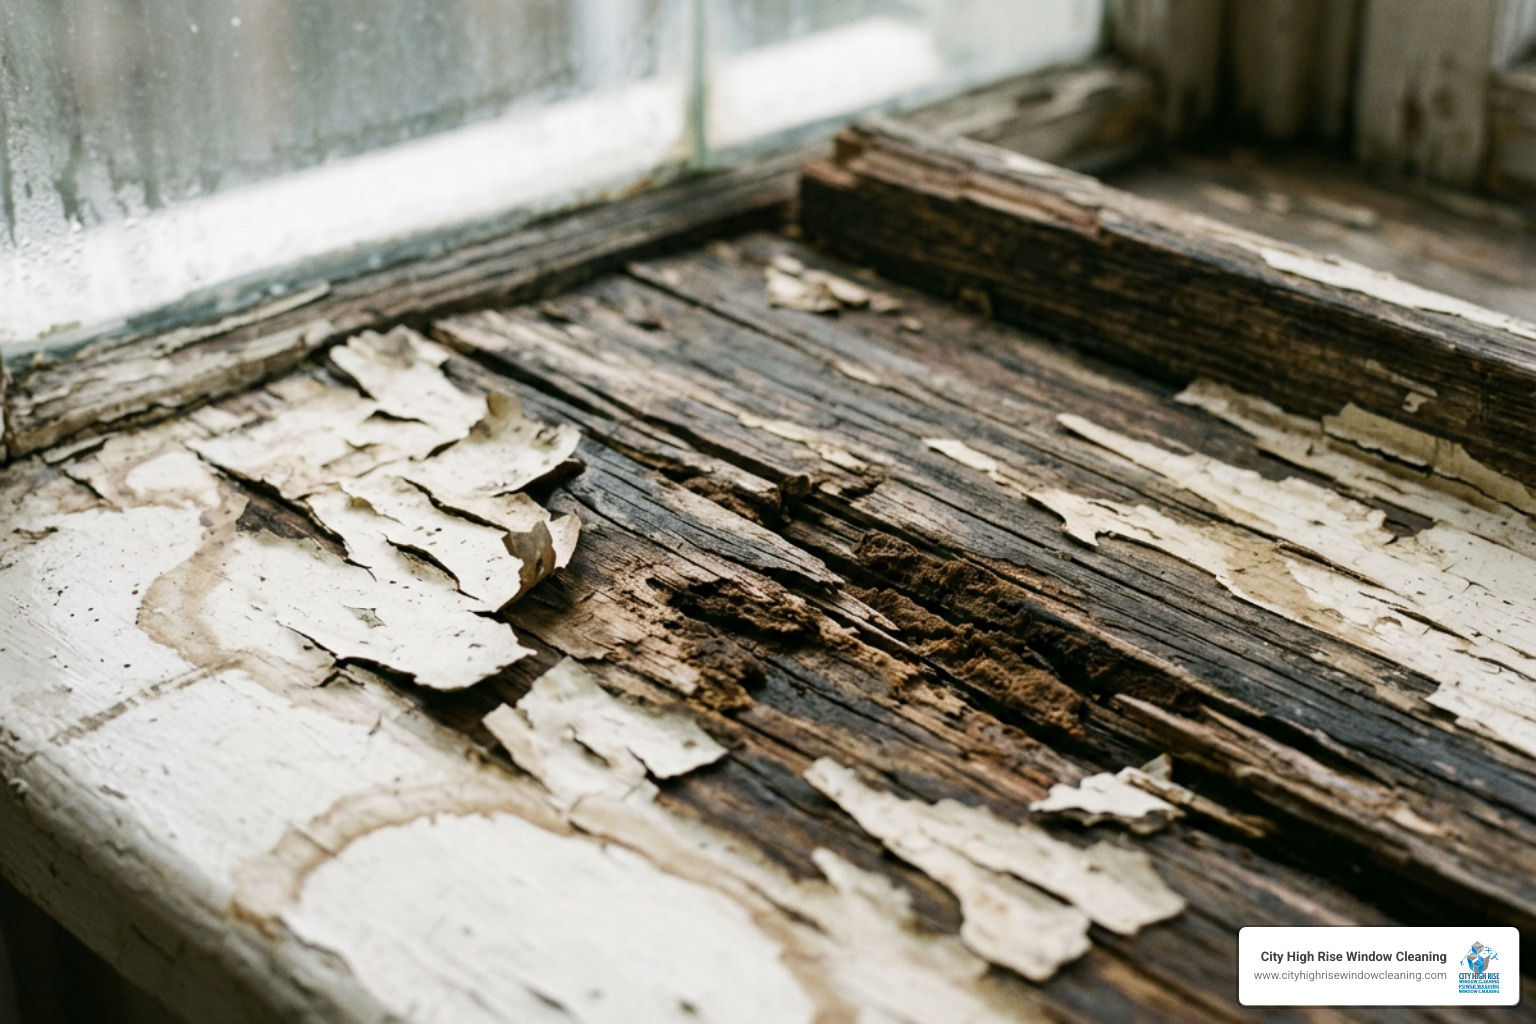
When water gets past the window frame, it pools on the wooden studs, sheathing, and drywall. Because these areas are dark and lack airflow, they become breeding grounds for black mold and wood rot. Replacing rotted window framing in the NYC metro area can easily escalate into a five-figure structural repair. By taking a few hours to apply fresh caulk, you stop water infiltration before it can compromise your building envelope. For a deeper look at identifying and solving these draft issues, check out Your windows are leaking air — here’s the fix.
Selecting the Right Sealant for the Job
Using the wrong type of sealant is one of the most common mistakes I see property owners make. If you apply a basic interior caulk to an exterior window on Long Island, the salty air, intense sun, and freezing temperatures will destroy it in a single season. You must select a sealant formulated specifically for the material of your window frames (wood, vinyl, aluminum, or steel) and the location of the joint.
| Sealant Type | Primary Use | Pros | Cons | Lifespan |
|---|---|---|---|---|
| 100% Silicone | Exterior glass, vinyl, and metal joints | Highly flexible, waterproof, excellent UV resistance, won’t shrink | Not paintable, difficult to apply smoothly, hard to clean up | 15–20+ Years |
| Polyurethane | Exterior wood, masonry, concrete, and siding | Extreme durability, paintable, superior adhesion to masonry | Highly sticky, slow cure time, breaks down under direct UV over time | 15–20 Years |
| Siliconized Acrylic Latex | Interior trim, dry exterior joints | Easy to apply, paintable, water cleanup, perfect for beginners | Low flexibility, shrinks during curing, shorter outdoor life | 5–10 Years |
How to Choose the Best Sealant to Calk Around Windows
To achieve a professional, weather-tight finish, you must match the sealant characteristics to your specific project needs.
100% Silicone Sealant
For exterior windows, 100% silicone is often the gold standard. It remains highly flexible, meaning it can stretch up to three times its normal width and compress back without tearing. This makes it ideal for sealing vinyl and aluminum windows, which experience significant thermal movement.
Because silicone is completely waterproof and resistant to UV radiation, it won’t dry out or crack under the summer sun. The main drawback is that silicone cannot be painted. If you plan to paint your window trim, you must use a different material or accept that your caulk line will remain its original color (usually clear, white, or bronze). To learn more about selecting silicone, read our guide on The Ultimate Guide to the Best Calk for Windows and Doors.
Polyurethane Sealant
If you are sealing windows against tricky exterior surfaces like brick, stucco, concrete, or older wood siding, polyurethane is my top choice. It provides unmatched adhesion to porous materials and can be painted over once fully cured.
Polyurethane is incredibly tough and stands up well to physical wear, but it can be difficult to work with because of its high viscosity and sticky texture. It also has a slower curing time (typically 48 hours for a full cure). For high-exposure areas, explore the benefits of Polyurethane Power What’s the Best Caulk for Exterior Windows.
Siliconized Acrylic Latex
For interior window joints — such as where the window frame meets the drywall or interior wood trim — siliconized acrylic latex is the best option. It is incredibly easy to apply, can be cleaned up with a damp cloth, and dries quickly enough to be painted in 1 to 2 hours. While it lacks the extreme flexibility of pure silicone, it is more than sufficient for indoor climates where temperature fluctuations are minimal.
Preparation: The Secret to a Long-Lasting Seal
If you skip proper preparation, your new caulk will fail. Applying fresh calk around windows directly over old, cracked caulk is a recipe for disaster. The new material cannot bond to dirt, mildew, or loose, failing sealant. Within a few months, the entire joint will peel away, leaving your window unprotected.
To prepare your window frame properly, follow these critical preparation steps:
- Scrape Out the Old Caulk: Use a utility knife, a 5-in-1 painter’s tool, or a dedicated caulk removal tool to score both sides of the old bead. Gently pry and scrape until you reach the bare wood, vinyl, or masonry surface. For helpful tips on removing old material without damaging your window frames, read How to Re-Caulk Around Windows (Without It Looking Awful) | Hammond RE-Engineered.
- Treat Mold and Mildew: If you discover black mold lurking behind the old caulk, do not paint or caulk over it. Scrub the area with a bleach-and-water solution or a commercial mold killer, then rinse thoroughly.
- Clean and Degrease: Wipe down the entire joint with rubbing alcohol (isopropyl alcohol). This removes fine dust, oils, and soap residue, creating a perfectly clean surface for the new sealant to grip. Avoid using mineral spirits, as they can leave behind an oily film that prevents proper adhesion.
- Let It Dry Completely: Moisture trapped in the joint will cause the new caulk to bubble and fail to adhere. Allow the cleaned area to dry for at least several hours — or overnight — before moving forward. If you want to dive deeper into why this step is so crucial, read our article on Don’t Crack Under Pressure Replacing Your Old Window Caulk.
- Use Backer Rods for Large Gaps: Standard caulk is only designed to fill seams that are 1/4 inch wide or tighter. If you have a large gap between your window frame and the exterior siding that exceeds 1/2 inch, the caulk will sag, shrink, and crack as it cures. To prevent this, press a foam backer rod into the gap first. The backer rod should sit about 1/4 inch below the surface, allowing you to apply a uniform layer of caulk over it.
The Step-by-Step Application Process
Laying a clean, professional-looking caulk line — what pros call “running a bead” — is all about technique, control, and the right tools.
The Essential Gear
- A High-Quality Caulking Gun: Avoid cheap, ratchet-style guns. Instead, invest in a smooth-rod caulking gun with a thumb-activated pressure release. This mechanism stops the flow of caulk instantly when you let go of the trigger, preventing messy drips.
- Painter’s Tape: If you struggle to run a straight line, apply high-quality painter’s tape to both sides of the joint, leaving an 1/8-inch gap on either side of the seam.
- A Spatula Tool or Tooling Foam: While a wet finger works well for water-based latex caulk, professional tooling spatulas or soapy water are best for smoothing out sticky silicone and polyurethane.
- Clean Rags and Water: Keep a bucket of water and a handful of rags nearby for quick cleanups.
Step-by-Step Guide: How to Calk Around Windows Correctly
Now that your surfaces are clean and dry, follow these steps to apply the sealant:
Step 1: Prep the Tube
Cut the plastic nozzle of your caulk tube at a 45-degree angle. The closer to the tip you cut, the narrower your bead will be. I recommend starting with a small cut (about 1/8 inch wide) — you can always cut more if you need a fatter line, but you cannot undo a cut that is too wide. Once cut, pierce the inner foil seal of the tube using the metal rod attached to your caulking gun.
Step 2: Practice Your Technique
If you are new to caulking, squeeze a few practice lines onto a piece of cardboard. This helps you get a feel for how much pressure to apply to the trigger and how fast you need to move your hand.
Step 3: Run the Bead
Hold the caulking gun at a 45-degree angle to the joint. Start at the top corner of the window frame and pull the gun steadily downward toward your body. Use both hands to steady the gun, keeping your wrists straight and bending at your elbows to maintain a consistent speed. Ensure the caulk is pushed deep into the crack, making contact with both sides of the joint. For more detailed instructions on mastering this motion, check out the How to Caulk Around Windows | Family Handyman guide and our own Window Caulking Complete Guide.
Step 4: Tool the Bead
Tooling is the process of smoothing the wet caulk to press it firmly into the joint and create a clean, concave shape. If you are using latex caulk, dip your finger in clean water and run it along the bead in one continuous, gentle pass. If you are using silicone, mist the bead lightly with soapy water first, then smooth it. Work in manageable 6-inch to 12-inch sections so the caulk doesn’t begin to skin over before you finish smoothing it.
Step 5: Remove the Tape
If you used painter’s tape, pull it off immediately while the caulk is still wet. Pull the tape away at a 45-degree angle. If you wait until the caulk dries, removing the tape will tear the edges of your new seal.
Where You Should Never Apply Caulk
While sealing your windows is critical, applying caulk to the wrong areas can trap moisture inside your walls, stick your windows shut, or cause structural rot.
1. Never Seal Weep Holes
Most modern vinyl, metal, and wood windows are designed with small rectangular slots at the bottom of the exterior frame known as weep holes. These holes are engineered to allow water that bypasses the window seals to drain out safely. If you seal these weep holes shut, water will pool inside the frame, leading to mold, rust, and wood rot.
2. Avoid Caulking Movable Parts
This may seem obvious, but never apply caulk to any moving components of your windows, such as the sashes, tracks, or weatherstripping. Doing so will permanently seal the window shut, creating a safety hazard in the event of an emergency.
3. Be Careful with Bottom Sills and Drip Caps
On exterior windows with wood siding or traditional trim, the bottom edge of the window trim (the sill) should often be left un-caulked if there is a drip cap installed above. This design allows any moisture that gets behind the siding to escape. If you seal the bottom completely, you trap water behind the wood. For more safety warnings and best practices, review How to Caulk Around Windows: Exterior Sealing to Stop Drafts and Water Damage (2026).
4. Do Not Caulk Vinyl Siding Joints
Vinyl siding is designed to expand and contract dramatically with temperature changes. If you apply caulk between the window trim and vinyl siding, the thermal movement will quickly tear the caulk loose, leaving an unsightly, sticky mess that traps water.
Frequently Asked Questions About Window Caulking
Here are some of the most common questions we receive from property owners in NYC, Long Island, New Jersey, and Westchester.
How long does exterior window caulk typically last?
On average, high-quality exterior caulk lasts 5 to 10 years, though premium silicones and polyurethanes can last up to 15 or 20 years under ideal conditions. In our local climate, extreme winter cold and summer humidity accelerate wear. I recommend inspecting your window sealant every spring and fall for signs of cracking, shrinking, or peeling.
Can you apply new caulk directly over old caulk?
No, you should never apply new caulk over old caulk. The old, cured material will prevent the new caulk from forming a proper waterproof bond. The new layer will quickly peel away, wasting your time and money. Always scrape the joint down to a clean, bare surface before reapplying.
What is the best temperature to caulk windows outside?
The ideal temperature range for applying most exterior caulks is between 40°F and 90°F (4°C to 32°C), with low humidity. If it is too cold, the caulk will become stiff, difficult to squeeze, and fail to adhere properly. If it is too hot or humid, the caulk may cure too quickly, making it difficult to tool smoothly.
Conclusion
Applying calk around windows is a highly effective way to lower your energy bills, eliminate drafts, and protect your property from water damage. With the right materials, thorough preparation, and a steady hand, it is a project that many property owners can tackle themselves.
However, if your building has multiple stories, hard-to-reach windows, or complex facade materials, attempting a DIY caulking job can be dangerous and physically exhausting. Falls from ladders remain a leading cause of home injuries.
That is where we come in. At City High Rise Window Cleaning, we have over 30 years of experience providing professional high rise window caulking and exterior building restoration services across New York City, Long Island, New Jersey, and Westchester. Our team is fully trained, highly equipped, and committed to safety, backed by our 100% customer satisfaction guarantee. Let us handle the heights so you can enjoy a draft-free, energy-efficient property.
Ready for a free quote? City High Rise Window Cleaning offers 24/7 live consultation. Contact us today to speak to a live representative.


