

Caulk Wars: Finding the Champion Sealant for Basement Windows
Caulk Wars: Finding the Champion Sealant for Basement Windows
Stop $3,000 Energy Loss & Basement Floods: Best Caulk for Basement Windows [2026 Guide]
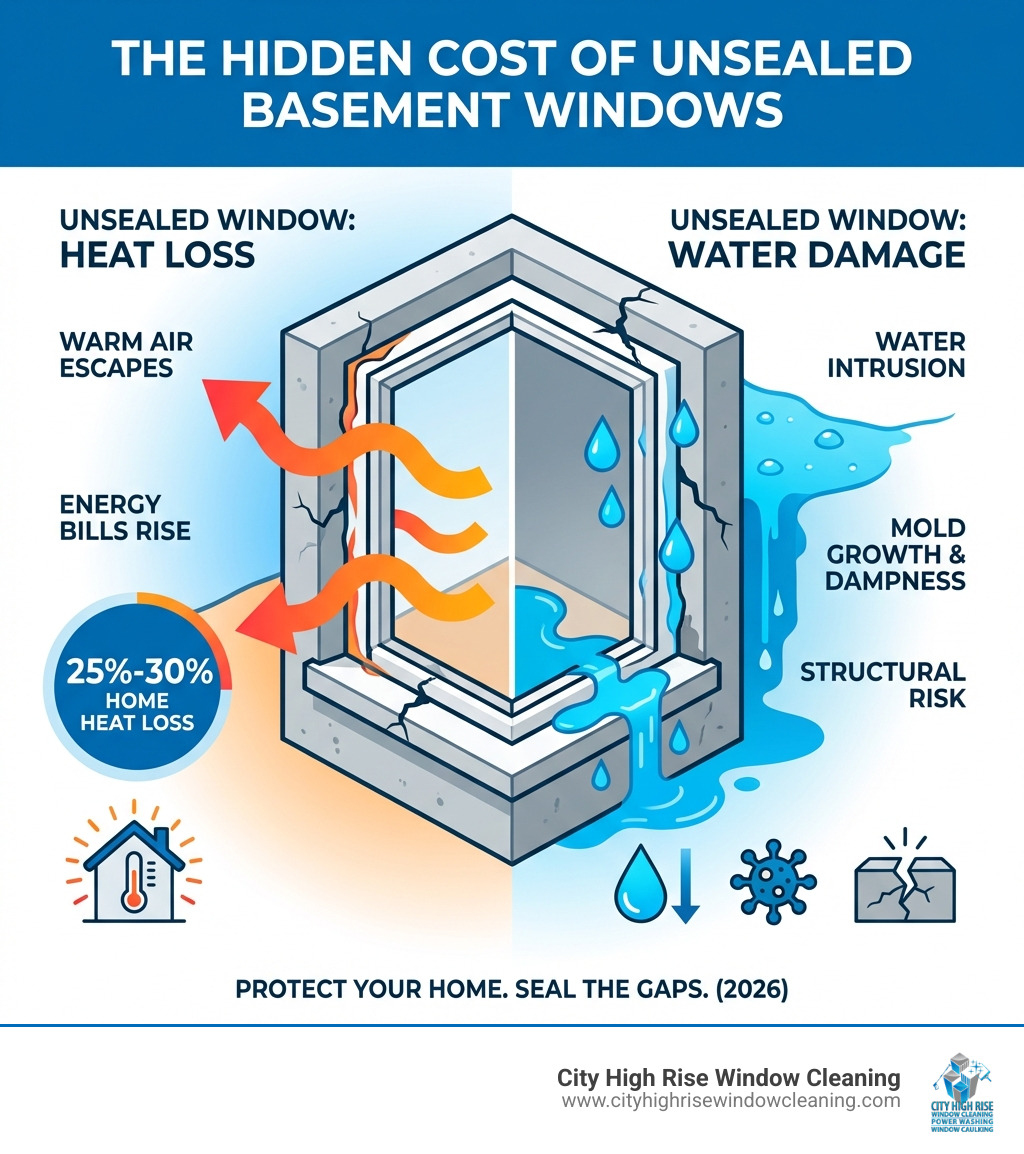
Best caulk for basement windows is the only thing standing between your home and $3,000 in annual energy loss or a flooded foundation. In New York, Long Island, Westchester, and New Jersey, basement windows face extreme hydrostatic pressure and moisture that standard sealants can’t handle.
| Caulk Type | Best For | Key Strengths | Limitations |
|---|---|---|---|
| Polyurethane | Maximum water protection & masonry adhesion | Superior bonding to concrete/brick, highly flexible, paintable | Breaks down in UV light without paint |
| 100% Silicone | Extreme moisture & mold resistance | Never hardens, waterproof, resists mildew | Not paintable, harder to tool |
| Hybrid (SMP) | All-around performance | Paintable, UV resistant, flexible, excellent adhesion | Higher cost |
Basement windows sit at ground level, exposed to moisture, temperature swings, and hydrostatic pressure. Unlike above-ground windows, they face water pooling, condensation, and porous masonry that wicks moisture.
The consequences of poor sealing are severe. The Department of Energy estimates that 25%-30% of home heat loss happens through leaky windows. In basements, you’re also inviting water intrusion, pests, and mold. A gap around your basement window is a structural threat.
The wrong caulk fails quickly. Standard acrylic latex breaks down in dampness, and many exterior products can’t handle below-grade stresses where windows meet concrete.
I’m Brett Hochman, CEO of City High Rise Window Cleaning. With over 30 years of experience in New York and New Jersey, I’ve seen many basement window failures. Selecting the best caulk for basement windows requires understanding moisture resistance, flexibility, and masonry adhesion in below-grade conditions.
Important best caulk for basement windows terms:
Basement windows are unique. Set into masonry foundations, they contact soil and groundwater, battling elements above-ground windows rarely encounter. Here is why caulking is critical for owners in NYC, Long Island, Westchester, and New Jersey:
- Water Intrusion: Gaps are pathways for water to seep in, leading to dampness and odors. As one industry expert notes, “Caulking eliminates the gap between trim and windows so you’re preventing air, water, and insects from getting inside.”
- Energy Loss: Leaky windows are energy hogs. The Department of Energy estimates 25%-30% of home heat loss happens through them. Proper seals create an airtight barrier.
- Pest Infestation: Small gaps invite pests. Caulking seals these gateways, keeping critters out.
- Mold Growth: Moisture and poor ventilation breed mold. Caulking prevents the moisture intrusion that fuels growth.
- Below-Grade Pressure: Hydrostatic pressure can force water through small openings if caulk is failing.
If you see moisture, inspect other exterior elements. Our teams handle facade restoration and post construction cleaning throughout NYC, Long Island, Westchester, and New Jersey. We also provide awning cleaning for comprehensive maintenance.
The Contenders: Choosing the Best Caulk for Basement Windows
When it comes to selecting the best caulk for basement windows, you’re not just looking for any exterior caulk. You need a sealant specifically designed to withstand the unique basement environment. This means prioritizing moisture resistance, flexibility, and strong adhesion to masonry.
Here’s a breakdown of the top contenders and their key characteristics:
| Property | Polyurethane Caulk | 100% Silicone Caulk | Hybrid (SMP) Caulk |
|---|---|---|---|
| Moisture Resistance | Excellent | Superior | Excellent |
| Flexibility | High (dries rubbery) | Extreme (never hardens) | High |
| Adhesion to Masonry | Excellent | Good (neutral-cure) | Excellent |
| Paintability | Yes | No | Yes |
| UV Resistance | Poor (needs paint) | Excellent | Excellent |
| Longevity | 5-10 years | 10-20 years | 10-20 years |
| Cure Time | 4-7 days (full cure) | 24 hours (full cure) | 24 hours |
| Cost | Moderate | Moderate to High | High |
| Best Use Case | Masonry/concrete, high-stress, paintable finish | Extreme weather, high movement, non-paintable | All-around, paintable, high performance |
Polyurethane Caulk: The Heavy-Duty Waterproofing Champion
For basement windows, especially those set into concrete or brick foundations, polyurethane caulk is often my go-to recommendation. It’s a true workhorse, designed for demanding applications.
- Superior Adhesion: Polyurethane caulks excel at bonding to porous materials like concrete, brick, and stone, which are common around basement windows. This strong adhesion is crucial for creating a lasting seal against water intrusion. Industry experts agree that polyurethane caulks work well for bonding most common housing materials.
- High Flexibility: This caulk dries with a rubbery consistency, offering excellent flexibility. This is vital in areas like basements where temperature fluctuations and ground movement can cause window frames and foundations to expand and contract. Polyurethane caulk can accommodate these shifts without cracking or losing its seal, providing a robust waterproof seal for fluctuating conditions.
- Paintable Surface: If aesthetics are a concern, polyurethane is a great choice because it’s paintable. This allows you to match the caulk to your window frames or foundation, creating a seamless look.
- Masonry Bonding: Its inherent ability to bond aggressively with masonry makes it ideal for the interface between your basement window frame and the foundation.
- UV Sensitivity: One significant drawback of polyurethane caulk is its sensitivity to UV radiation. If left unpainted and exposed to direct sunlight, it can break down over time. For exterior basement windows that receive direct sun, I always recommend painting over polyurethane for protection.
- Longer Cure Time: Polyurethane caulk typically requires a longer curing time, often between 4 to 7 days for a full cure. This means you need to protect the area from heavy rain or disturbances during this period.
100% Silicone Caulk: The Flexible, Mold-Resistant Barrier
100% silicone caulk is another excellent choice for basement windows, particularly where extreme flexibility and mold resistance are paramount. It’s probably the most widely used type of caulk for exterior windows and doors.
- Extreme Flexibility: Silicone caulk remains permanently flexible, never hardening or becoming brittle. This makes it incredibly resilient against temperature extremes and structural movement, ensuring a long-lasting, watertight seal. Silicone caulk is highly resilient against temperature and mildew, making it suitable for kitchen, bath, and HVAC applications. It allows joints to stretch up to three times normal width or compress to one-half the width.
- Waterproof Seal: Silicone forms an impenetrable barrier against water, making it ideal for damp basement environments. It’s the ideal choice for weatherproofing exterior windows and doors because of its superior flexibility, UV resistance, and durability.
- Mold and Mildew Resistance: Many silicone caulks are formulated with mildewcides, making them highly resistant to mold and mildew growth. This is a huge advantage in the often damp and humid conditions of a basement.
- Not Paintable: The primary downside of silicone caulk is that it cannot be painted. Paint simply won’t adhere to it, which can be an aesthetic concern if you need to match colors.
- Application Technique: While durable, silicone can be a bit trickier to work with than other types, often requiring a steady hand and specific smoothing techniques.
- VOCs: While many modern silicone caulks are low-VOC, it’s always worth checking the label, especially for interior applications. Volatile organic compounds (VOCs) emit potentially harmful chemicals and are in many household construction products, according to the U.S. Environmental Protection Agency.
Hybrid (SMP) Caulk: The Modern All-in-One Solution
Hybrid caulks, often referred to as Silane-Modified Polymers (SMPs), combine the best properties of both silicone and polyurethane, offering a truly versatile and high-performance solution for basement windows.
- Paintable: Unlike 100% silicone, most hybrid caulks are paintable, offering the aesthetic versatility of polyurethane.
- Superior Adhesion: They boast excellent adhesion to a wide range of materials, including concrete, brick, wood, vinyl, and metal, making them suitable for virtually any basement window frame material.
- UV Resistant: Hybrid caulks are typically highly UV resistant, meaning they won’t degrade in sunlight, eliminating the need for painting solely for UV protection.
- Flexible: They offer robust flexibility, accommodating movement and temperature changes without cracking.
- Higher Cost: The main drawback of hybrid caulks is their higher price point compared to traditional silicone or polyurethane. However, their all-around performance and longevity often justify the investment.
- Best of Both Worlds: For those seeking a single solution that offers strong adhesion, flexibility, UV resistance, and paintability, hybrid caulk is an outstanding choice for basement windows.
The Perfect Application: A Step-by-Step Guide to Sealing Basement Windows
Caulking your basement windows effectively isn’t just about choosing the right material; it’s also about proper application. I’ve seen countless DIY attempts fail because of rushed preparation or poor technique. To achieve a durable, watertight seal that stands the test of time, you need to approach it like a pro.
This is a manageable DIY project for many, but meticulous attention to detail will yield professional results and a truly watertight seal.
Step 1: Preparation is Everything
This is where most caulking jobs go wrong. Skipping steps here guarantees failure. One of the biggest mistakes homeowners make is applying too much caulk and not applying it evenly. But before you even think about applying caulk, you need to prepare the surface.
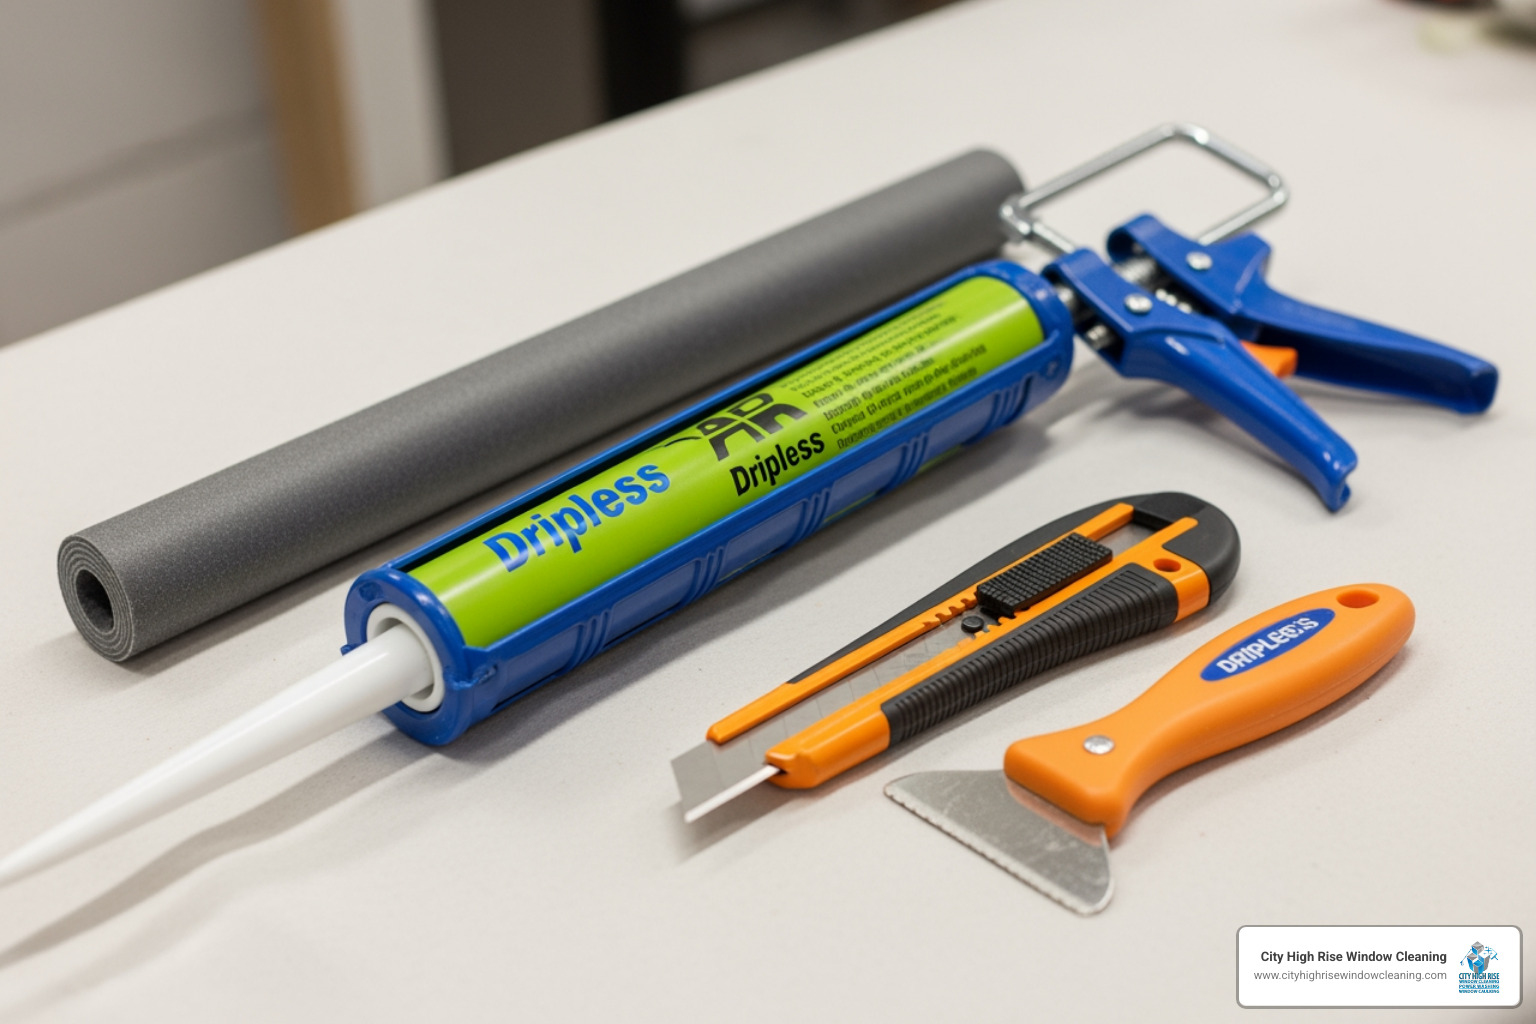
- Gather Your Tools: You’ll need a utility knife (like Lenox Titanium Edge Utility Knife Blades), a putty knife, a wire brush, a cleaning solution (rubbing alcohol or a mild detergent), rags, a caulk gun (a Dripless Caulk Gun is highly recommended to prevent excess oozing), and if necessary, a foam backer rod and painter’s tape.
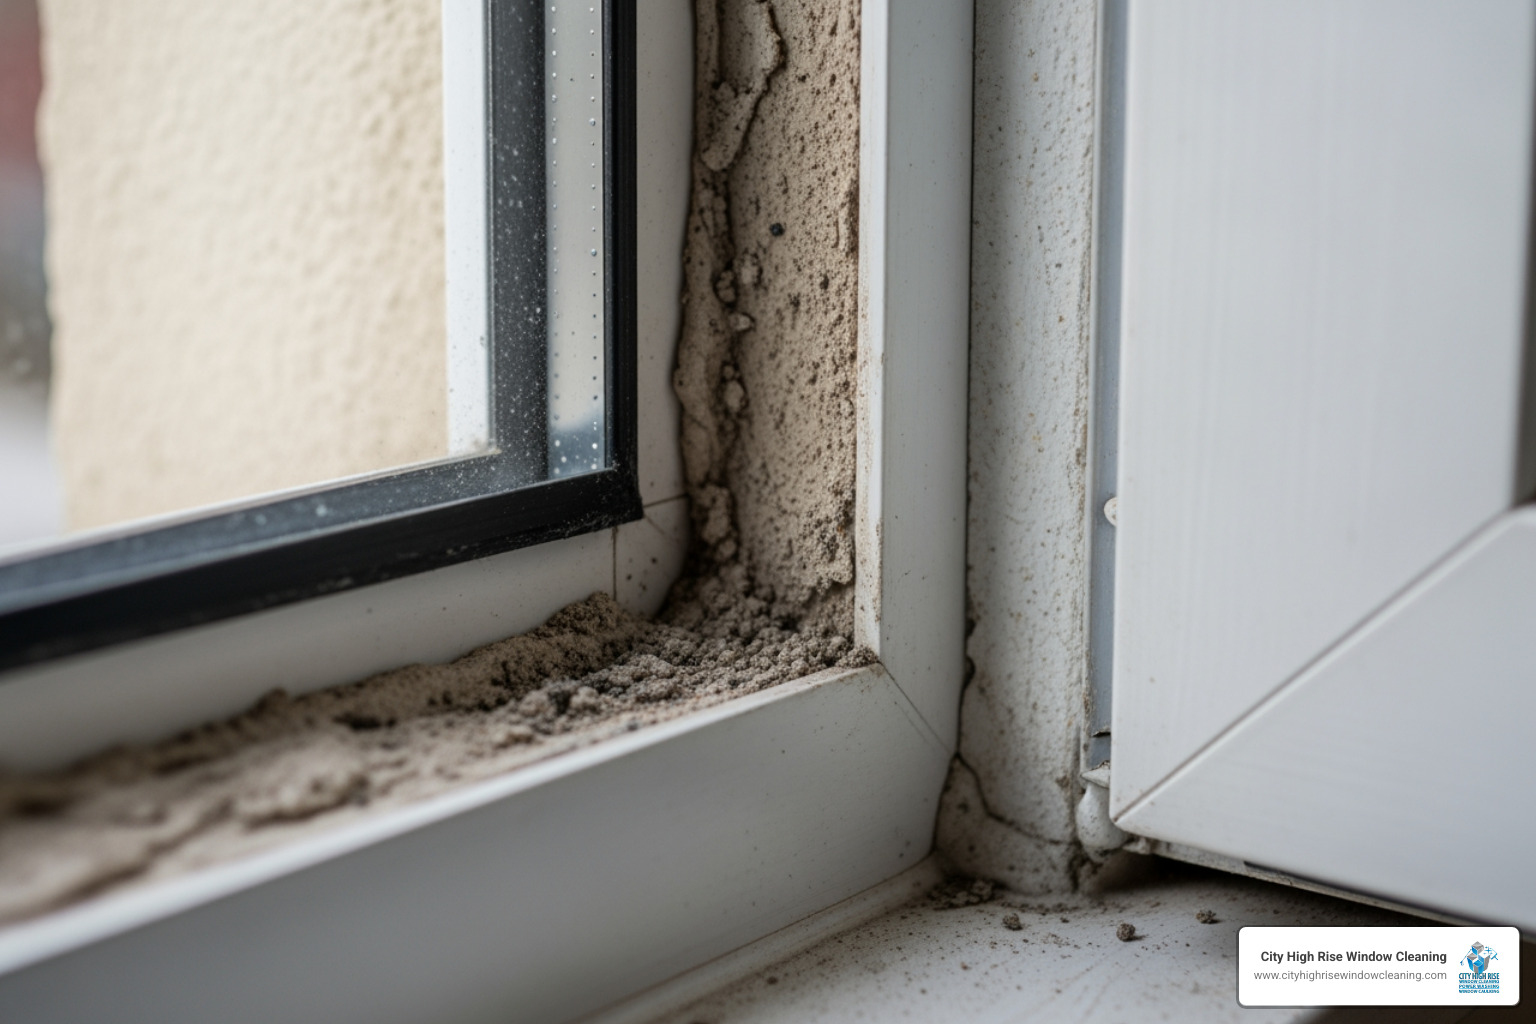
- Remove Old Caulk: This is non-negotiable. You should never caulk over old caulk outside windows because the new bead won’t adhere properly. Old caulk, especially if it’s cracked, peeling, or discolored, is no longer doing its job. Use your utility knife and putty knife to scrape out every bit of the old sealant. For stubborn areas, a caulk removal tool can be very helpful.
- Clean Debris: Once the old caulk is gone, thoroughly clean the joint. Use a wire brush to remove any loose debris, dirt, mildew, or paint flakes. Then, wipe the area down with rubbing alcohol or a mild detergent solution to remove any grease or residue. This ensures maximum adhesion for the new caulk.
- Surface Drying: This is crucial, especially for basement windows. The surface must be completely dry before applying caulk. Moisture trapped beneath the new caulk will prevent proper adhesion and lead to premature failure. Allow ample time for the area to dry, especially after cleaning or if there’s been recent rain.
- Inspecting for Damage: While cleaning, inspect the window frame and surrounding masonry for any damage. Repair any significant cracks in the masonry with a patching compound before caulking.
- C.R. Laurence Closed Cell Backer Rod for Gaps > ¼ inch: Caulk is designed for relatively narrow seams, typically ¼-inch wide or tighter. If you have gaps wider than ¼ inch, caulk alone won’t be enough. It can sag out of the gap and create an unattractive mess. The best practice is to fill these larger gaps first with a foam backer rod, such as this C.R. Laurence Closed Cell Backer Rod. The backer rod provides a stable surface for the caulk to adhere to, ensuring a proper depth and allowing the caulk to flex effectively.
Step 2: Applying the Caulk Bead Like a Pro
Now that your surface is perfectly prepped, it’s time for the main event.
- Prepare the Caulk Gun: Load your caulk tube into a Dripless Caulk Gun. This type of gun instantly releases pressure when you stop squeezing the trigger, preventing messy excess caulk from oozing out.
- Cutting the Nozzle: Cut the tip of the caulk nozzle at a 45-degree angle. The size of the opening should be slightly smaller than the gap you intend to fill. Start small; you can always cut more off if needed. Cut off just the end of the tip initially, and then squeeze out some caulk to see the size of the bead.
- 45-Degree Angle Application: Hold the caulk gun at a consistent 45-degree angle to the joint. This angle helps push the caulk deeply into the gap, ensuring good adhesion to both surfaces.
- Consistent Pressure and Movement: Apply steady, even pressure to the caulk gun trigger while moving the gun smoothly along the joint. Aim for a continuous bead. For longer runs, it’s often better to caulk from one end to the middle, stop, and then start from the other end to meet in the middle, creating a uniform bead.
- Tooling the Bead: Immediately after applying the caulk, you need to “tool” or smooth the bead. This pushes the caulk firmly into the joint, eliminates air pockets, and creates a professional, finished look. For water-based caulks, a wet finger or a specialized tool like HYDE’s Caulk-Rite Pro Application Tool works well. For silicone caulk, a plastic spoon or a specialized tool dampened with rubbing alcohol can be more effective, as silicone often isn’t smoothed with a finger. Smooth in small sections (about 6 inches at a time) to prevent excess buildup.
- Painter’s Tape (Optional but Recommended): If you’re not confident in your ability to run a perfectly straight bead, apply painter’s tape along both edges of the joint before caulking. Apply the caulk, tool it smooth, and then immediately remove the tape before the caulk skins over. This leaves behind a perfectly crisp, clean line.
- Drying Time: Always refer to the manufacturer’s instructions for drying and curing times. While some caulks may be tack-free in 30 minutes, full curing can take days. Protect the freshly caulked area from moisture and disturbances during this period.
Proper caulking is essential, and if you’re in New York City, Long Island, Westchester, or New Jersey, our team at City High Rise Window Cleaning can handle all your Window Caulking Services needs, ensuring a perfect seal every time.
Common Caulking Mistakes to Avoid
Even with the right caulk and a step-by-step guide, it’s easy to fall into common traps that compromise the effectiveness and longevity of your basement window seal. Having seen countless caulking failures, I can tell you that avoiding these mistakes is just as important as following the best practices.
- Caulking Over Old Caulk: This is perhaps the most frequent and detrimental mistake. As noted, you should never caulk over old caulk outside windows because the new bead won’t adhere properly. The new caulk will only bond to the old, failing caulk, not the underlying surface, leading to a weak, short-lived seal. Always scrape out all existing caulk before applying new.
- Skipping Surface Prep: Failure to clean and dry the surface thoroughly before application is a recipe for disaster. Dirt, dust, grease, or moisture will prevent the caulk from adhering properly, causing it to peel or crack prematurely.
- Using Interior-Grade Caulk for Exterior/Basement Use: Interior caulks, like basic acrylic latex, are typically not designed to withstand the harsh exterior elements or the constant moisture of a basement. They break down easily with temperature changes and offer insufficient waterproofing. Always choose an exterior-grade, highly flexible, and moisture-resistant caulk for basement windows.
- Not Using Backer Rod for Large Gaps: Caulk is a sealant, not a filler. If gaps are wider than ¼ inch, caulk applied directly will sag, crack, and fail. Using a foam backer rod for these larger gaps provides stability, ensures proper caulk depth, and allows the caulk to maintain its flexibility.
- Forgetting to Tool the Bead: Simply applying a bead of caulk and leaving it as is will not create an effective seal. Tooling the bead pushes the caulk into the joint, ensures maximum contact with both surfaces, and eliminates air pockets that could lead to failure. It also gives a much more professional appearance.
- Sealing Weep Holes: Many exterior window frames have small weep holes designed to allow any trapped moisture to drain out. Caulking over these holes will prevent proper drainage, leading to water accumulation within the window frame and potential damage. Always inspect for and avoid sealing weep holes.
- Applying Caulk in Unsuitable Weather: For exterior basement windows, applying caulk in extreme temperatures (too hot or too cold) or during wet conditions can compromise its adhesion and curing process. Aim for mild, dry weather conditions, ideally above 45°F and with no rain for at least 24 hours after application.
Maintaining Your Seal for Lasting Protection
Even the best caulk for basement windows won’t last forever. Regular inspection and timely maintenance are key to ensuring your basement remains dry, energy-efficient, and pest-free.
- Annual Inspection: I recommend homeowners in New York, Long Island, Westchester, and New Jersey conduct an annual inspection of their basement window caulking. Look for signs of wear and tear, especially after harsh winters or prolonged wet periods.
- Signs of Failure:
- Cracking: This is a clear sign that the caulk has lost its flexibility and is no longer providing a continuous seal.
- Peeling: If the caulk is pulling away from the window frame or the foundation, its adhesion has failed. Discoloration and peeling over time are tell-tale signs that your caulk is failing.
- Discoloration: While not always indicative of failure, significant discoloration or mildew growth on the caulk can suggest moisture issues or a breakdown of the caulk’s protective properties.
- Drafts or Water Intrusion: If you feel cold drafts or notice moisture around the window, your caulk has definitely failed.
- Lifespan (5-10 years): Expect caulking around window frames to last about 5 years depending on weather conditions. High-quality silicone or hybrid caulks can last 10-20 years, while polyurethane typically lasts 5-10 years. However, the demanding basement environment can reduce this lifespan. Over time, caulk exposed to the sun starts to harden, crack, and become brittle. This is why consistent inspections are crucial.
- NYC and New Jersey Climate Impact: The fluctuating temperatures, humid summers, and freezing winters characteristic of our service areas in New York City, Long Island, New Jersey, and Westchester put significant stress on caulk. Choosing a highly flexible and durable caulk type is particularly important here.
If you’re in New Jersey and need expert assistance with your caulking, consider reaching out to a trusted professional. You can learn more about our specialized services at our New Jersey Window Caulking Company.
Frequently Asked Questions: Best Caulk for Basement Windows
What is the best caulk for basement windows to stop water leaks?
For maximum water protection against concrete or brick foundations, polyurethane caulk is the top choice. It provides superior adhesion to masonry and remains flexible enough to handle the hydrostatic pressure common in New York and New Jersey basements.
How much does it cost to recaulk basement windows in NYC?
While DIY costs are low ($10-$20 per tube), professional high rise window caulking ensures a watertight seal that prevents thousands in water damage. Prices vary based on accessibility and the number of windows in your building.
Can I use silicone caulk on concrete basement window frames?
Yes, but you must use a neutral-cure 100% silicone. Standard silicone may not bond well to porous masonry. For the best results on concrete, pros often prefer polyurethane or hybrid (SMP) sealants for their aggressive bonding properties.
How long does window caulking last in the New Jersey climate?
In the harsh Northeast climate, expect high-quality caulk to last 5-10 years. However, basement windows should be inspected annually for cracking or peeling caused by ground moisture and freeze-thaw cycles characteristic of the New York area.
Secure Your Basement with the Right Sealant
Choosing the best caulk for basement windows is a critical decision that impacts your home’s integrity, energy efficiency, and comfort. The key to success lies in preparation, precise application, and choosing a caulk formulated for below-grade environments in New York City, Long Island, Westchester, and New Jersey.
While this is a manageable DIY project, ensuring a durable seal on multiple windows or hard-to-reach areas requires expertise. For professional results in NYC buildings, consider consulting with City High Rise Window Cleaning. Beyond basements, our crews handle commercial high rise window cleaning and residential high rise window cleaning to keep your building envelope tight. We also offer high rise hot water power washing and window restoration for complete exterior maintenance.
Ready for a free quote? City High Rise Window Cleaning offers 24/7 live consultation. Contact us through our website to speak with a live representative.


