

Window Wonders: Finding the Perfect Caulk for Your Panes
Stop Window Leaks Now: Best Caulk for Sealing Window Glass in NYC, NJ, Long Island & Westchester
The Critical Functions of Window Glass Caulk
Best caulk for sealing window glass depends on your specific needs, but here are the top performers:
| Caulk Type | Best For | Lifespan | Paintable |
|---|---|---|---|
| 100% Silicone | Glass, aluminum, extreme weather | 20+ years | No |
| Polyurethane | Wood, brick, high-stress areas | 5-10 years | Yes |
| Hybrid (SMP) | All surfaces, all-weather use | 10+ years | Yes |
| Siliconized Acrylic Latex | Interior windows, easy DIY | 3-5 years | Yes |
Drafty windows aren’t just uncomfortable—they’re expensive. Every gap around your window glass allows conditioned air to escape and outside air to seep in, driving up energy bills month after month. In high-rise buildings across New York and New Jersey, where temperature swings are dramatic and weather is harsh, these small failures add up to major losses.
Water damage is even worse. When caulk fails, moisture finds its way behind window frames, leading to rot, mold, and structural issues that cost far more to fix than preventive sealing ever would. Pests use these same gaps as entry points, turning a simple maintenance issue into a multi-front problem.
The right caulk creates a flexible, waterproof barrier that moves with your building as it expands and contracts. It blocks drafts, stops water, keeps pests out, and protects your investment for years—sometimes decades—when applied correctly.
This guide breaks down the four main caulk types suitable for window glass, explains what makes each one effective, and shows you exactly how to apply them for a professional, long-lasting seal. You’ll learn which properties matter most—flexibility, UV resistance, waterproofing, and adhesion—and how to match the right caulk to your specific window materials and conditions across New York City, Long Island, Westchester, and New Jersey.
I’m Brett Hochman, CEO of City High Rise Window Cleaning, and I’ve been sealing windows on commercial buildings across the Tri-State area for over 30 years through our high rise window caulking and facade restoration services. In that time, I’ve seen every type of caulk failure imaginable, and I know that choosing the best caulk for sealing window glass is one of the most cost-effective decisions a property owner can make. Let me show you how to get it right the first time.
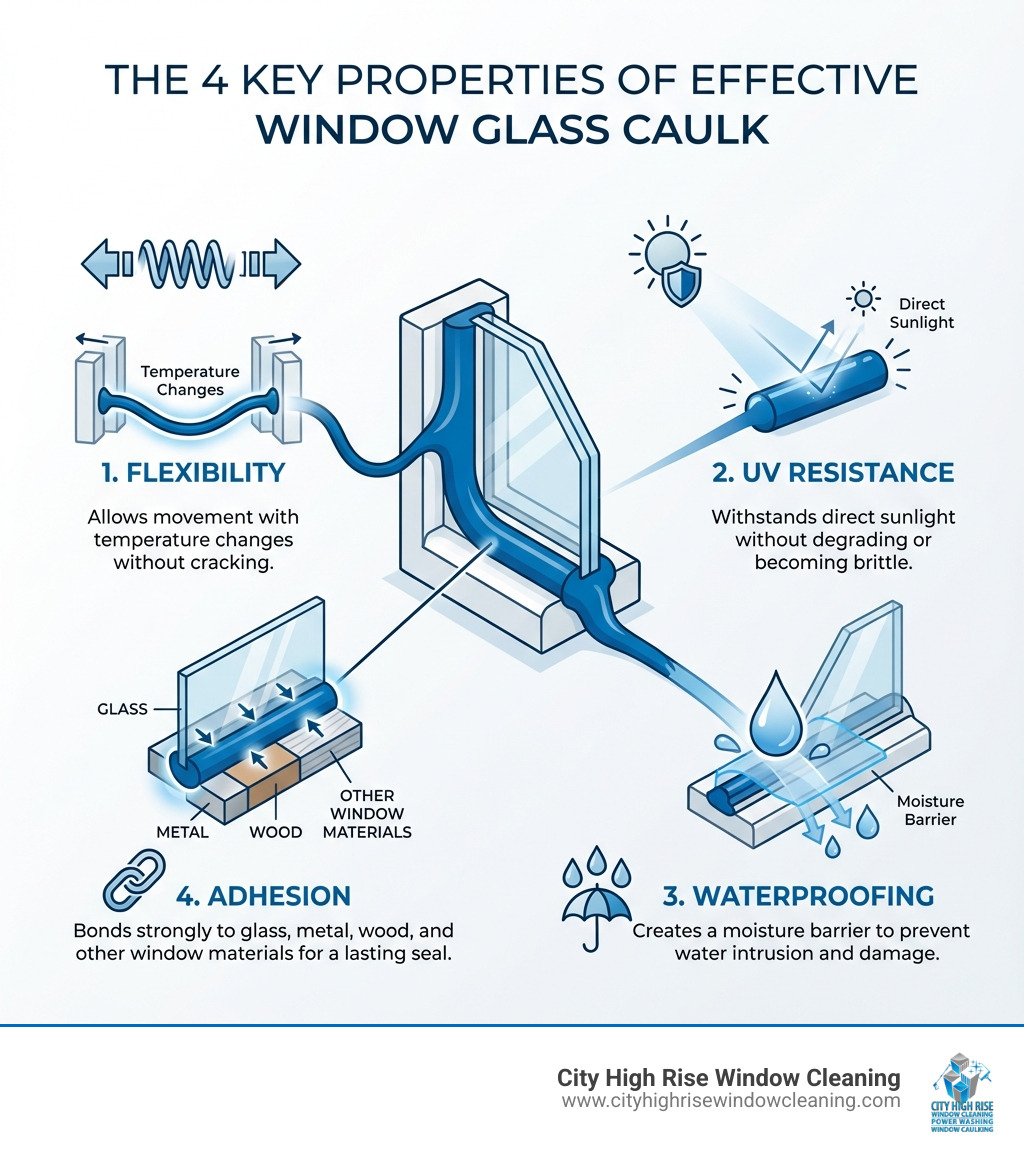
When I talk about caulk for windows, I’m not just talking about a cosmetic fix. I’m talking about a vital component in your building’s defense system—especially for high-rise buildings in places like New York City, Long Island, and New Jersey, where windows face constant assault from the elements.
Sealing for Energy Savings
One of the primary functions of caulk is to act as an invisible shield against air leaks. Think about it: every tiny gap around your window glass is a direct portal for your expensive, conditioned air to escape, and for unconditioned outside air to sneak in. This is a battle your HVAC system is constantly fighting, and it’s a battle you’re losing in terms of energy costs.
Proper caulking significantly improves your windows’ insulation, potentially lowering energy bills by minimizing those drafts. In the extreme temperatures of a New York winter or a humid New Jersey summer, stopping these air leaks means maintaining consistent indoor temperatures. This not only makes your tenants or residents more comfortable but also drastically reduces your heating and cooling expenses. It’s like putting a warm blanket on your building’s energy consumption.
Protecting Against Water and Pests
Beyond energy, caulk is your first line of defense against water damage. It creates a waterproof barrier that prevents moisture intrusion, which is crucial in our region where rain, snow, and humidity are constant factors. Unsealed gaps are an open invitation for water, leading to insidious problems like mold formation, wood decay, and even structural weakening over time. I’ve seen how a small caulk failure can lead to extensive, costly repairs down the line.
And let’s not forget the creepy crawlies. Those same gaps that let in air and water are also perfect entry points for insects and other pests. A properly sealed window ensures that your building remains a fortress, keeping unwanted guests out. By blocking these entry points, caulk helps protect your window frames and surrounding walls from rot, mold, and unwelcome tenants, extending the lifespan of your windows and the integrity of your building. It’s a small investment that pays huge dividends in preventing headaches and costly repairs.
If your building already shows signs of leaks or staining around the glass, it may be time to combine fresh caulking with targeted window restoration or commercial high rise window cleaning to fully restore performance and appearance.
To summarize, the best caulk for sealing window glass will:
- Seal air leaks to cut energy costs
- Create a long-lasting waterproof barrier
- Prevent mold, rot, and structural damage
- Block pests and improve indoor comfort
- Extend the lifespan of your windows and facade
Decoding Caulk Types: Which is the Best Caulk for Sealing Window Glass?
Choosing the best caulk for sealing window glass isn’t a one-size-fits-all decision. It’s about matching the right product to your window’s specific demands. Different caulk types offer varying degrees of flexibility, durability, paintability, and adhesion. The caulk I’d recommend for a high-rise window exposed to harsh Atlantic winds in Long Island differs from what I’d suggest for an interior window in a Westchester home.
Let’s explore the main contenders so you can confidently pick the right one for your project.
100% Silicone Caulk: The Flexibility Champion
When it comes to flexibility, UV resistance, and waterproofing, 100% silicone caulk is often my top recommendation for exterior applications involving glass and metal window frames.
-
Pros:
- Superior Flexibility: Silicone remains elastic across extreme temperature fluctuations, from freezing New Jersey winters to scorching New York summers. It expands and contracts without cracking.
- Excellent Adhesion: Forms strong bonds with non-porous surfaces like glass, metal, and vinyl.
- Best UV Resistance: Won’t break down or become chalky when exposed to direct sunlight for years.
- Exceptional Waterproofing: Creates a waterproof seal that repels water. Many silicone caulks also resist mold and mildew.
- Long Lifespan: With proper application, 100% silicone caulk can last 20+ years.
-
Cons:
- Not Paintable: Paint won’t adhere to silicone’s hydrophobic surface and will crack and peel over time.
- Cleanup: Requires mineral spirits or specialized silicone remover for cleanup.
For commercial facade restoration projects in the Tri-State area where long-term durability matters most, silicone pairs well with professional high rise window caulking services.
Polyurethane Sealants: The Tough Adhesive
Polyurethane caulk is known for its strong adhesion and durability on porous surfaces.
-
Pros:
- Extremely Strong Adhesion: Forms tenacious bonds with porous materials like wood, brick, stone, and concrete.
- Durable and Tear-Resistant: Withstands significant movement and abrasion.
- Paintable: Can be painted over for a seamless finish.
- Good for Large Gaps: Some polyurethane caulks handle wider gaps and provide structural support.
-
Cons:
- Shorter Lifespan than Silicone: Typically lasts 5-10 years.
- UV Degradation: If unpainted and exposed to sunlight, it can become brittle and crack.
- Harder to Apply: Thicker and stickier than other caulks with longer curing time (4-7 days).
- Higher VOCs: Many are solvent-based and emit more VOCs during application.
Hybrid (Silane-Modified Polymer) Caulk: The Best of Both Worlds
Hybrid sealants (SMPs) combine the best qualities of both silicone and polyurethane.
-
Pros:
- Combines Benefits: Offers silicone’s flexibility and weather resistance with polyurethane’s paintability and adhesion.
- Versatile Adhesion: Adheres to both porous and non-porous materials.
- Damp Surface Application: Can be applied to damp surfaces.
- Low VOCs: Environmentally friendlier than traditional polyurethanes.
- Excellent Weather Resistance: Strong UV resistance, waterproofing, and durability (10+ years).
-
Cons:
- More Expensive: Higher price tag than basic options.
- Curing Time: Full cure can still take several days.
For balanced performance in New York and New Jersey’s diverse climates, hybrid sealants are increasingly popular.
Siliconized Acrylic Latex Caulk: The Easy DIY Choice
For interior window glass sealing or mild exterior conditions where paintability is essential, siliconized acrylic latex is user-friendly.
-
Pros:
- Easy to Apply: Smooth to extrude and tool.
- Water Cleanup: Simple cleanup with water.
- Paintable: Designed for painting over.
- Low Odor and VOCs: Minimal odor and lower VOC emissions.
- Good Adhesion: Added silicone improves adhesion and water resistance.
-
Cons:
- Less Flexible: More prone to cracking and shrinking over time.
- Not for Harsh Conditions: Won’t perform well in extreme weather.
- Shorter Lifespan: Typically lasts 3-5 years.
For interior window seals where a clean, paintable finish is desired, siliconized acrylic latex works well. For high-rise exteriors in NYC, I wouldn’t recommend it as the primary sealant.
If you’re unsure which type suits your building’s specific elevation or material mix, consult a specialist or review our guide on caulking a window sill.
How to Apply Window Caulk Like a Professional
Even the best caulk for sealing window glass won’t perform if it’s not applied correctly. I’ve seen countless DIY jobs where good caulk went bad due to poor technique. Applying caulk like a professional isn’t just about making it look pretty; it’s about ensuring a long-lasting, watertight, and airtight seal. Here’s my step-by-step guide to getting it right.
Step 1: Preparation is Everything
This is arguably the most crucial step. A perfect caulk bead on a dirty or poorly prepared surface is a wasted effort.
- Remove Old, Cracked Caulk: You should never caulk over old caulk. If the existing caulk is cracked, peeling, or pulling away, it’s already failed, and any new caulk applied over it will fail too. Use a utility knife, a razor scraper, or a specialized caulk removal tool to scrape out every bit of the old material. Don’t be shy; get it all out.
- Clean the Surface Thoroughly: Once the old caulk is gone, clean the joint. I recommend using isopropyl alcohol (rubbing alcohol) to remove any dust, dirt, grease, mold, or residue. For stubborn spots, a stiff brush or wire brush might be needed.
- Ensure the Area is Dry: Caulk needs a dry, clean surface to adhere properly. Wait for the area to be completely dry before proceeding.
- Apply Painter’s Tape for Clean Lines (Optional, but Recommended for Amateurs): For crisp, professional-looking lines, apply painter’s tape to both sides of the joint, leaving a gap slightly wider than the bead you intend to apply. This acts as a guide and makes cleanup easier, especially for those with a less-than-steady hand. It’s a crucial step when learning how to master caulking a window sill to avoid a messy finish.
Step 2: Applying the Caulk Bead
Now for the main event. Here’s how to apply the caulk smoothly and effectively.
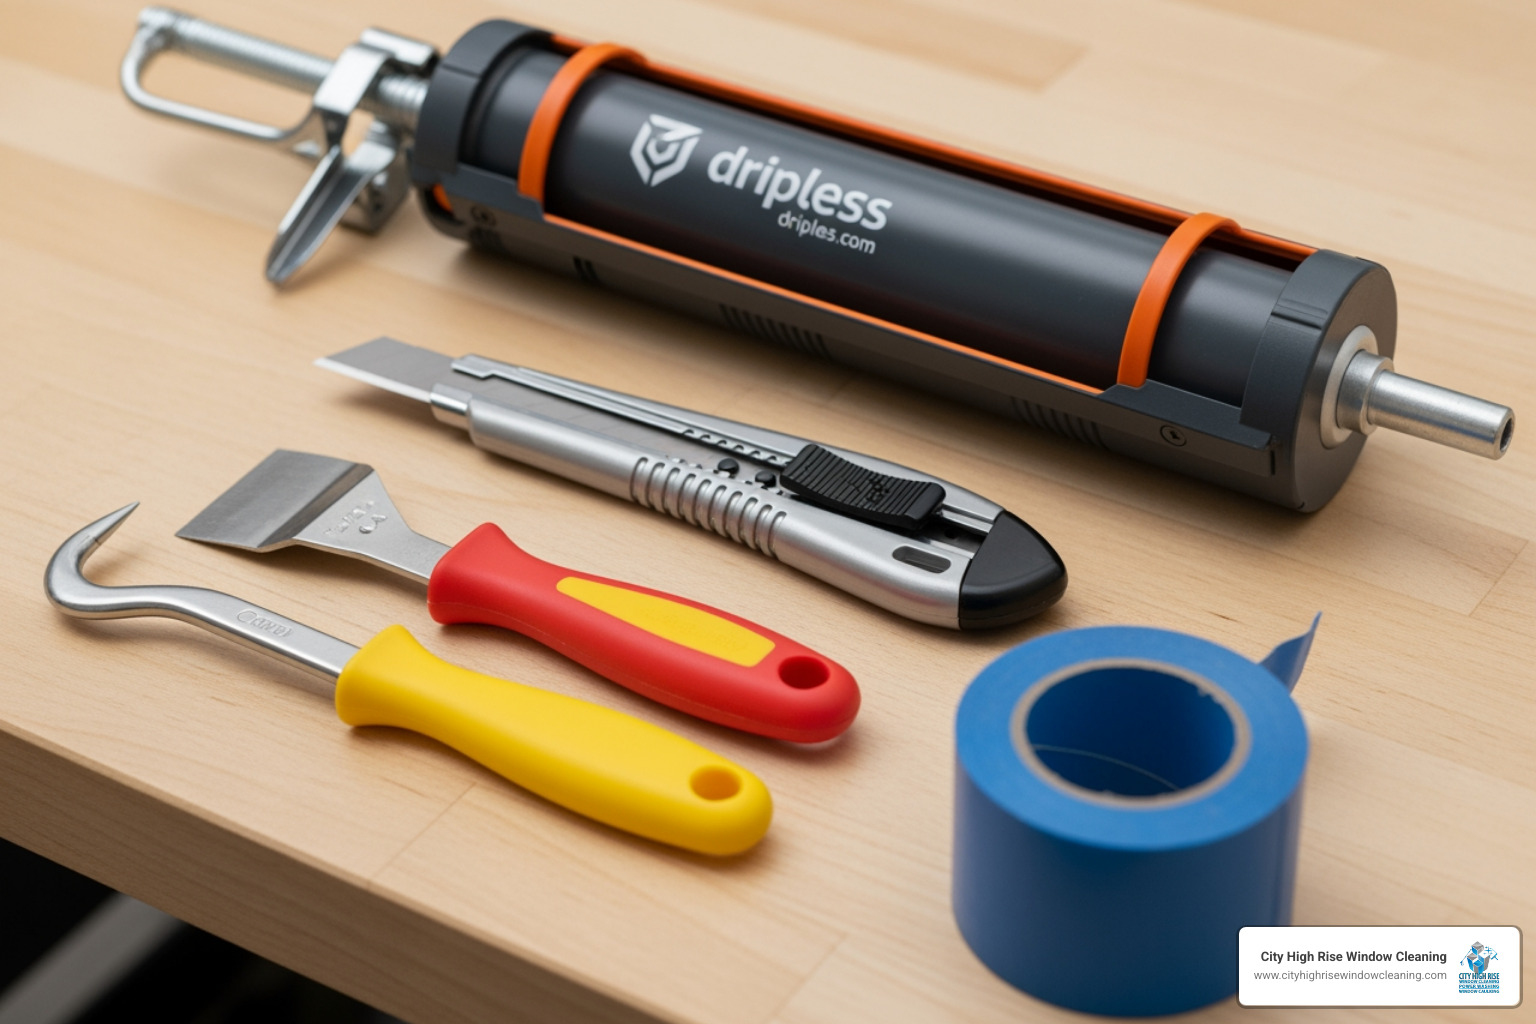
- Essential Caulking Tools:
- Dripless Caulk Gun: This is a game-changer. Cheap caulk guns with ratchet handles will keep oozing caulk even when you release the trigger, leading to a mess. A dripless gun with a thumb release and a smooth rod provides much better control.
- Utility Knife / Razor Scraper: For cutting the nozzle and removing old caulk.
- Caulk Removal Tool: Specialized tools can make removing old caulk much easier.
- Painter’s Tape: For clean lines.
- Foam Backer Rod: For gaps wider than 1/4 inch (more on this below).
- Caulk Smoothing Tool or Plastic Spoon: For tooling the bead.
- Wet Rag/Paper Towels and Bucket of Water: For cleanup.
- Cut the Nozzle: Using your utility knife, cut the tip of the caulk tube nozzle at a 45-degree angle. The size of the opening should be slightly smaller than the gap you’re filling. Start small; you can always cut more if needed.
- Puncture the Inner Seal: Most caulk tubes have an inner foil seal. Use the long, thin poker on your caulk gun (or a nail/wire) to puncture this seal completely.
- Load the Gun and Apply: Place the caulk tube in the gun. Hold the gun at a 45-degree angle to the joint. Apply steady, even pressure to the trigger, pushing the caulk into the joint. Don’t pull the gun; push it. This forces the caulk deep into the gap, ensuring good adhesion. Try to run a continuous bead if possible. For very long runs, you can meet two beads in the middle.
Step 3: Finishing (Tooling) the Seal
Tooling is what separates an amateur job from a professional one. It ensures proper adhesion and a neat, watertight finish.
- Smooth the Bead Immediately: Don’t wait. Caulk starts to skin over quickly. Immediately after applying a section of caulk, smooth the bead.
- For latex or siliconized acrylic latex caulk, a wet finger works well.
- For silicone, polyurethane, or hybrid sealants, I recommend a specialized caulk smoothing tool or even the back of a plastic spoon. The goal is to create a slightly concave seal that allows water to run off, rather than puddle.
- Remove Painter’s Tape (if used) While Wet: If you used painter’s tape, peel it off gently and slowly immediately after tooling the caulk, while the caulk is still wet. This prevents the caulk from tearing or creating jagged edges.
- Clean Up: Wipe away any excess caulk with a wet rag (for water-based) or mineral spirits (for silicone/polyurethane). Clean your tools thoroughly.
Common Mistakes to Avoid When Caulking Window Glass
I’ve seen these mistakes made countless times, and they always lead to premature caulk failure and frustration.
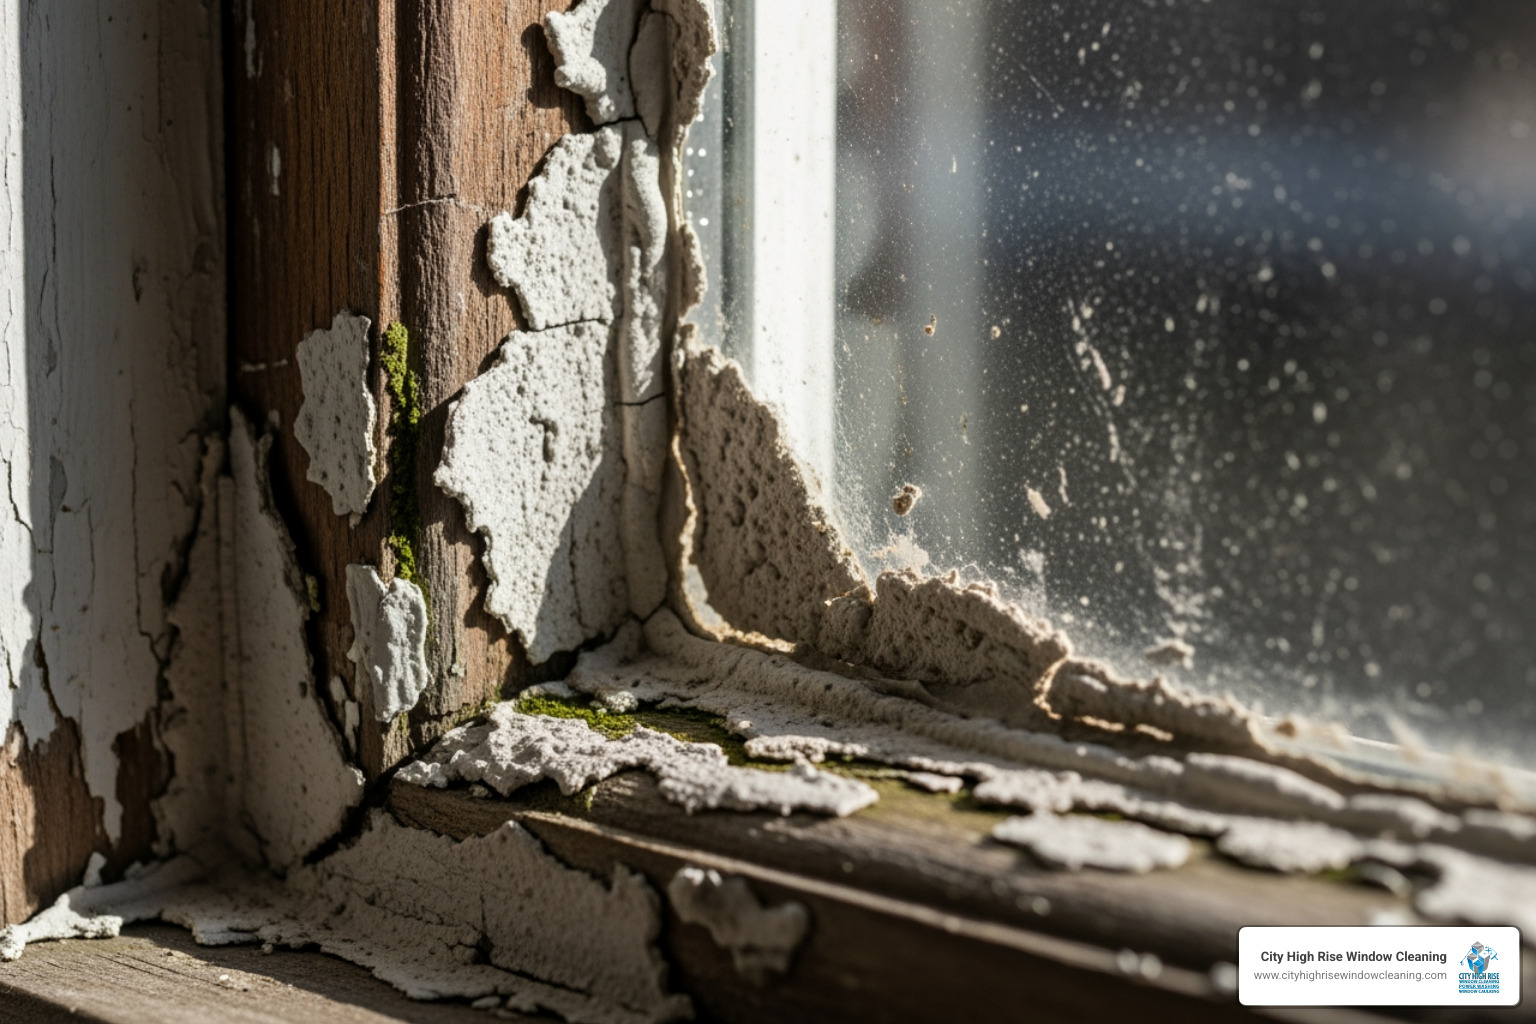
- Don’t Caulk Over Old Caulk: As I mentioned, this is the cardinal sin of caulking. The new bead won’t adhere properly, and the old material will continue to degrade, taking your fresh caulk with it. Always remove the old stuff first.
- Don’t Cut the Tip Too Wide: A common amateur mistake. A bead that’s too wide is harder to control, wastes caulk, and often looks sloppy. Start with a smaller opening; you can always enlarge it.
- Don’t Caulk Over Weep Holes: Many window frames, especially vinyl and aluminum, have small “weep holes” at the bottom. These are designed to allow any accumulated water to escape from inside the frame. Caulking over them will trap moisture, leading to potential damage.
- Don’t Use Interior Caulk for Exterior Applications: Interior caulks (like basic acrylic latex) lack the flexibility, UV resistance, and waterproofing needed to withstand the harsh exterior conditions of our New York, Long Island, or New Jersey weather. They’ll crack and fail quickly.
- Don’t Skip the Tooling Step: Smoothing the caulk isn’t just for aesthetics. It forces the caulk into the joint, ensuring maximum adhesion and creating a proper seal that sheds water. Skipping this step leaves a weaker, less durable, and less effective seal.
- Don’t Use Caulk as a Filler for Large Gaps: Caulk is designed for relatively narrow seams, typically 1/4 inch wide or tighter. For gaps wider than 1/4 inch, you should first insert a foam backer rod. This provides a surface for the caulk to bond to on both sides and prevents excessive caulk use and sagging.
For large or difficult elevations, or for occupied high-rises in NYC, Long Island, Westchester, or New Jersey, it’s often safer and more cost-effective to bring in a professional crew that already has the swing stages, certifications, and insurance needed to perform residential high rise window cleaning and caulking together in one mobilization.
Frequently Asked Questions about Sealing Window Glass
How often should window caulk be replaced?
The lifespan of window caulk varies significantly depending on the type of caulk and its exposure to the elements. Most exterior caulk, particularly in the challenging weather of the NYC metro area, typically lasts about 5-10 years. However, high-quality 100% silicone can last 20 years or more, while basic siliconized acrylic latex might only last 3-5 years, especially on the exterior. It’s crucial to regularly inspect your caulk for signs of failure, such as cracking, peeling, shrinking, or discoloration. If you see these signs, it’s time for replacement.
Can you caulk over old caulk?
No, you should absolutely not caulk over old caulk. This is a common mistake that leads to premature failure of the new caulk. The new caulk will not properly adhere to the old, deteriorating material underneath, and the old caulk will continue to fail, taking the fresh layer with it. For a truly effective and long-lasting seal, always completely remove all existing caulk and thoroughly clean the surface before applying new material.
What is the expected lifespan of different types of caulk?
As we’ve discussed, lifespans vary:
- 100% Silicone Caulk: Known for its exceptional durability, 100% silicone can last 20 years or more, especially when applied correctly and to appropriate surfaces.
- Polyurethane Caulk: Typically lasts 5-10 years. Its lifespan can be extended if it’s painted, as paint offers additional UV protection.
- Hybrid (SMP) Sealants: These advanced formulations generally offer a lifespan of 10 years or more, providing a good balance of flexibility and durability.
- Siliconized Acrylic Latex Caulk: Best for interior applications, this type usually lasts 3-5 years. If used on the exterior, especially in harsh climates like ours, it may degrade faster.
Is silicone or latex caulk better for sealing window glass?
For exterior window glass in New York, Long Island, Westchester, and New Jersey, 100% silicone or a high-quality hybrid sealant is usually better because of superior flexibility, UV resistance, and waterproofing. For interior trim where you plan to paint, siliconized acrylic latex is often the better choice because it is easier to work with and fully paintable.
How do I know if my window leaks are from bad caulk or from the glass itself?
If you see drafts or staining around the perimeter of the frame, cracked or separated caulk is a likely culprit. If fogging or condensation appears between glass panes, that usually indicates a failed insulated glass seal, not a caulking issue. In many NYC and New Jersey buildings, both can occur at once, which is why a professional inspection tied to window restoration or high rise window caulking is often the fastest way to diagnose the real problem.
Can professional caulking really lower my energy bills?
Yes. On tall residential and commercial buildings, we routinely find linear feet of missing or failed caulk around glass and frames. Sealing those gaps can noticeably reduce drafts and load on your HVAC system, especially during New York winters and humid New Jersey summers. While savings vary by building, tightening the envelope is one of the most cost-effective upgrades you can make.
Do I need a professional for high rise window caulking?
For ground-level or easily accessible windows, a careful DIY job can work. But for high rise or multi-story buildings in NYC, Long Island, Westchester, and New Jersey, you generally need trained technicians, safety equipment, and permits. A professional team can combine caulking with commercial high rise window cleaning or even high rise hot water power washing to clean, prep, and seal in one efficient visit.
For a Perfect, Lasting Seal, Trust the Professionals
Choosing the right caulk and applying it correctly is a critical step in protecting your property, especially for high-rise buildings and commercial properties in New York City, Long Island, Westchester, and New Jersey. While this guide gives you the knowledge to understand the options, large-scale projects or complex high-rise window sealing often require professional expertise, specialized equipment, and adherence to rigorous safety standards.
At City High Rise Window Cleaning, we bring over 30 years of experience to every job, ensuring not just a perfect seal, but also the safety and durability your building deserves. Our team is expert in New Jersey Window Caulking Company and offers comprehensive Window Caulking Services across the Tri-State area. We combine the best caulk for sealing window glass with meticulous application techniques, and can integrate work with facade restoration or post construction cleaning when needed, guaranteeing a lasting seal that protects your investment for years to come.
Ready for a free quote? City High Rise Window Cleaning offers 24/7 live consultation. Call 917-749-8342 to speak to a live representative.


