

Don’t Let the Draft In: How to Caulk Old and New Window Panes
Don’t Let the Draft In: How to Caulk Old and New Window Panes
Why a Thin Line of Caulk Is Costing You More Than You Think
Caulking window panes is one of the highest-value maintenance tasks you can do for any building — and one of the most overlooked.
Here’s the quick answer if you need it fast:
How to caulk window panes (quick steps):
- Remove all old, failing caulk with a utility knife or putty knife
- Clean the joint with rubbing alcohol and let it dry completely
- Apply painter’s tape on both sides of the gap for clean lines
- Cut the caulk tube tip at a 45-degree angle
- Apply a steady bead of silicone or polyurethane caulk along the joint
- Smooth with a wet finger in 6-inch increments
- Pull the tape while the caulk is still wet
- Allow 24 hours to cure before exposing to moisture
That’s the core of it. But getting it right — especially on older buildings, wood frames, or multi-story properties — takes a bit more know-how.
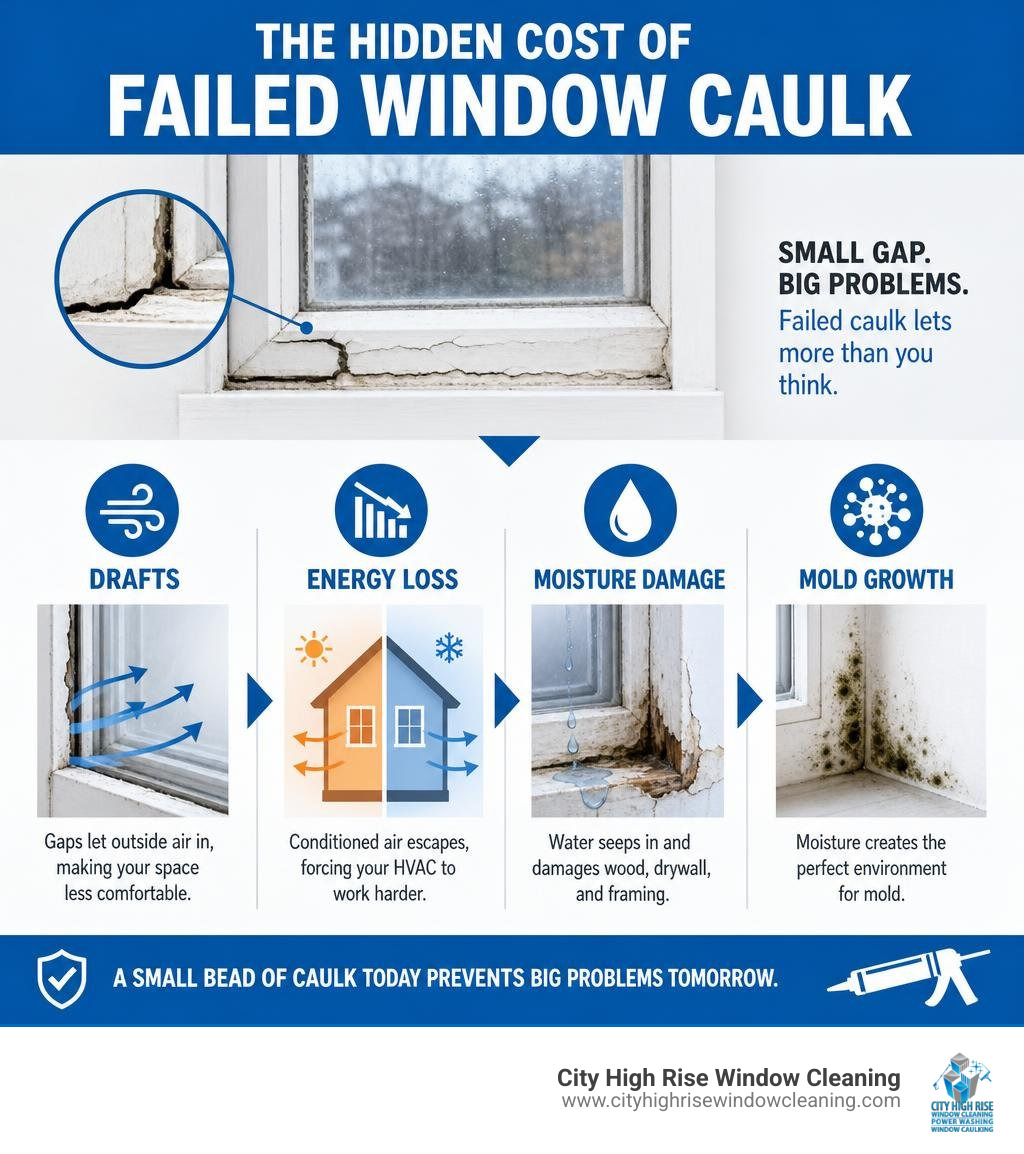
A single cracked or missing caulk bead is enough to let in driving rain. At just a quarter inch, water gets pulled in by capillary action even without rain. Over time, that moisture works into the framing, the drywall, and the wall cavity — turning a $10 fix into a five-figure repair.
Air leakage through gaps around window frames can account for 25 to 40 percent of a building’s heating and cooling energy use. Proper sealing can cut energy costs by up to 15% in older commercial buildings — savings that can pay for the entire job within a single year.
I’m Brett Hochman, CEO of City High Rise Window Cleaning and a 48-year veteran of exterior building maintenance across New York City, Long Island, New Jersey, and Westchester. I’ve overseen caulking window panes on everything from historic brownstones to modern glass-curtain high-rises, and I’ll walk you through exactly how to do it right.
Essential caulking window panes terms:
Caulking vs. Glazing: What is the Difference?
One of the most common points of confusion I see when property owners call me out to inspect drafty windows is the difference between window glazing and window caulking. Many people use these terms interchangeably, but they are entirely different materials designed for completely different jobs.
- Window Glazing Compound: This is a thick, putty-like material historically made of linseed oil and chalk (though modern versions also come in latex and acrylic formulas). Glazing compound is used specifically to seal the actual glass pane into the wood or metal window sash. It is what keeps the glass secure inside the frame.
- Window Caulk: Caulk is a flexible, liquid sealant applied with a caulking gun. Its primary job is to seal the perimeter gaps where the window frame meets the building’s exterior or interior wall (such as siding, brick, or drywall).
To make this simple, think of it this way: glazing compound seals the glass to the frame, while caulk seals the frame to the building.
| Feature | Window Glazing Compound | Window Caulk |
|---|---|---|
| Primary Purpose | Seals glass pane directly to the window sash | Seals gaps between window frame and wall |
| Material Consistency | Thick, clay-like putty molded by hand | Flexible, semi-liquid bead applied via gun |
| Best Substrates | Single-pane wood and older metal sashes | Vinyl, aluminum, wood, brick, and concrete |
| Lifespan | Can last decades if painted and maintained | Typically lasts about 5 years depending on weather |
| Cure Time | Can take weeks (oil-based) to fully cure | Typically cures fully within 24 to 48 hours |
If you want to dive deeper into the technical differences of perimeter sealing, you can learn more about window restoration.
Can You Use Caulk as a Substitute for Glazing Compound?
I am often asked by DIYers in Brooklyn or historic parts of Westchester if they can just squeeze a tube of standard silicone caulk into the sash track instead of using traditional glazing putty. My short answer is: Please don’t.
While modern high-performance caulks are incredibly adhesive, they make terrible glazing substitutes on classic wood-frame windows. Traditional wood sashes expand and contract significantly with the shifting seasons of the Northeast. Linseed-oil-based glazing compound is formulated to accommodate this movement over decades while remaining relatively easy to scrape out when a pane inevitably breaks.
If you substitute caulk for glazing putty:
- Future glass replacement becomes a nightmare. High-adhesion caulks bond so to wood and glass that removing them in the future to replace a cracked pane will almost certainly result in splintering the wood sash or shattering the new glass.
- You lose the structural support of glazing points. Glazing points — the tiny metal triangles driven into the wood frame — are what actually hold the glass pane in place. Putty covers these points and sheds water at a perfect 45-degree angle. Caulk is too thin to properly embed these points and shape a clean, water-shedding bevel.
For modern aluminum or vinyl frames, specialized glass sealants are acceptable. But for traditional wood windows, stick to real glazing putty. If you are dealing with drafty panes on newer windows, you can read more about how to fix leaking window air to see if a simple bead of perimeter caulk is the better solution.
Choosing the Best Sealant for Caulking Window Panes
Walk into any hardware store in New Jersey or Long Island, and you will be confronted by a wall of sealants. Choosing the wrong tube is the number-one reason DIY caulking projects fail within their first year.
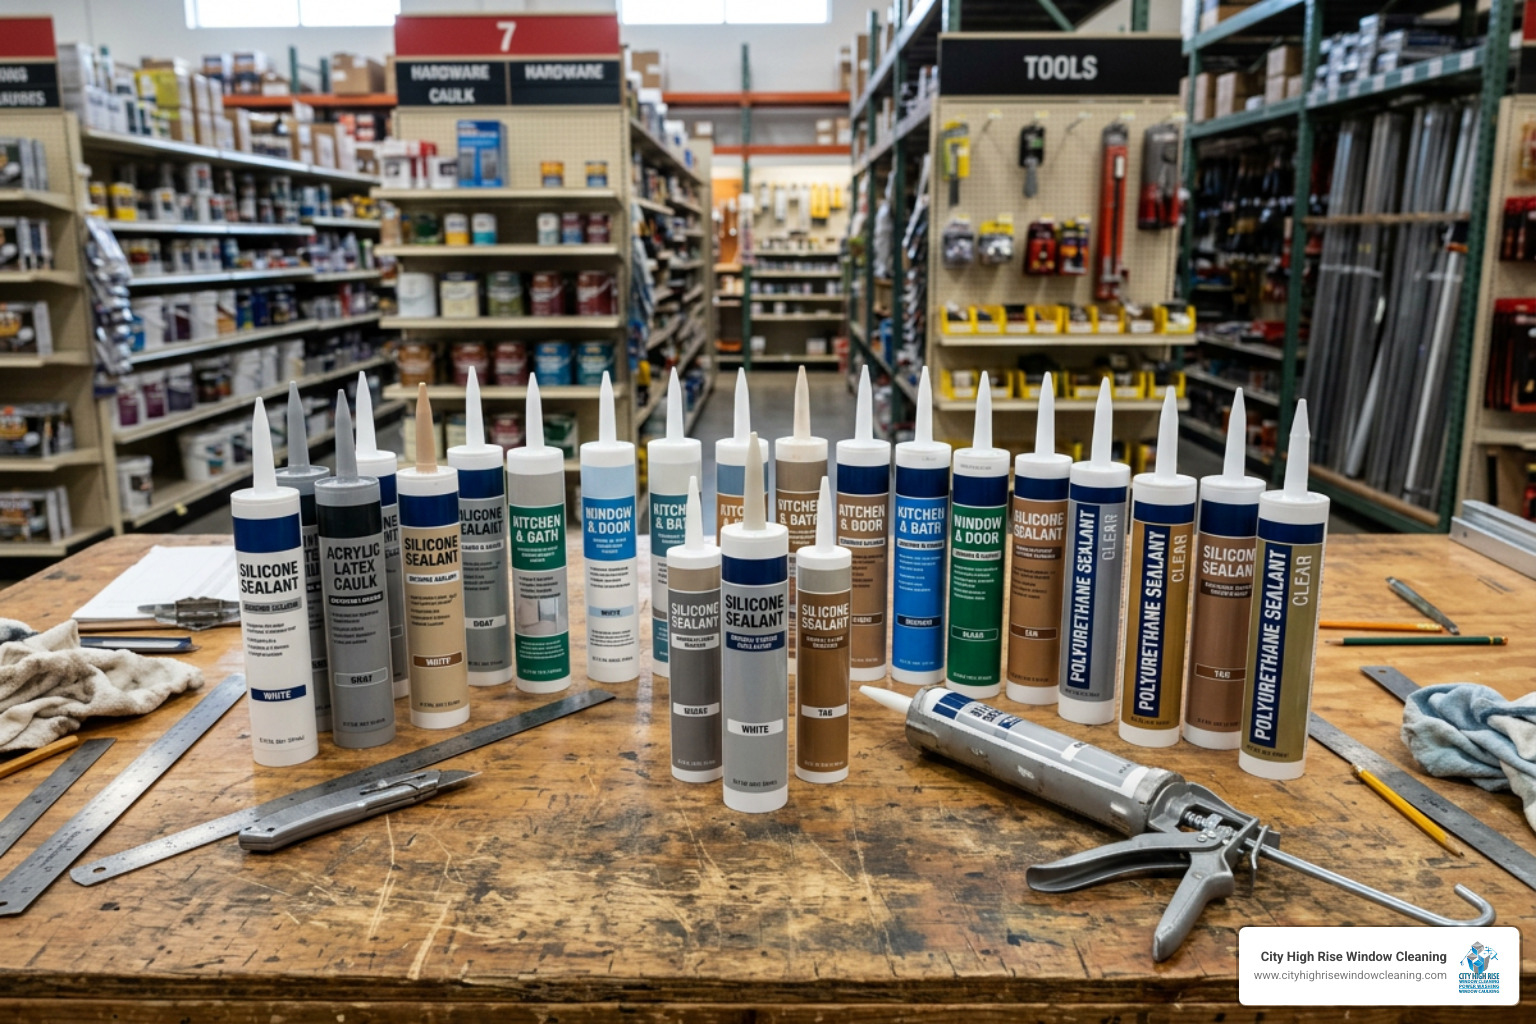
When selecting a sealant for caulking window panes, you must match the product to both the environment (interior vs. exterior) and the frame material (wood, vinyl, aluminum, or masonry).
Best Caulk for Interior Caulking Window Panes
For interior window trim and sills, your main priorities are paintability, ease of cleanup, and low odor (low VOCs).
- Acrylic Latex Caulk (Painter’s Caulk): This is the easiest material to work with. It is water-soluble before it cures, meaning you can smooth it with a damp finger and clean up mistakes with a wet rag. It shrinks slightly as it dries, but it takes paint beautifully.
- Siliconized Acrylic Latex: This is my personal recommendation for most interior home projects. It combines the ease of application and paintability of acrylic with the added flexibility and moisture resistance of silicone. It prevents cracks along your interior trim when your house settles or shifts during our humid local summers and freezing winters.
To find the perfect match for interior glass-to-frame joints, check out our guide on the best caulk for sealing window glass.
Best Caulk for Exterior Caulking Window Panes
Exterior window joints have a brutal job. They must survive freezing winter winds, intense summer UV rays, and driving rain without cracking, shrinking, or pulling away from the building.
- 100% Silicone Sealant: Silicone is the gold standard for non-porous materials like glass, vinyl, and aluminum. It is completely waterproof, highly flexible, and virtually immune to UV degradation. It can easily last 20+ years. The major catch? You cannot paint over pure silicone. If you use it, you must buy it in clear, white, or a color-matched shade that matches your trim.
- Polyurethane Sealant: If you have wood siding, brick, concrete, or stone exterior walls, polyurethane is the champion. It has incredible adhesion to porous materials, handles heavy structural movement, and is fully paintable once cured. However, it is sticky, difficult to tool, and takes longer to cure.
To see which heavy-duty sealant reigns supreme for outdoor applications, read our breakdown of polyurethane vs silicone for exterior windows.
Step-by-Step Guide: How to Caulk Window Panes Like a Pro
Now let’s get down to the actual work. Properly caulking window panes is all about preparation and technique. If you rush the setup, your new caulk will peel off by next spring.
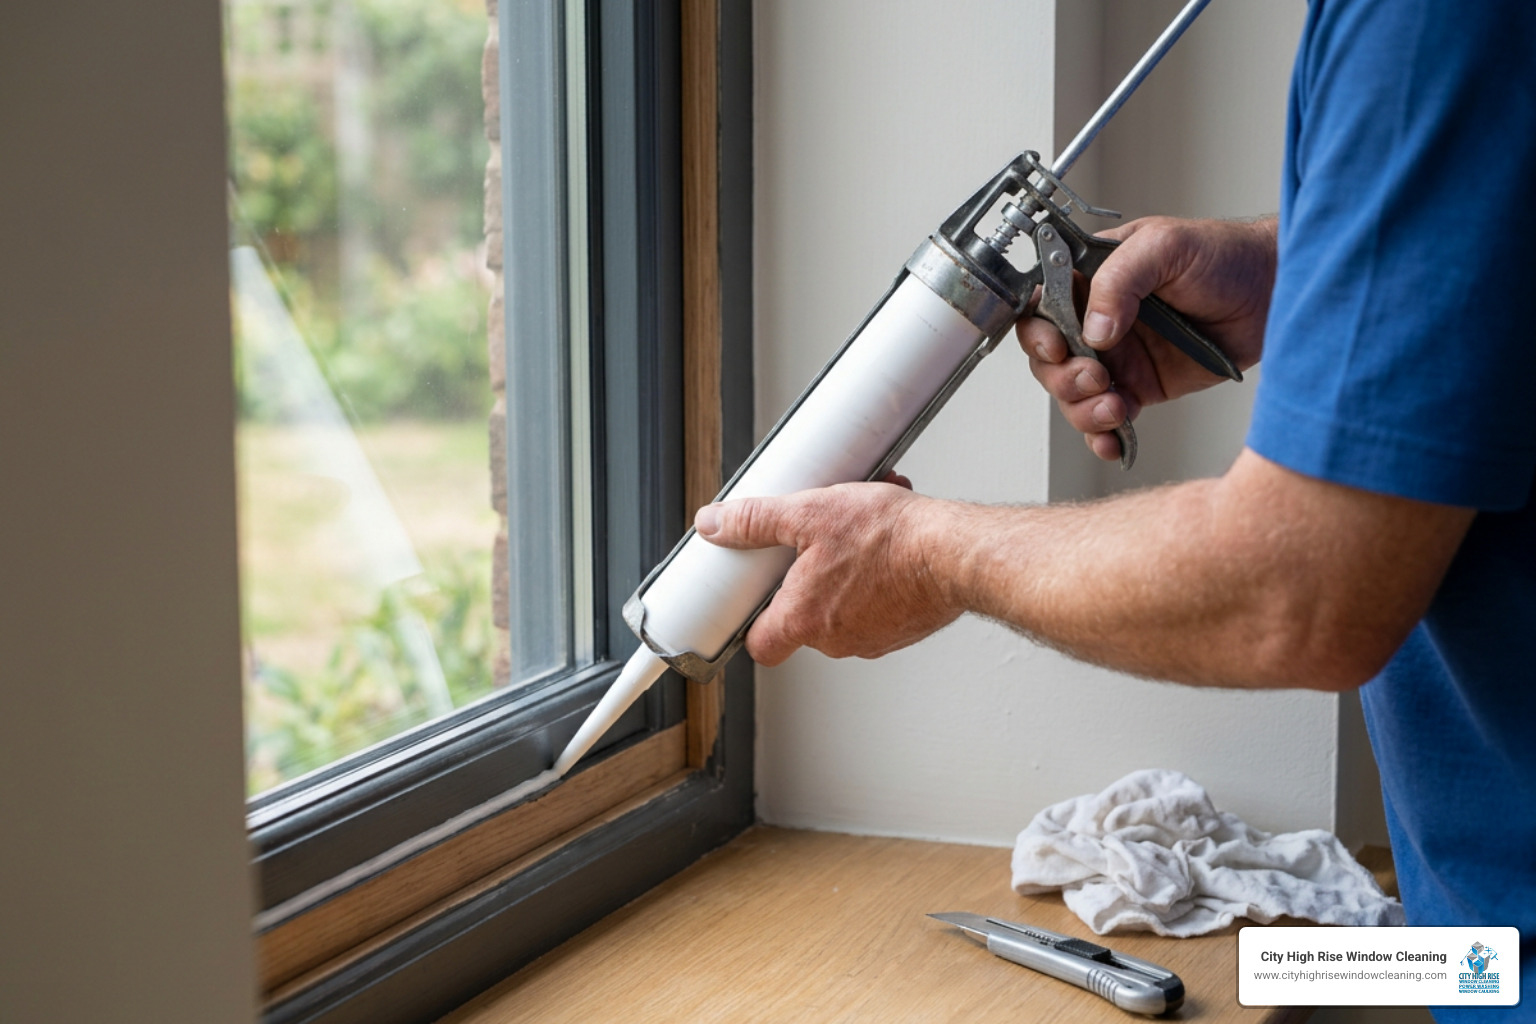
Before you start, make sure you have the following tools on hand:
- High-quality drip-free caulk gun (with a thumb-release lever)
- Selected tube of caulk
- Utility knife and a 5-in-1 painter’s tool
- Rubbing alcohol and clean rags
- Painter’s tape
- A small bucket of water and a sponge (for latex caulk) or soapy water (for silicone)
For a complete overview of the process from a homeowner’s perspective, refer to this step-by-step window caulking guide.
Step 1: Removing Old Caulk and Glazing
You cannot apply new caulk over old, cracked, or moldy caulk. The new sealant will not adhere to the old material, and the existing cracks will simply telegraph right through your new bead.
- Score the old bead: Use your utility knife to slice along both edges of the old caulk line. Be careful not to gouge vinyl frames or scratch aluminum finishes.
- Pry it out: Use a putty knife or 5-in-1 tool to get behind the old caulk and pull it out in long strips. If the old material is stubborn, a heat gun on a low setting can soften polyurethane or silicone, making it much easier to scrape.
- Brush away debris: Use a stiff nylon brush to clean out any remaining loose bits of dirt, old sealant, or peeling paint.
If you are dealing with brittle, stubborn sealant on older windows, read our tips on why you shouldn’t don’t crack under pressure when replacing old caulk.
Step 2: Preparing and Taping the Joint
Once the old material is gone, you must prep the surface to ensure maximum chemical adhesion.
- Clean with rubbing alcohol: Wipe down the entire joint with a rag soaked in rubbing alcohol or methyl hydrate. This removes invisible skin oils, dust, and leftover residue. Let it dry completely.
- Apply painter’s tape: If you want a perfectly straight, professional-looking line without years of practice, tape is your best friend. Apply strips of painter’s tape exactly 1/8 to 1/4 inch away from the joint on both sides (one line on the window frame, one on the siding or wall).
For a deeper look at how to master this prep stage, check out this guide on how to re-caulk windows without it looking awful.
Step 3: Applying and Tooling the Caulk Bead
This is where the magic happens.
- Cut the tip: Cut the plastic nozzle of your caulk tube at a 45-degree angle. Keep the opening small — about 1/4 inch. You can always cut it larger if needed, but you can’t make it smaller once cut!
- Puncture the seal: Insert a long nail or the metal wire on your caulk gun down the nozzle to puncture the inner foil seal.
- Run the bead: Hold the gun at a 45-degree angle to the joint. Squeeze the trigger with steady, even pressure while moving the gun along the seam at a constant speed.
- Tool the bead: Do not try to smooth a 10-foot run all at once. Work in manageable 6-inch increments. Lightly mist the bead with soapy water (for silicone) or wet your gloved finger in plain water (for latex). Gently drag your finger or a plastic tooling spatula over the bead to press the sealant deep into the gap and create a smooth, concave finish.
- Peel the tape immediately: Pull the painter’s tape away while the caulk is still completely wet (within 5 minutes of applying). If you wait until it begins to dry, the tape will pull the cured caulk right off the window.

For more advanced tricks on handling tricky corners and textured surfaces, refer to this window caulking guide for drafts and cracks.
Common Mistakes to Avoid When Sealing Windows
Even smart property owners make simple mistakes that ruin their weatherproofing efforts. Here are the top errors I see in the field:
- Caulking over weep holes: If you look at the bottom exterior frame of your vinyl or aluminum windows, you will see small rectangular slots. These are weep holes designed to let condensation and rainwater drain out of the window tracks. If you seal these shut, water will back up into your walls and rot your framing.
- Applying caulk in freezing weather: Most exterior caulks require temperatures above 40°F to cure properly. If you apply them in freezing weather, they won’t bond and will fail almost immediately.
- Sealing moving parts: Never apply caulk to the tracks of operable window sashes. If it moves, it needs weatherstripping, not caulk.
- Painting over silicone: As mentioned earlier, paint will “crawl” and bead up on pure silicone. If you must paint the trim, use polyurethane or a paintable siliconized acrylic.
To avoid these and other outdoor sealing traps, take a look at the tips and limits of caulking outside windows.
Frequently Asked Questions About Caulking Window Panes
How often should window caulking be replaced?
On average, high-quality exterior window caulking lasts about 5 years. However, windows on the south and west sides of your building will degrade much faster due to intense afternoon UV exposure. I recommend performing a quick visual inspection of your seals every spring and fall.
What are the signs of failed window caulking?
Keep an eye out for these clear warning signs:
- Visible cracks, gaps, or shrinking where the caulk has pulled away from the frame.
- Feeling a draft near the window on cold or windy days.
- Peeling paint or discolored drywall/trim around the window.
- Condensation or water stains appearing on the inside walls after heavy rain.
- The caulk feeling brittle, hard, or crumbling to the touch.
Can I apply new caulk directly over old caulk?
No. Applying new caulk over old, failing material is a waste of time and money. The new bead will only adhere to the loose, crumbling surface of the old caulk and will peel off within a few months, leaving you back at square one. Always scrape the joint clean first.
Conclusion
Properly caulking window panes is one of the simplest, most cost-effective ways to protect your property from moisture damage and slash your monthly utility bills. Whether you are dealing with a historic home in Westchester or a commercial facility in New Jersey, maintaining these seals is essential.
If your property has high-rise windows, hard-to-reach second stories, or complex structural sealing needs, DIY is not worth the risk. At City High Rise Window Cleaning, we bring over 30 years of exterior building maintenance experience, a 100% customer satisfaction guarantee, and a rigorous commitment to safety. We handle everything from high-rise window cleaning and facade restoration to professional window caulking services across New York City, Long Island, New Jersey, and Westchester.
Ready for a free quote? City High Rise Window Cleaning offers 24/7 live consultation.


