

Don’t Skip the Wash: How to Properly Pressure Wash Before Painting
Pressure Washing and Painting: 7+ Years Flawless Finish
Why Skipping This One Step Will Destroy Your $10,000 Paint Job
Pressure washing and painting are inseparable for a paint job that lasts. Painting over dirt, grime, or mold means the new coat won’t stick to the surface, causing it to peel and fail in 2-3 years instead of the 7+ you paid for.
Here’s what you need to know about pressure washing before painting:
- It removes contaminants like dirt, mold, and chalking that prevent paint from bonding.
- It can double your paint job’s lifespan from 3-4 years to 7-10 years.
- It’s 50x faster than manual scraping and sanding, delivering better results.
- You must wait 24-72 hours after washing for the surface to dry completely.
- Using the wrong PSI can destroy surfaces: wood needs 1,200-1,500 PSI, while brick can handle 2,500-3,000 PSI.
For high-rise buildings in NYC, Long Island, New Jersey, and Westchester, the stakes are higher due to urban pollutants and salt air. Skipping the wash risks structural damage and costly redos.
I’m Brett Hochman, and since 1977, I’ve overseen countless pressure washing and painting jobs in the Tri-State area. On commercial high-rises, proper prep is the difference between a lasting investment and a failure within months. This guide shows you how to do it right for a flawless, long-lasting finish.
Why Pressure Washing is the Foundation of a Lasting Paint Job
After three decades in the business, I can tell you the secret to a lasting exterior paint job isn’t the brand of paint—it’s what happens before the first brush stroke. Pressure washing and painting work together like a foundation and frame. Paint needs a clean, stable surface to grip; without it, your expensive new coat is just sticking to a layer of dirt and will fail, guaranteed.
The Hidden Enemies of New Paint: What You’re Washing Away
Your building’s exterior is under constant attack from contaminants that prevent paint from bonding properly.
- Dirt, Grime, and Pollutants: These create a physical barrier. In NYC, this includes vehicle exhaust and industrial fallout, while Long Island buildings face corrosive salt air deposits.
- Algae, Mold, and Mildew: These living organisms feed on the surface, creating a slick, unstable layer that new paint can’t adhere to.
- Chalking: This powdery residue forms as old paint breaks down from UV exposure. It’s like trying to paint on dust—nothing sticks.
- Loose Paint Residue: Flaking particles from previous coats will take the new paint with them when they inevitably fall off.
The Payoff: Better Adhesion, Longer Life, and Major Time Savings
When you remove these contaminants, your new paint can bond directly to the building’s surface. This proper paint adhesion prevents the peeling and cracking that ruins most paint jobs.
The results are dramatic. A properly washed surface can extend your paint’s lifespan to 7-10 years, a huge improvement over the 2-3 years you’d get otherwise. You’re essentially cutting your long-term painting costs in half.
The time savings are also significant. Pressure washing is up to 50 times faster than manual scraping and sanding, which means lower labor costs and faster project completion. It also creates a uniform, pristine surface for a smooth, professional finish that improves your property’s value.
For high-rise buildings, this prep is even more critical. The investment in professional high-rise hot water power washing pays for itself many times over. As the experts at Fine Home Building confirm, proper prep work is the foundation of any successful paint job. Skipping it guarantees failure.
Gearing Up for a Flawless Finish: Equipment, Safety, and Prep
Getting ready for a pressure washing and painting project is 90% of the job. The right tools and prep work prevent serious damage to your building, landscaping, and yourself.
Choosing Your Weapon: The Right PSI & Nozzles for Pressure Washing and Painting
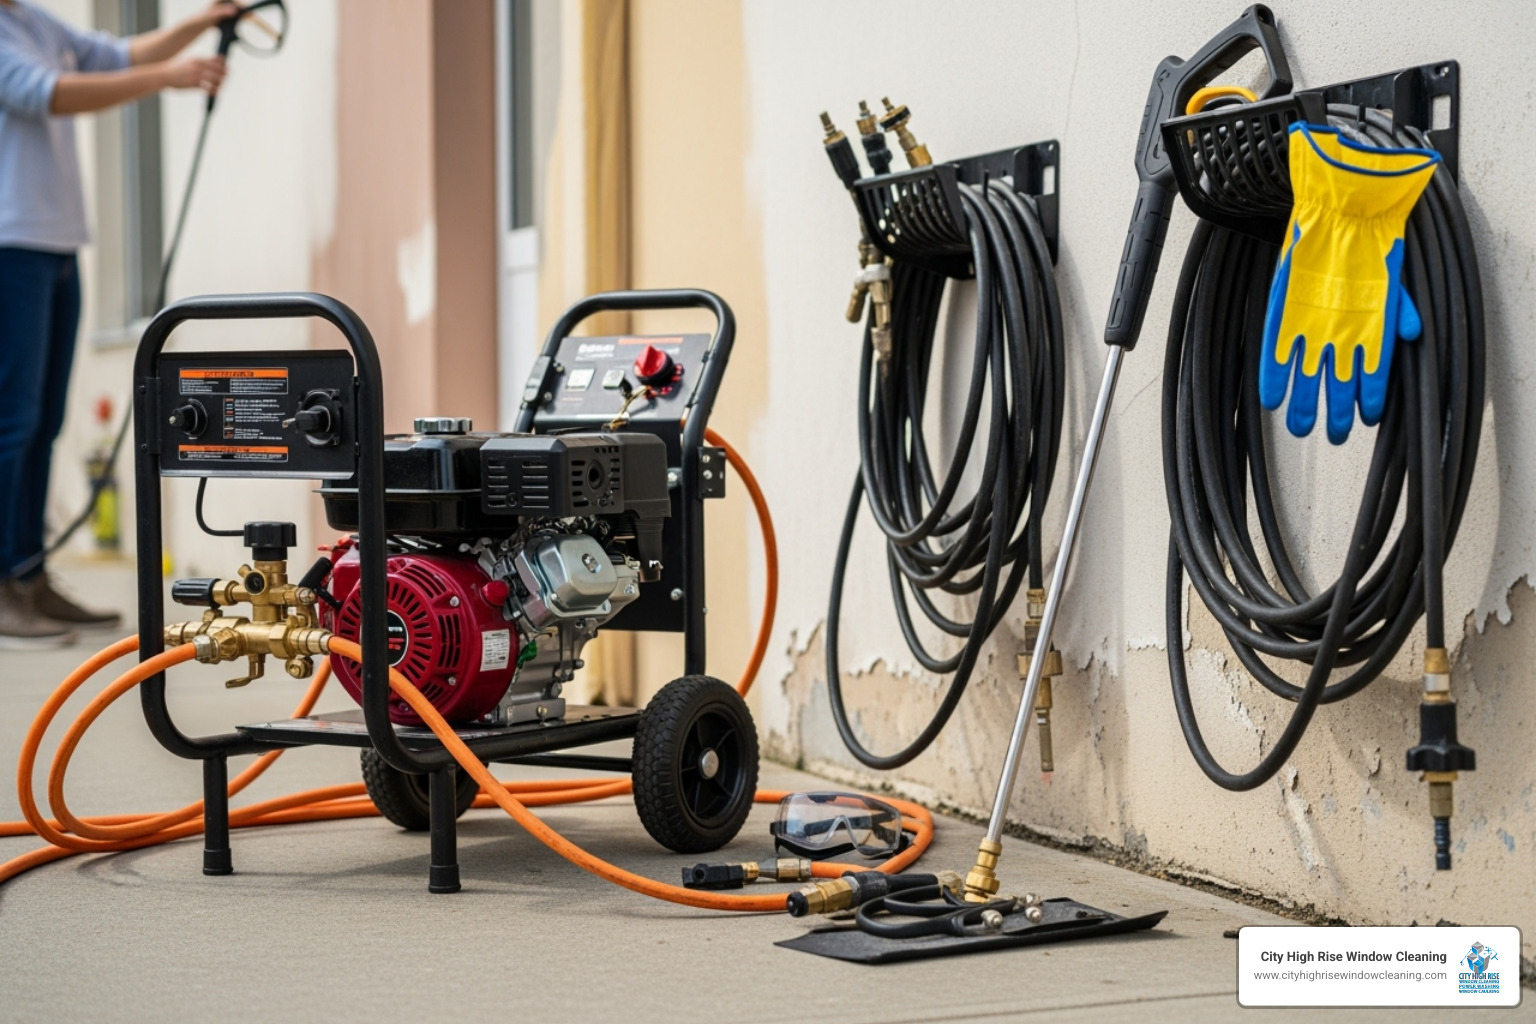
Using the wrong pressure (PSI) or nozzle is the biggest mistake you can make, as it can permanently damage surfaces. Match the PSI and nozzle angle to the material you’re cleaning. For most homes, a 1,200–1,500 PSI electric washer is sufficient and safer. For commercial jobs in NYC or New Jersey, we use gas units up to 3,000 PSI, which require expert handling.
Here’s a quick guide:
| Surface | Recommended PSI | Best Nozzle (Degree) |
|---|---|---|
| Wood Siding | 1,200–1,500 | 25° or 40° |
| Vinyl Siding | 1,500–2,500 | 25° or 40° |
| Stucco | 1,200–1,500 | 40° |
| Brick & Concrete | 2,500–3,000 | 15° or 25° |
Always test on an inconspicuous area first with a wider nozzle (40°) and lower pressure. Never use the red 0-degree nozzle, as it can slice through materials and cause injury.
Prepping the Area and Choosing a Cleaning Solution
Thorough area preparation is critical for safety and protecting your property.
- Protect Landscaping: Soak plants with water before and after washing to prevent them from absorbing cleaning solutions. Cover sensitive plants with plastic.
- Cover Electrical: Securely cover all outlets, light fixtures, and electrical boxes with heavy-duty plastic and painter’s tape.
- Seal Gaps: Inspect and seal gaps around windows and doors to prevent water from getting inside.
- Wear Safety Gear: Always use safety goggles, rubber gloves, and rain gear.
For most jobs, a biodegradable detergent is sufficient. For tougher jobs with mold or grease, use a specialized mildewcide or degreaser. For commercial-grade grime on high-rises, professional High-Rise Hot Water Power Washing Services are often necessary.
Warning: Test for Lead Paint. If your building was constructed before 1978, it may have lead-based paint. Never pressure wash lead paint. The process can create toxic lead dust, a serious health hazard common in older neighborhoods in NYC, Westchester, and New Jersey. If lead is present, you must hire a certified professional for lead abatement. This is a matter of health, safety, and law.
The Pro Technique: A Step-by-Step Guide to Pressure Washing and Painting
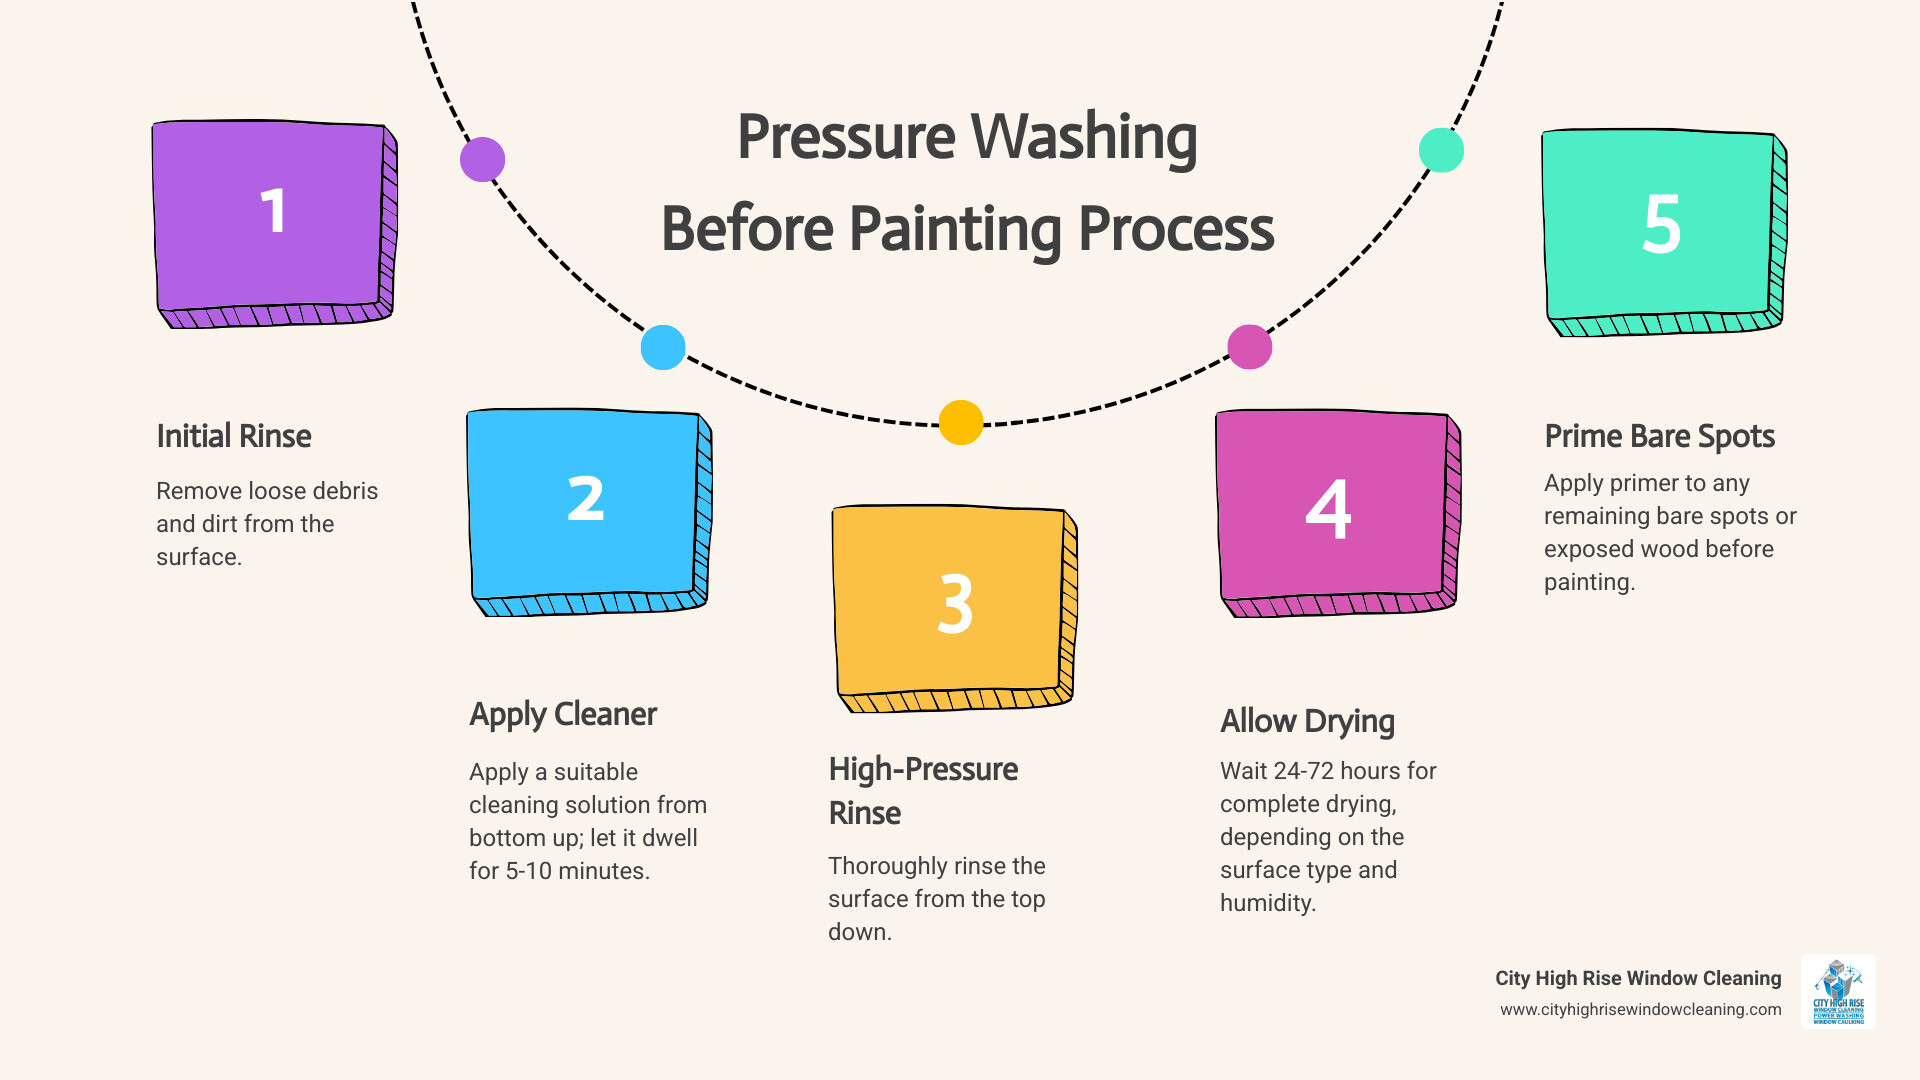
Success in pressure washing and painting comes from a precise, methodical process. It’s not about randomly spraying a building; it’s a five-step dance where every move matters.
Step-by-Step Washing for Perfect Paint Prep
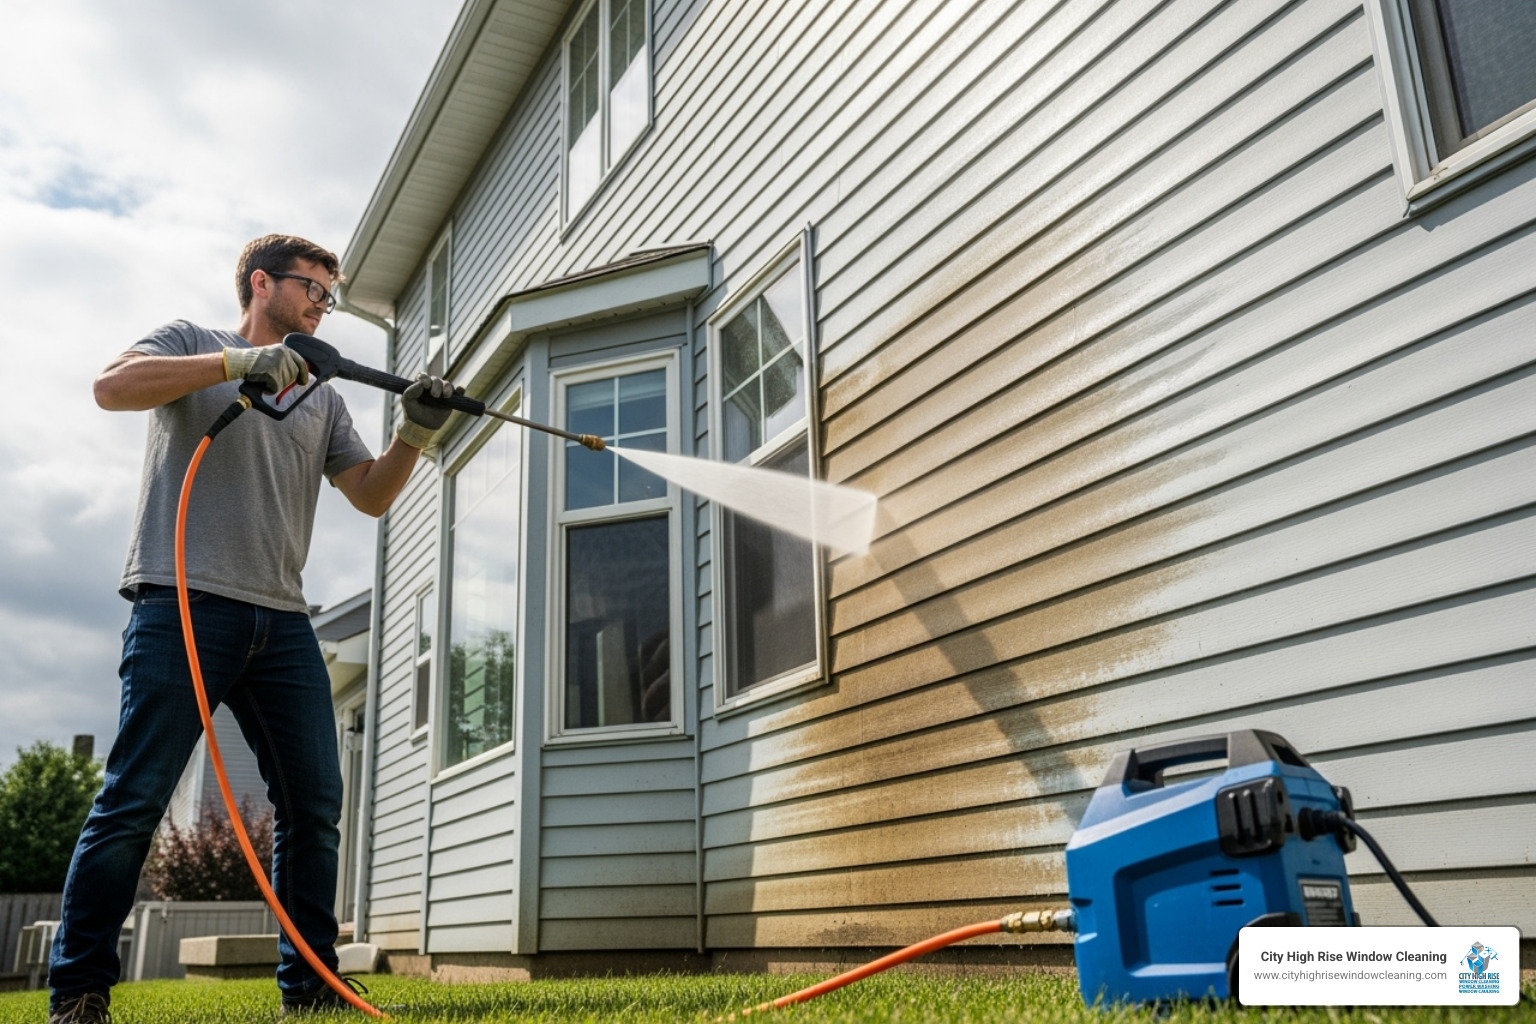
- Initial Rinse: Use a wide 40-degree nozzle and moderate pressure (1,200-1,500 PSI) to rinse the surface from top to bottom. This removes loose debris like cobwebs and dust and prevents the cleaning solution from drying too quickly.
- Apply Cleaning Solution (Bottom-Up): Apply your detergent using low pressure, working from the bottom of the wall upwards. This prevents streaks that occur when the solution runs down a dry surface.
- Let it Dwell: Allow the solution to sit for 5-10 minutes. This “dwell time” lets the chemicals break down grime and mold. Don’t let it dry on the surface; mist with water if needed.
- High-Pressure Rinse (Top-Down): Switch back to the appropriate pressure for your surface and rinse from the top down. Hold the nozzle 6-12 inches away at a 45-degree downward angle to flush away dirt without forcing water behind siding.
- Final Inspection: Walk the perimeter to check for any missed spots. Re-treat and rinse any stubborn areas for a uniformly clean surface.
For tough commercial grime on high-rises in Manhattan or Jersey City, cold water may not be enough. Professional High-Rise Hot Water Power Washing Services are essential for cutting through years of grease and pollutants.
Special Considerations for Wood, Stucco, and Brick
- Wood: Use a gentle touch (under 1,500 PSI, 25° or 40° nozzle) to avoid “fuzzing” the grain. After washing, scrape or sand any remaining loose flakes and prime any bare spots to ensure an even finish.
- Stucco: This porous material soaks up water. Use low pressure (1,200-1,500 PSI, 40° nozzle) and allow for a longer drying time (48-72 hours). Note any cracks revealed by the wash for repair before painting.
- Brick: While brick can handle higher pressure (2,500-3,000 PSI), inspect the mortar first. Old or crumbling mortar can be blown out, so reduce pressure or repoint before washing if needed.
After washing, it’s normal for some well-adhered paint to remain. Manually scrape or sand these areas for a smooth surface, and remember to prime any spots scraped down to the bare substrate.
After the Wash: Drying, Final Prep, and When to Paint
After the wash, patience is your greatest ally. Rushing this step in your pressure washing and painting project is the fastest way to watch your investment peel away.
The Waiting Game: How Long to Dry Before You Paint
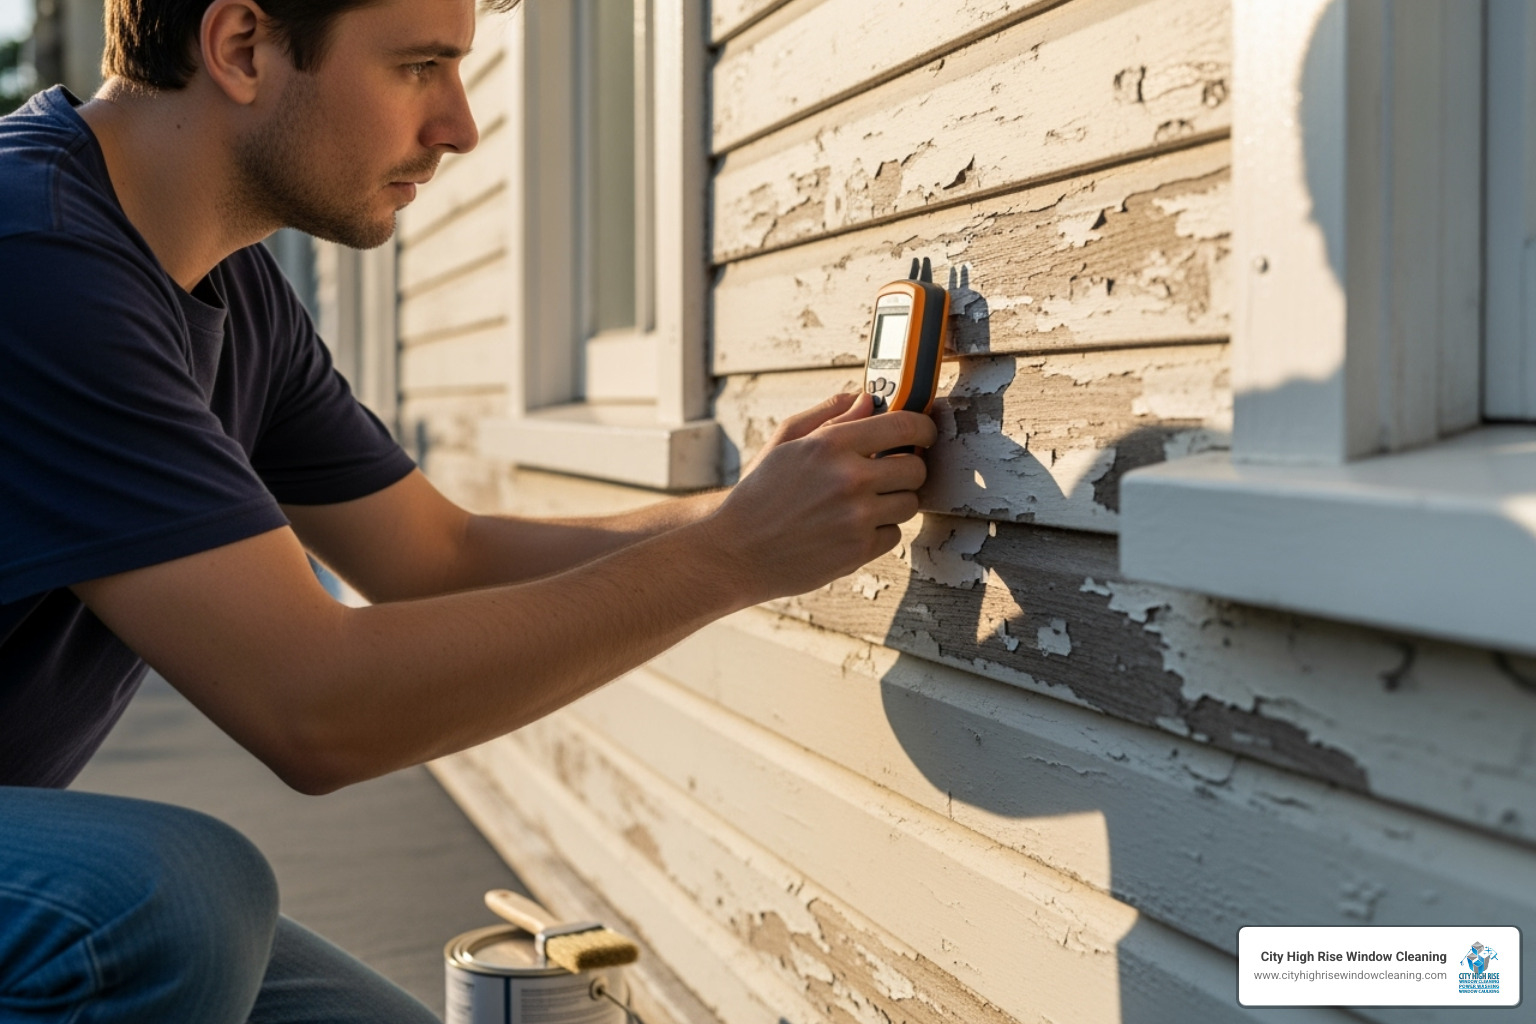
The surface must be bone-dry before applying primer or paint. Painting over a damp surface traps moisture, leading to blistering, peeling, and mold growth.
Drying time is critical and varies by material and weather. Here are the minimums:
- Vinyl Siding: 24 hours
- Wood Siding & Brick: 24-48 hours
- Stucco: 48-72 hours
In humid New Jersey and Westchester summers, add an extra 12-24 hours. Don’t guess—use a moisture meter for wood and stucco. If a surface feels cool to the touch, it’s still damp. After drying, do a final inspection, scrape any remaining loose paint, and apply primer to all bare spots.
The Risks of Rushing and When to Call a Professional
Rushing or using incorrect techniques can lead to costly problems:
- Surface Damage: Incorrect PSI can permanently gouge wood, crack stucco, or erode brick mortar.
- Water Intrusion: Forcing water behind siding can cause hidden mold, mildew, and rot.
- Paint Failure: Painting over dampness guarantees blistering and peeling, ruining the job within months.
When should you call a professional? Always for high-rise buildings in New York City, where safety and specialized equipment are non-negotiable. Also, hire a pro if you suspect lead paint (pre-1978 buildings) or if the property has extensive surface damage.
For complex projects, professional services ensure a flawless canvas. This is especially true for Exterior High-Rise Painting Services, where there is no room for error. We also offer High-Rise Window Caulking to seal gaps before painting, preventing future water intrusion. A proper pressure washing and painting job requires patience and precision—if you’re not confident, hiring an expert is the smartest investment.
Frequently Asked Questions about Pressure Washing and Painting
Here are straight answers to the most common questions I hear about pressure washing and painting.
Can pressure washing remove all the old paint?
No. Pressure washing is designed to remove loose, flaking, and peeling paint that would cause a new coat to fail. It is not a paint stripping tool. Well-bonded paint that remains provides a stable base. For a completely smooth finish, you will still need to manually scrape or sand stubborn spots after washing.
What PSI is safe for washing a house before painting?
There is no single “safe” pressure; it depends entirely on the surface.
- Wood & Stucco: 1,200-1,500 PSI
- Vinyl Siding: Up to 2,500 PSI
- Brick & Concrete: 2,500-3,000 PSI
Always start with a lower pressure and a wider-angle nozzle (40°) in an inconspicuous area to test. It’s better to be gentle than to cause permanent damage.
How long do I have to wait to paint after pressure washing?
You must wait until the surface is completely dry. Painting over a damp surface traps moisture and will cause the new paint to blister and peel. Minimum wait times are 24-48 hours for most surfaces, but porous materials like wood and stucco need 48-72 hours. In humid weather, like a New Jersey summer, add another day to be safe. Use a moisture meter for a precise reading.
The Final Coat: Ensuring a Flawless, Long-Lasting Result
The simple truth of pressure washing and painting is that proper preparation is everything. It’s the difference between a paint job that fails in 3 years and one that protects your building for over a decade. By following these steps to remove contaminants and create a clean surface, you ensure your new paint will bond correctly and last.
For property owners in NYC, Long Island, New Jersey, and Westchester, this prep work is even more vital to combat urban pollutants and harsh weather. On large or high-rise projects, professional expertise is essential for safety and a flawless result. For more tips, visit our Blog. For tough jobs requiring specialized equipment, consider professional high-rise hot water power washing.
Don’t skip the wash, don’t rush the drying, and don’t compromise on prep. Your building and your investment will thank you.
Ready for a free quote? City High Rise Window Cleaning offers 24/7 live consultation. Call 917-749-8342 to speak to a live representative.


